
Installing operating systems like Kali Linux virtually is one of the most convenient ways to try them as one does not need to remove the base operating system. There are several virtualization software to install Kali Linux virtually, including VirtualBox. Kali Linux specializes in penetration testing and security auditing, making it one of the popular Linux distributions for ethical hacking.
How To Install Kali Linux on VirtualBox
Kali Linux has hundreds of tools specifically designed for vulnerability scanning, password cracking, security research, and digital forensics. There are two ways to install Kali Linux on VirtualBox one is by using its installer image and the other is by using its pre-built image. Both ways will be discussed in this guide.
1: Manually Installing Kali Linux on VirtualBox
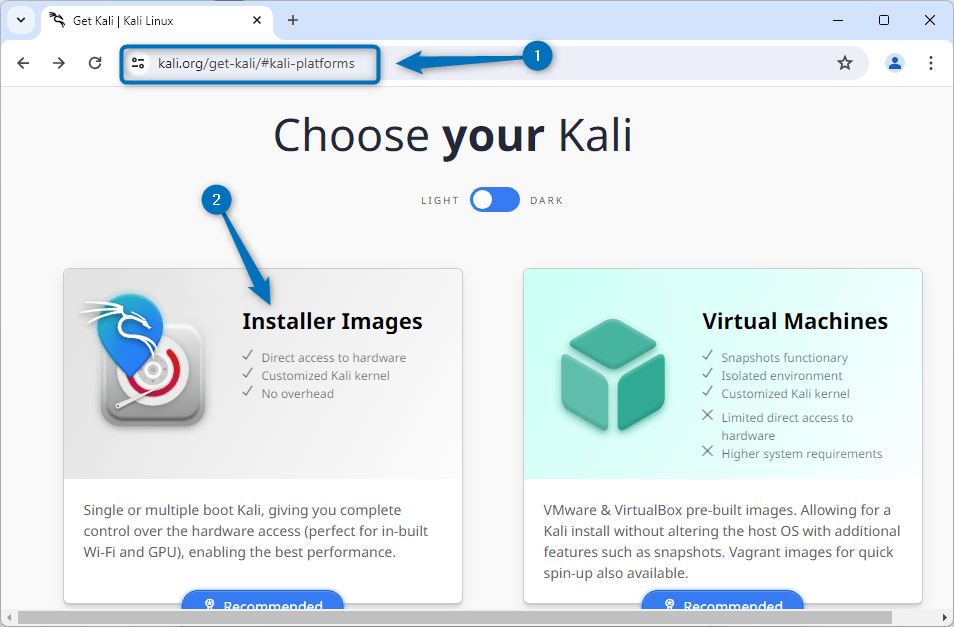
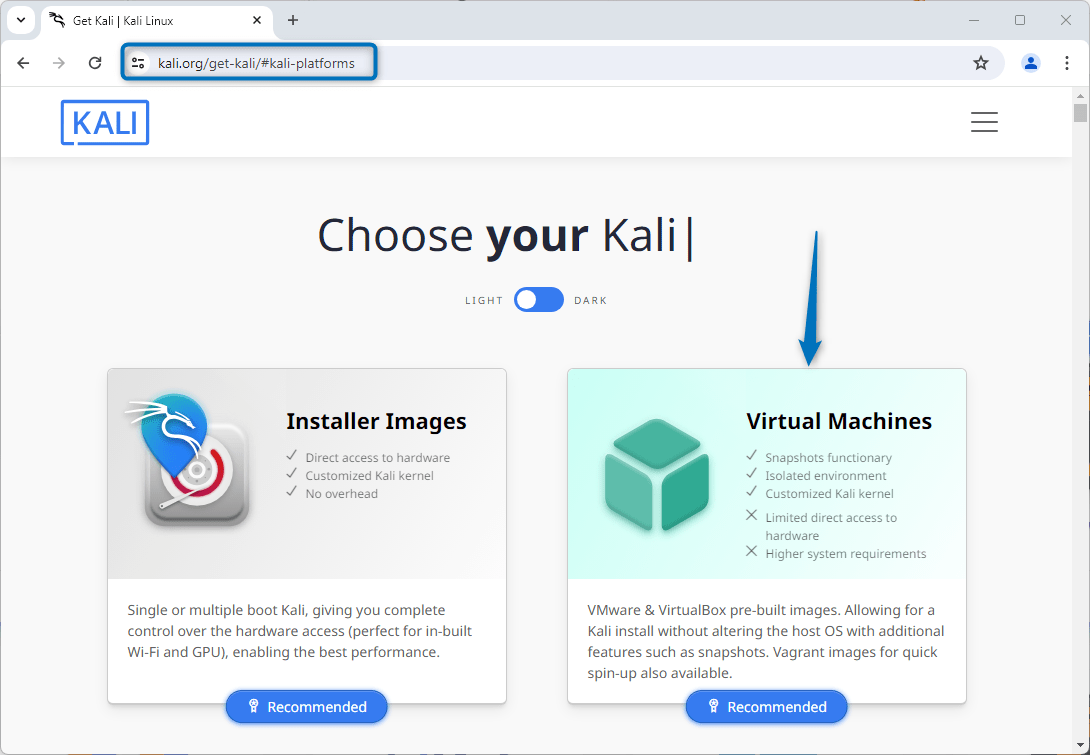
To install Kali on VirtualBox via its installer image you have to download its iso file and for that visit its official download page and click on Installer Images:
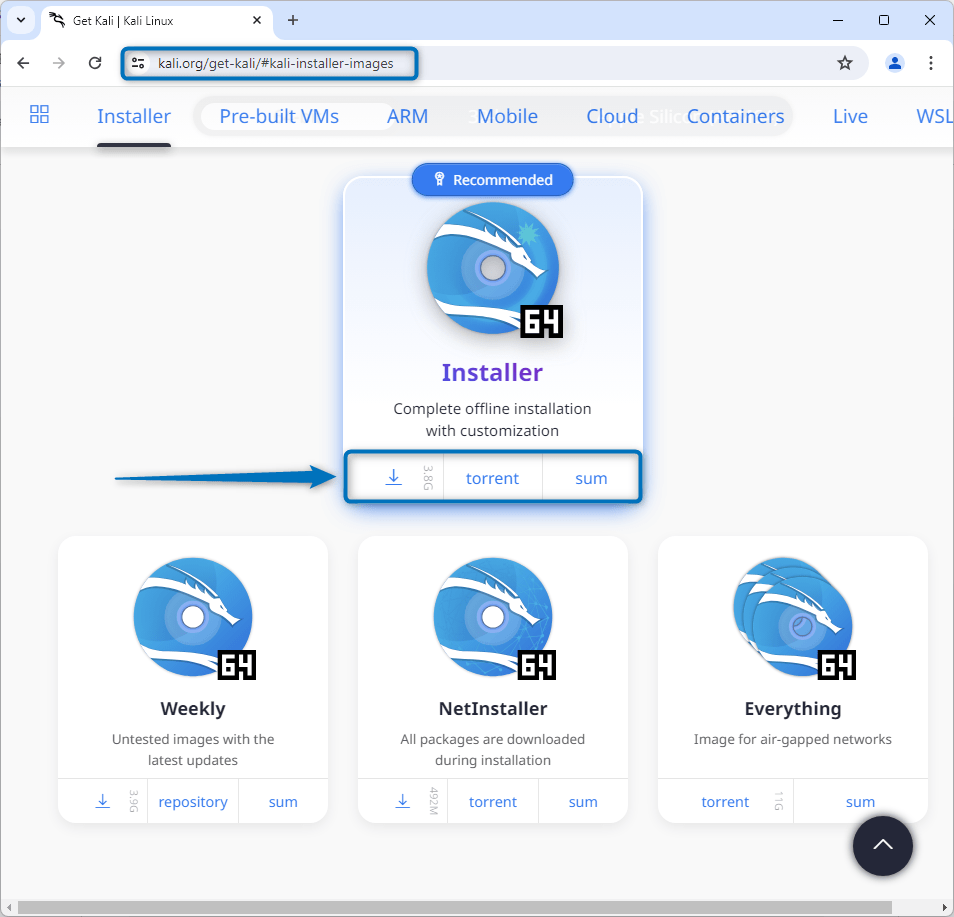
Next, select its 64-bit installer file, and the download will start, however, you can also download it via torrent which is a more convenient way:
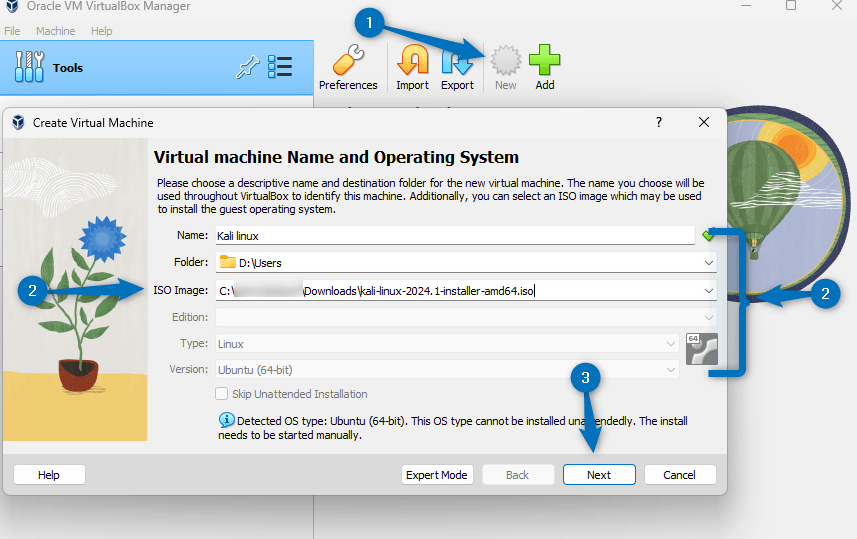
After the download is completed launch VirtualBox and then click on the New option. Now add the name of the virtual machine and afterward set its installation directory. Once you are done now add the path of the installer image and then click on Next:
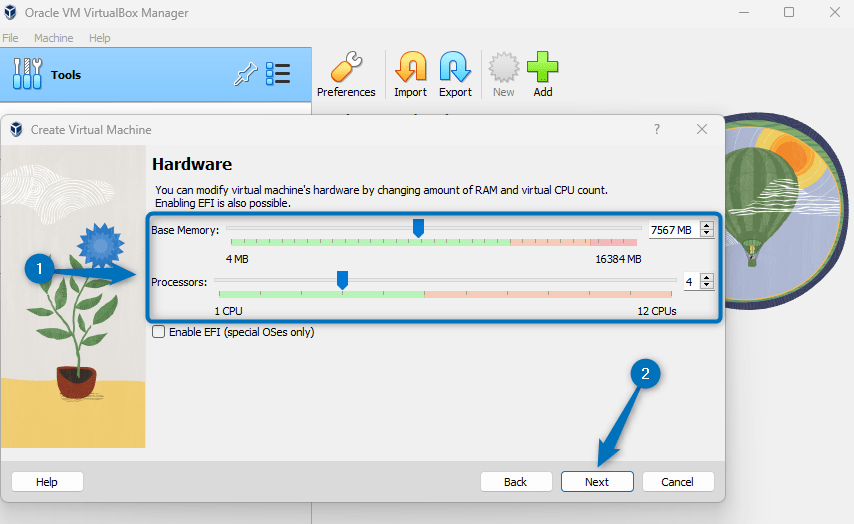
The next tab asks about the hardware specification you want to give for Kali Linux. Here I have allotted 7.5 GB RAM along with 4 CPUs, you can set the specification based on your system specification:
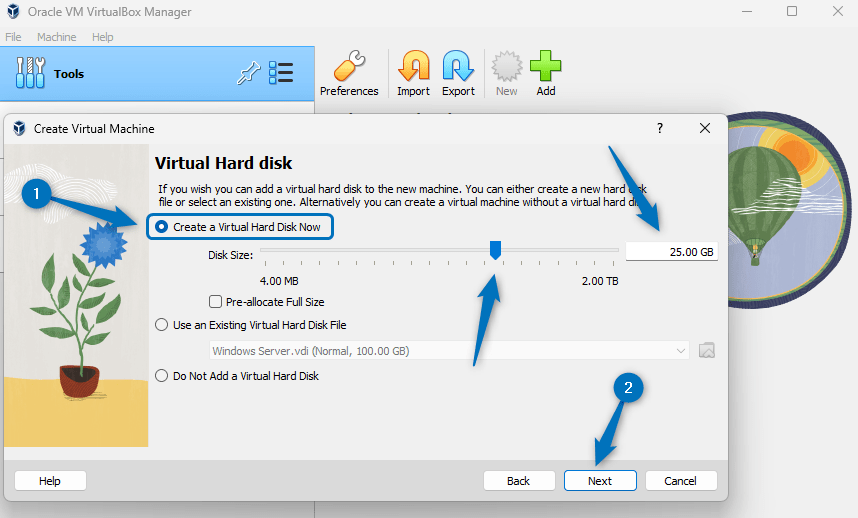
Next, set the storage capacity of the system, it is recommended to set around 20 GB if you are planning to install multiple applications on it. Here I have allotted 25 GB of storage for Kali Linux:
‘
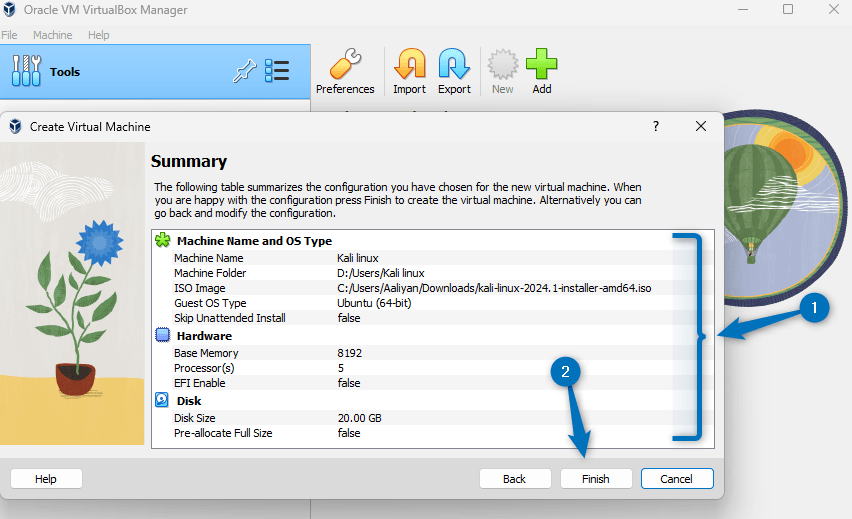
Now at the end verify all the settings before finishing the creation of the virtual machine. You can head back to change any settings:
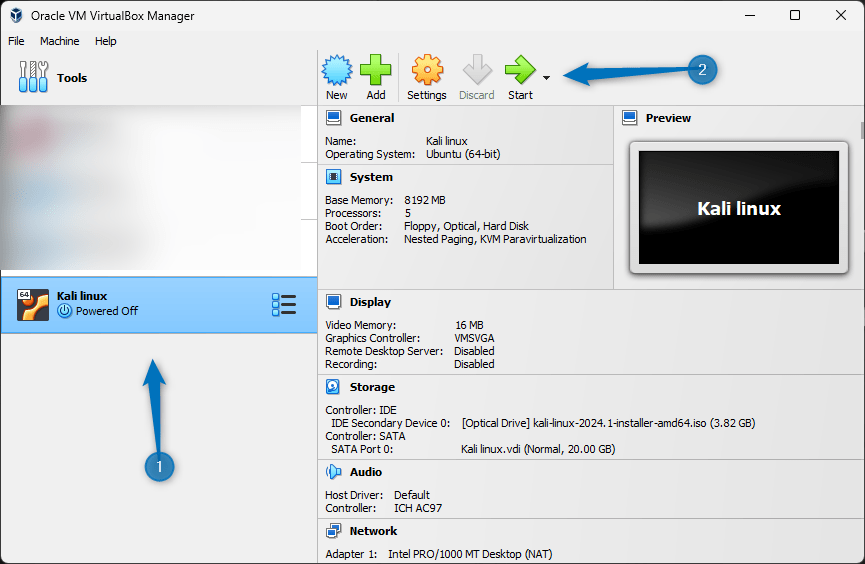
Now since the Kali Linux virtual machine is created to install first select it and then click on Start:
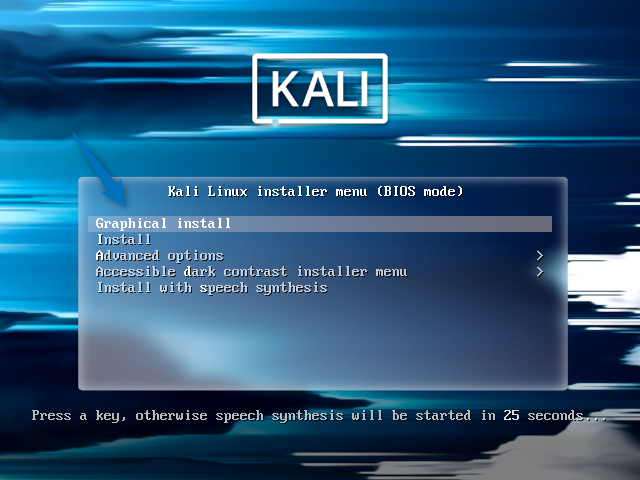
On the startup, the installer will ask about the type of installation here I am installing the GUI version of Kali so I have selected the first option. If no option is selected the installer will by default select the first option:
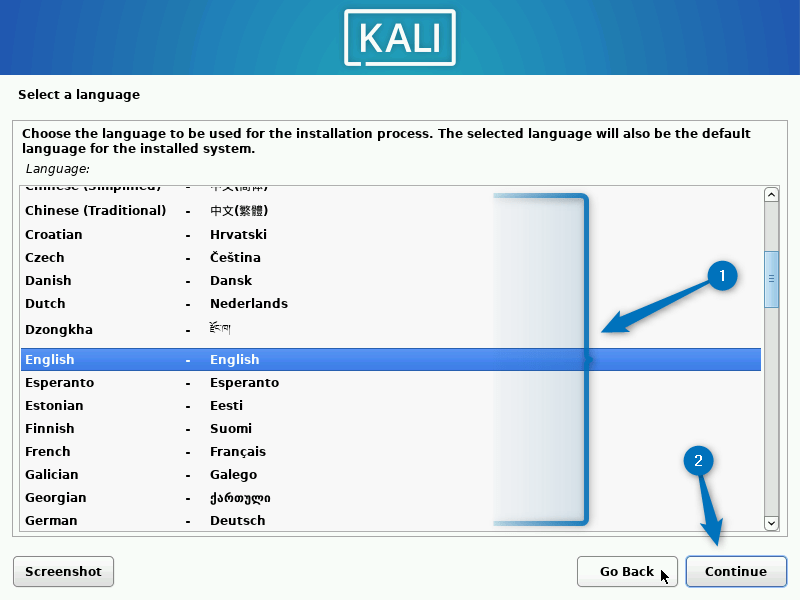
Once the installation is started, the first tab is about the language here you can select your desired language and click on continue to proceed:
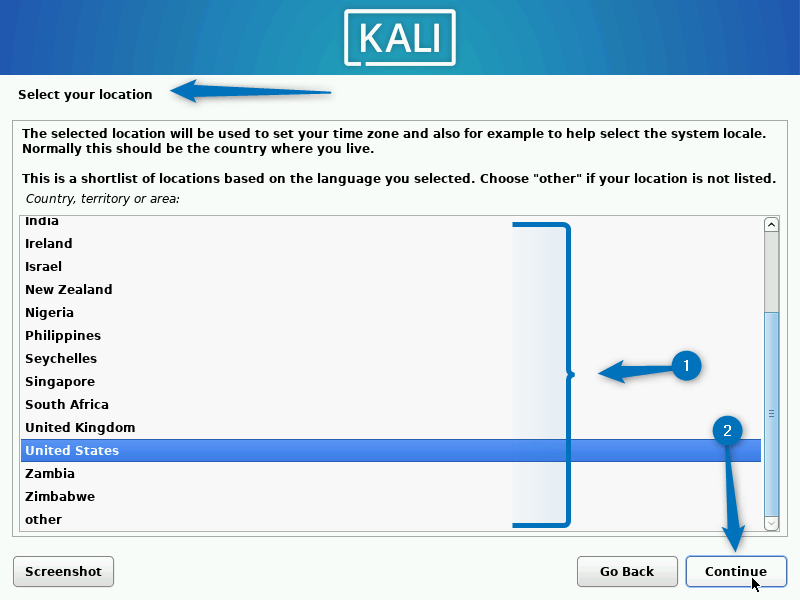
Now set the location as the installer will set the date and time according to it:
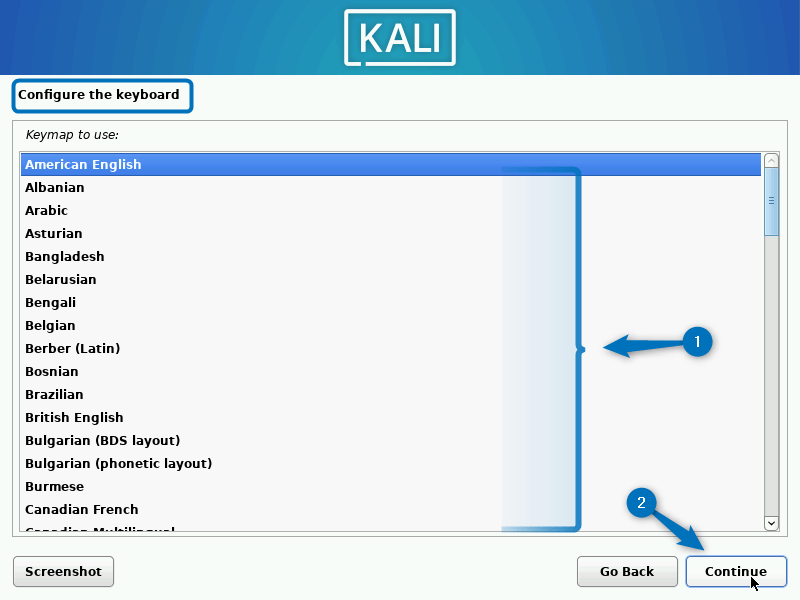
After the location selection now select the layout of the system keyboard and click on continue:
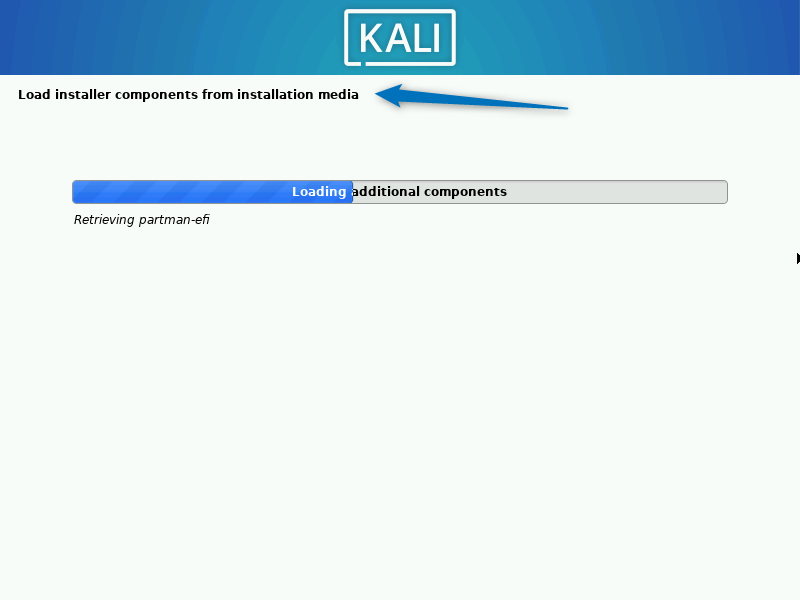
Now the setup will begin the installation:
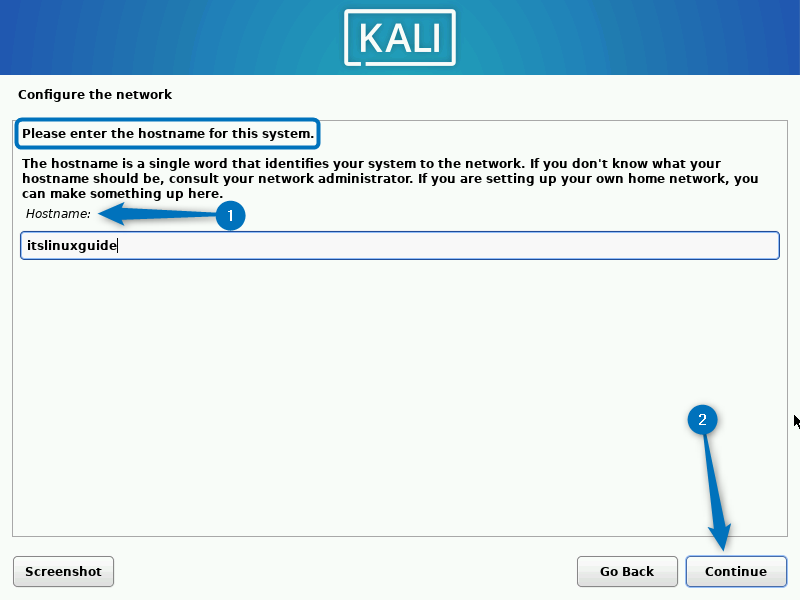
The tab will ask about the Dynamic hostname which is primarily used by the system network. Here you can set a name of your choice and to proceed click on continue:
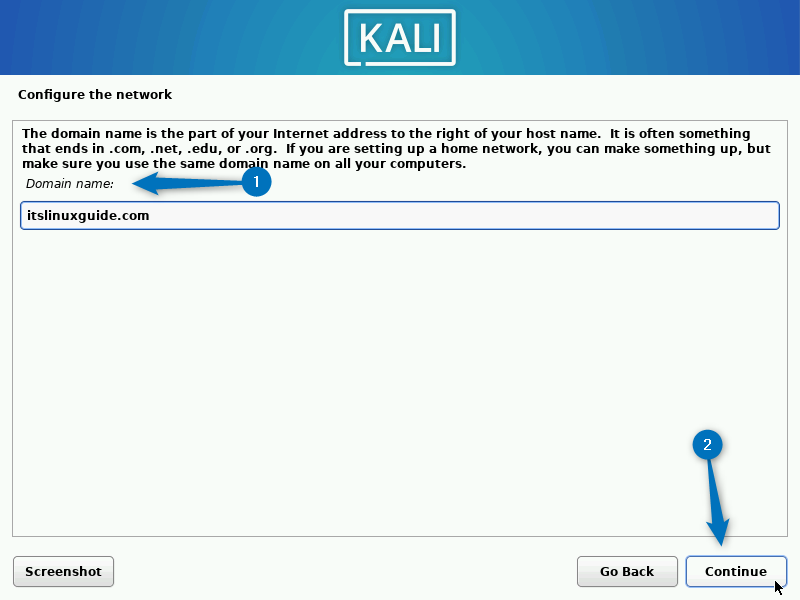
Next, the installer will ask about the domain name if you have any. You can skip this step by clicking on Continue if you do not have any domain:
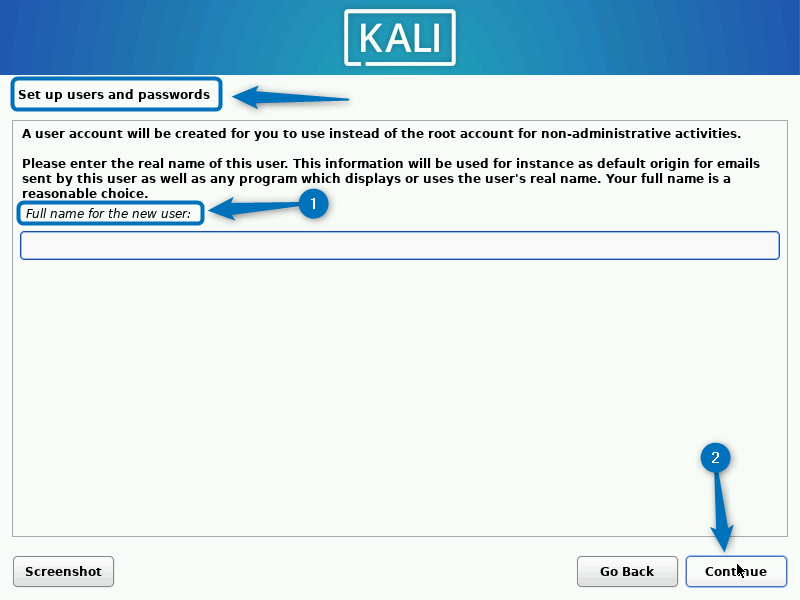
To login to Kali Linux you need to set up a username and an account. For that enter the full name of the user which should be sort of a real name but that’s not necessary:
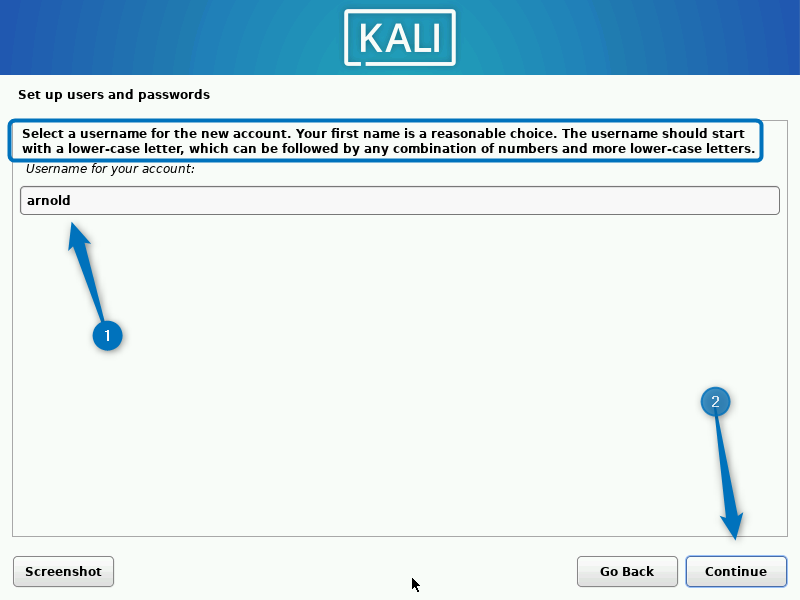
Next, set the username for the account:
To protect the user account set its password. Here just for the sake of illustration I have set a weak password but you should set a strong one:
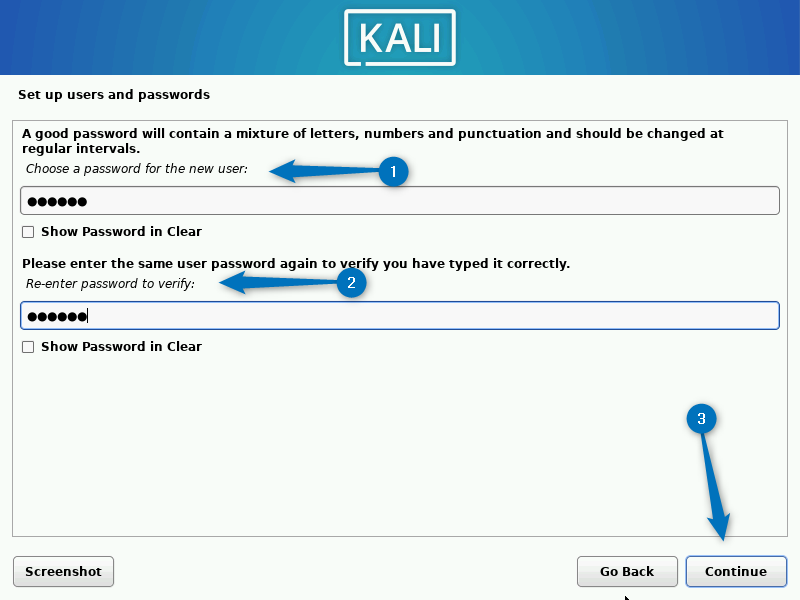
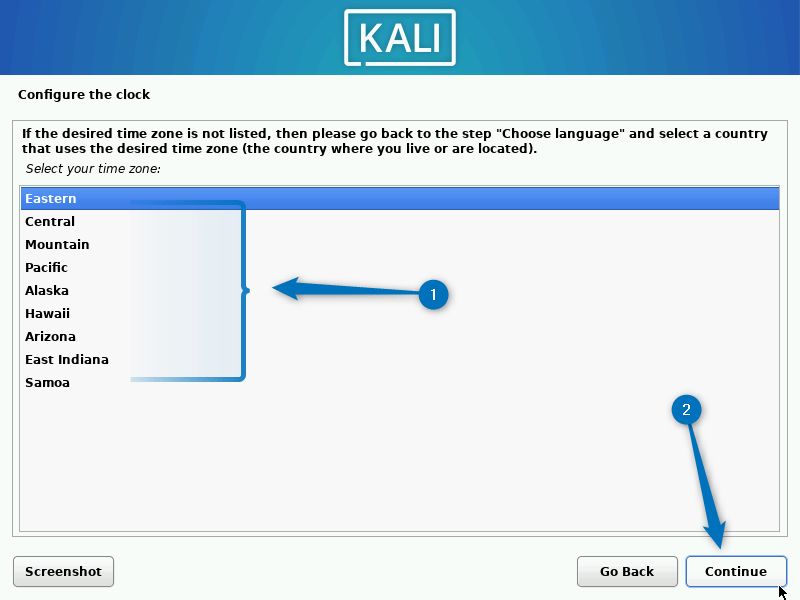
Once you have set the password now set the time zone according to the given location for adjusting the clock:
While creating the virtual machine we allotted a space for Kali here the installer will ask to create disk partitions. So select the available one and proceed:
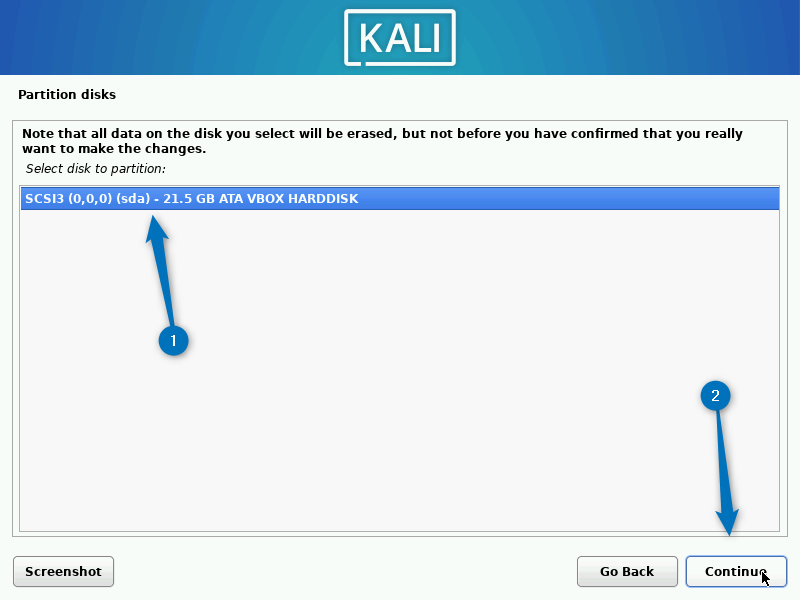
Since this is a virtual machine it is recommended to use the entire disk:
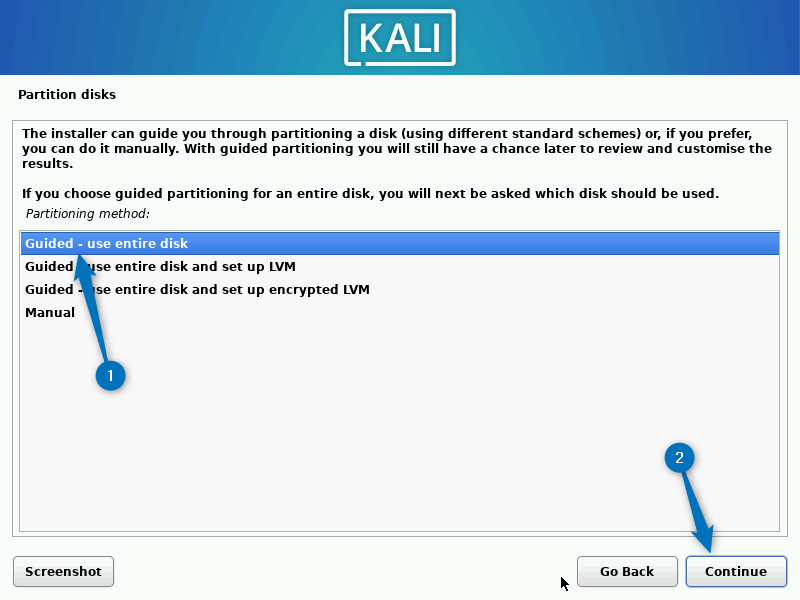
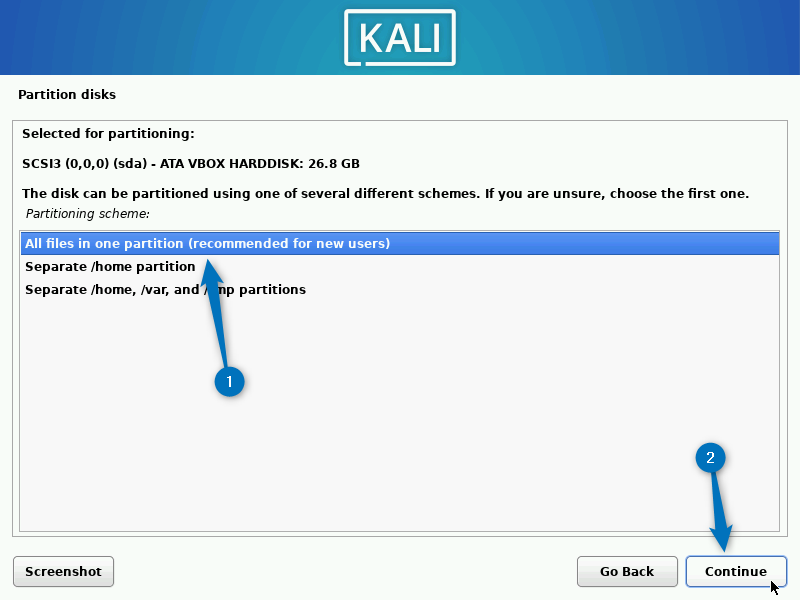
The setup will ask about creating a single partition or multiple partitions for home and system directories. It is recommended to go with the first option:
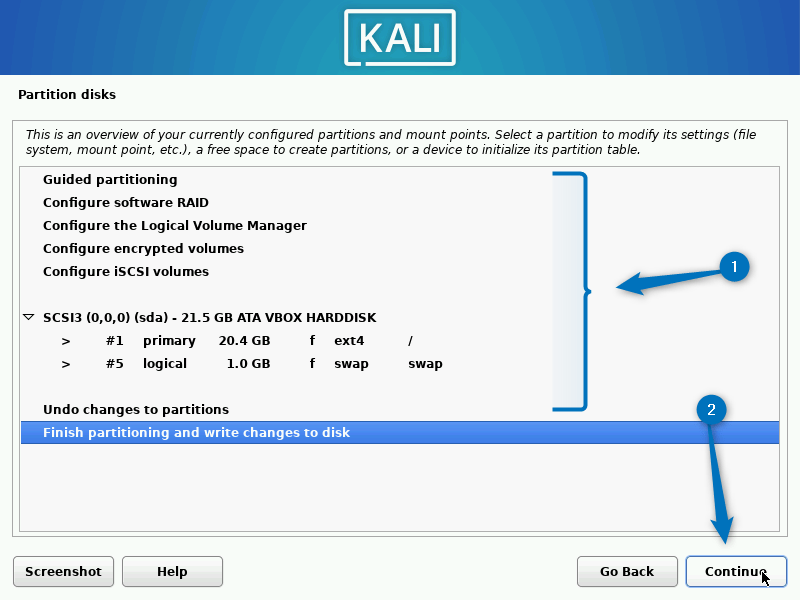
Now verify the disk partition settings select finish partitioning and write changes to the disk option:
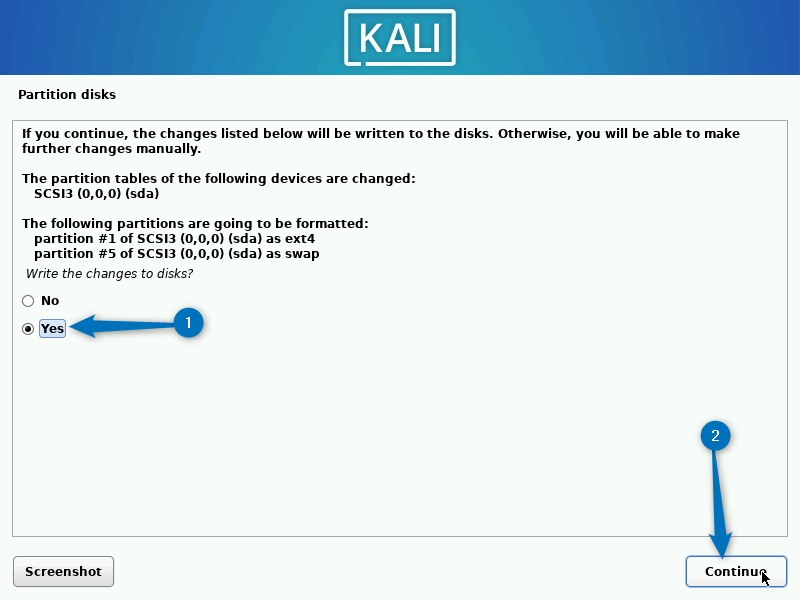
Once the settings are confirmed the system will ask for formatting of the partitions, select yes and click on Continue:
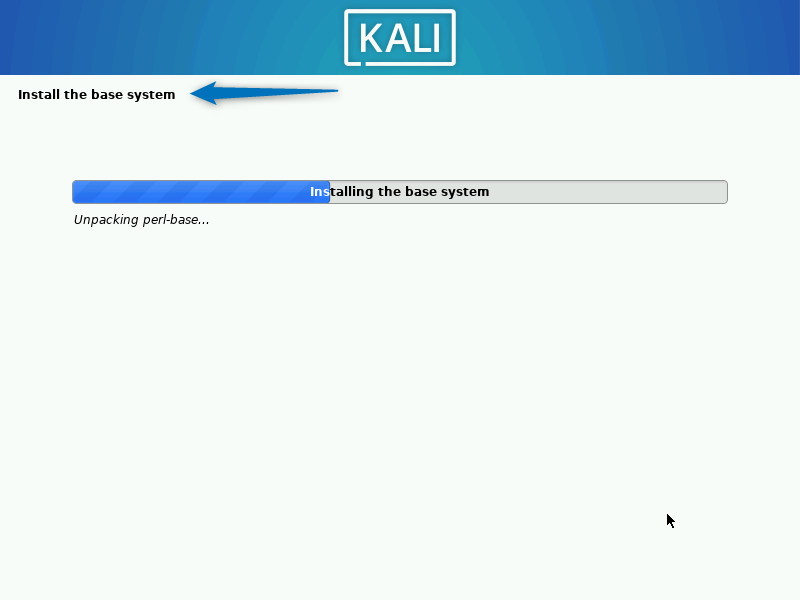
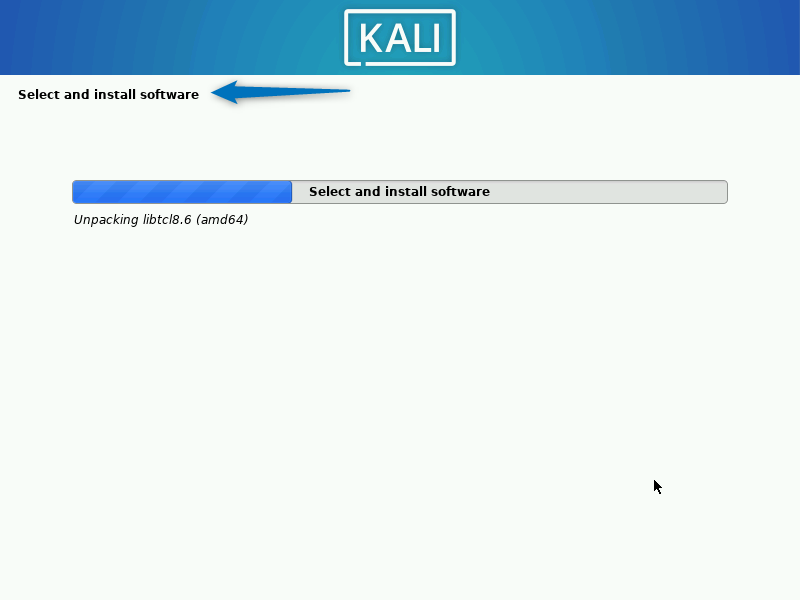
Now the installation of the base system will begin:
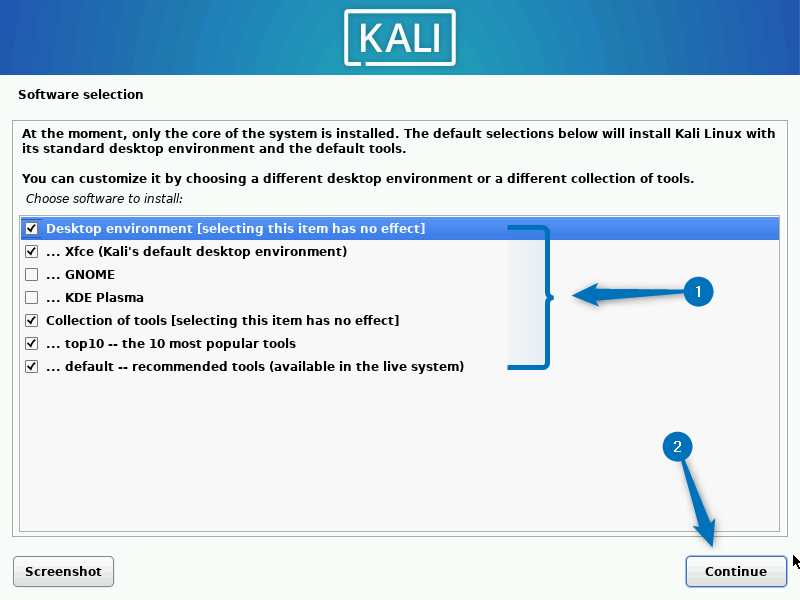
To install Kali Linux GUI a desktop environment is required so here select the suitable one. Here I have decided to move forward with the default option which is Xfce:
Now the installation of the desktop environment will start:
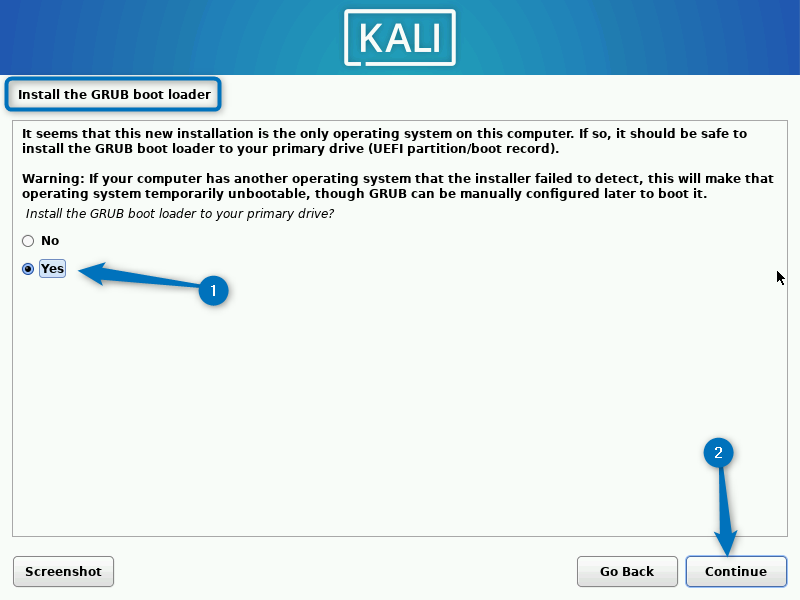
Next, the installer asks to install the GRUB bootloader. The GRUB bootloader is a program that manages the startup process, letting you choose which operating system to load on your computer:
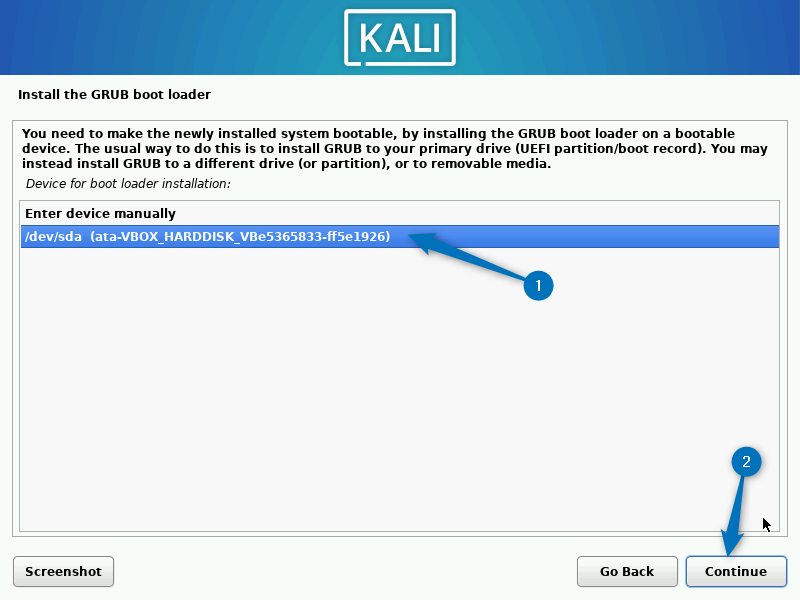
If you have selected yes then set the disk on which it should be installed. Since there is only one drive it is selected automatically:
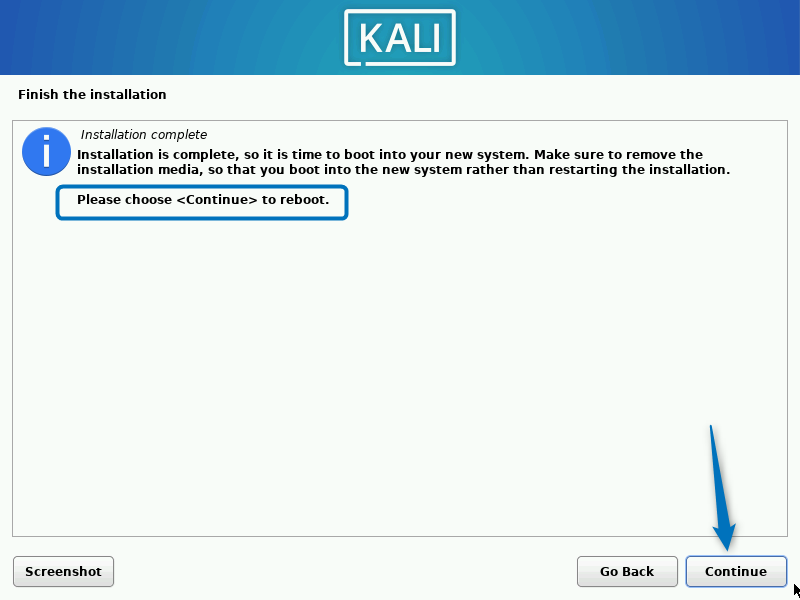
Once the installation is completed the setup will ask to reboot the system:
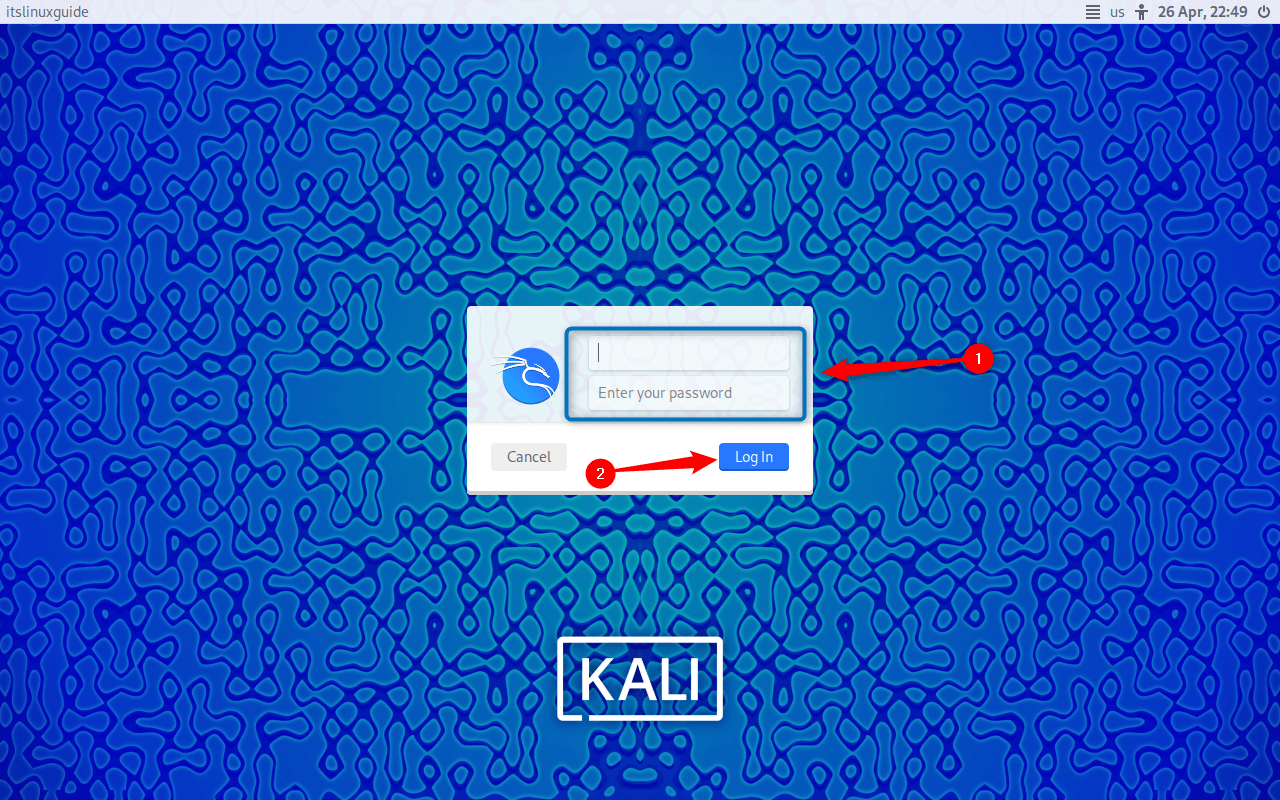
Once the system is rebooted you will see a login page as in the image below. Now use the set username and password to log in:
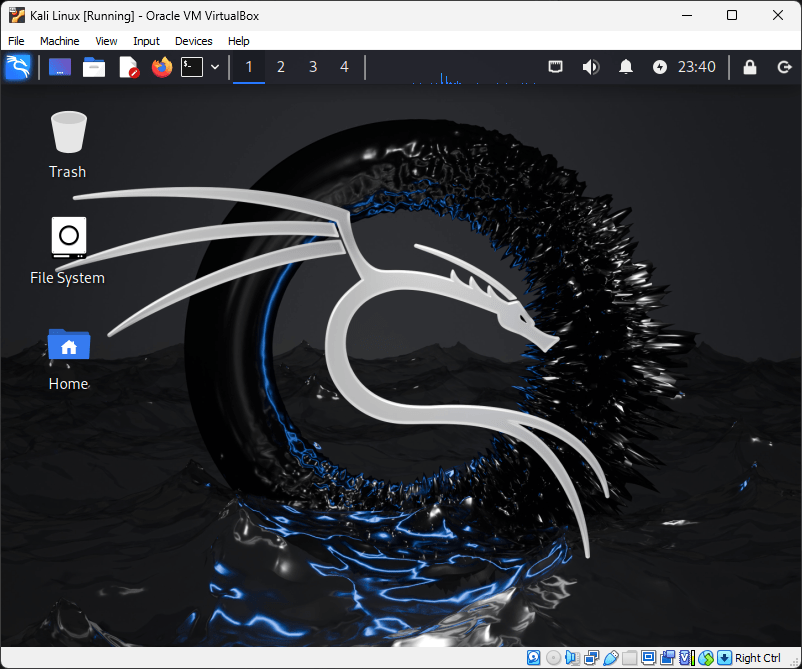
This is how the Kali Linux interface looks like on VirtualBox installed via Installer image:
2: Adding Pre-installed Kali Linux Version in VirtualBox
The second method is the easiest one, especially for those who want to use Kali for light tasks or testing purposes. Kali Linux also comes with a pre-installed version it’s just like a plug-and-play. To download the pre-built image file for Kali visit its official download page and click on Virtual machines:
Now select the architecture and then select the mode of download either direct download or torrent. It is recommended to download via its torrent file as it takes less time to download:

Once the file is downloaded you need to extract it using any of the extraction tools. The extracted folder contains two files one is an image file and the other VirtualBox file:
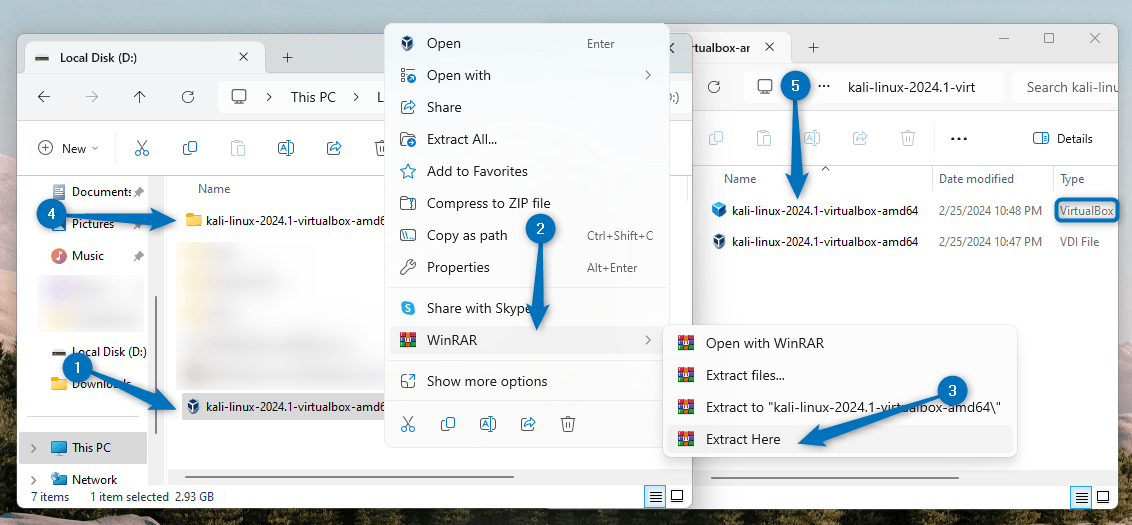
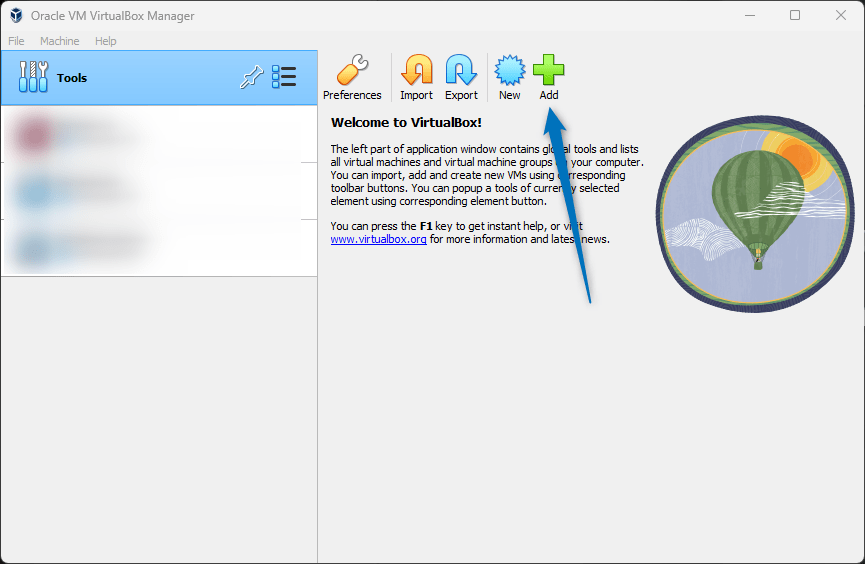
Now launch the VirtualBox and click on the Add option:
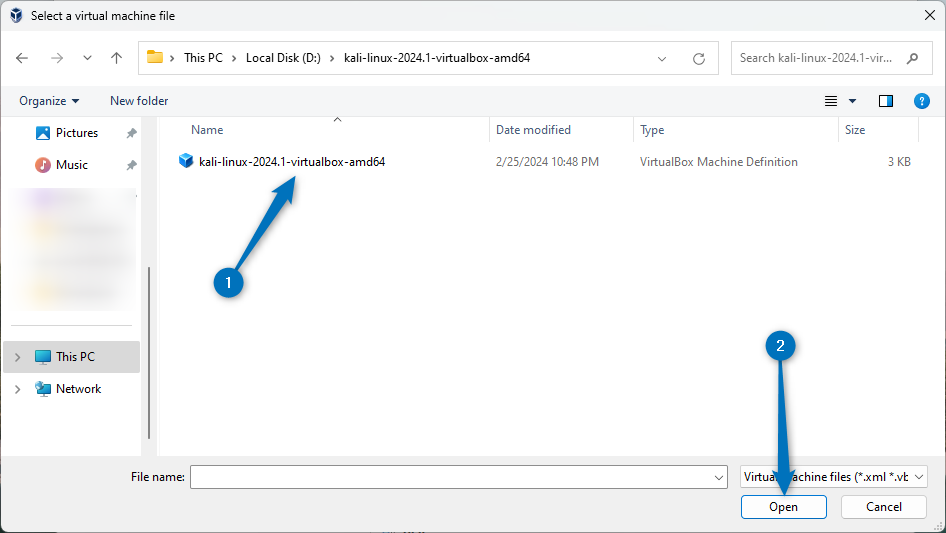
Now navigate to the directory where the file is placed and select the VirtualBox machine definition file:
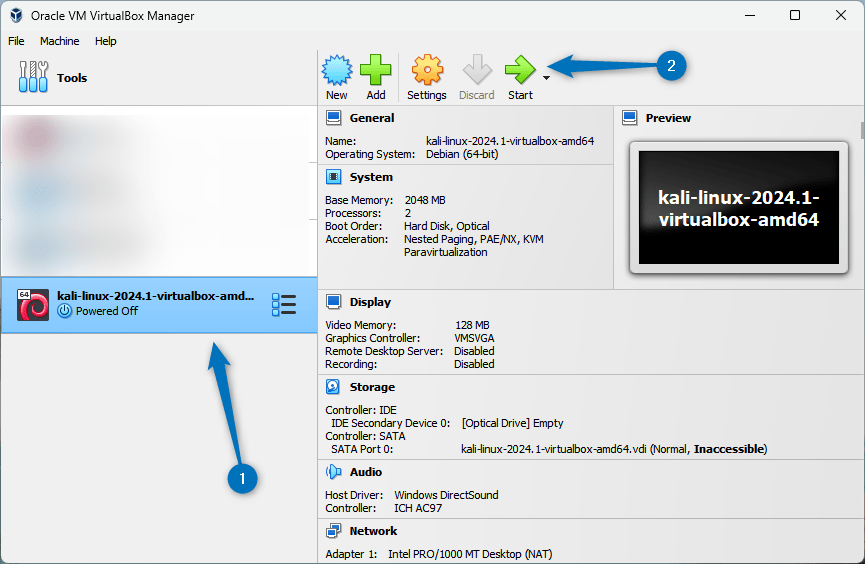
Once the file is loaded launch Kali Linux by clicking on the Start option:
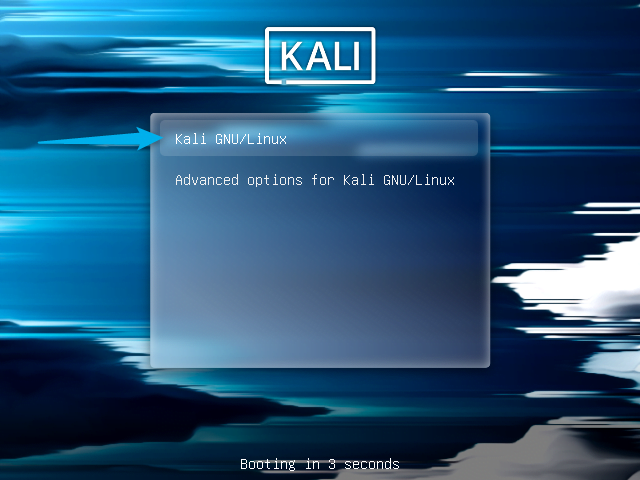
Next, select Kali GNU/Linux from the boot menu and proceed:
By default, the username and password of Kali Linux is Kali in the case of a pre-installed version. So enter the default password and username to log in:

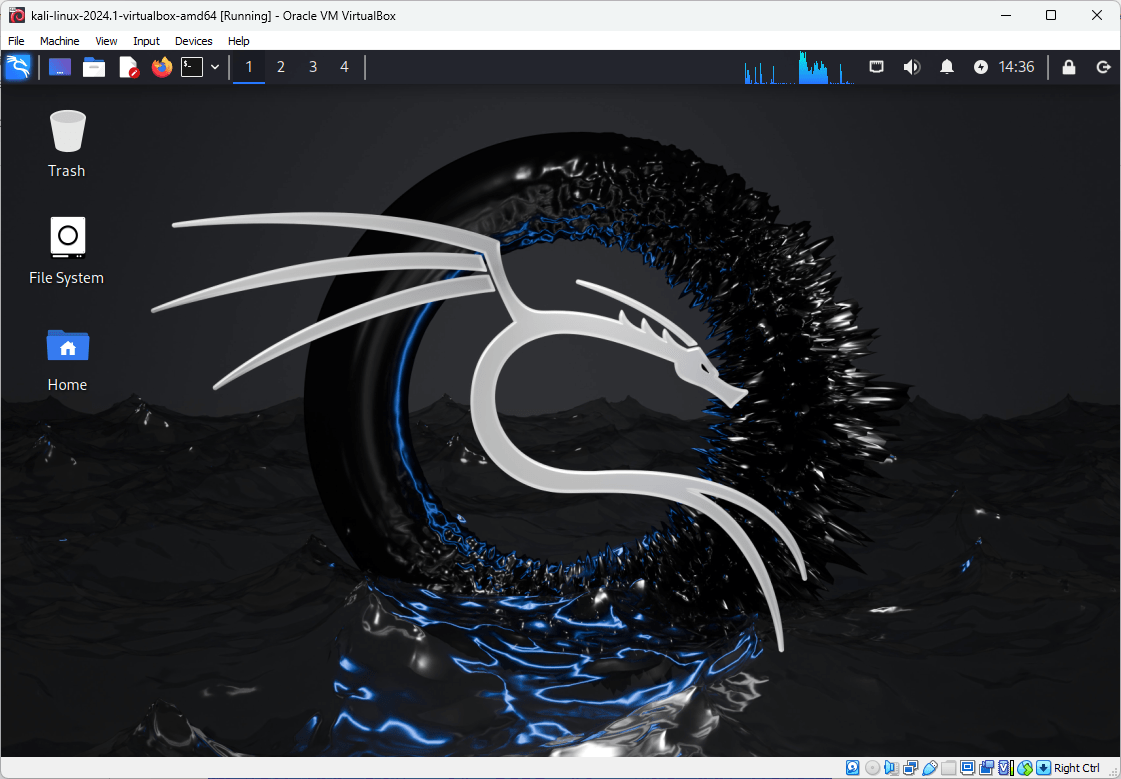
Below is the interface of Kali Linux on VirtualBox installed via the pre-built version:
Note: Kali Linux installed through its pre-built image uses the same directory where the file is placed so before launching it you can save the file in your desired location to avoid any space issues.
Conclusion
Kali Linux can be installed virtually using VirtualBox in two ways: by using its installer image (ISO file ) or by loading the pre-built Kali Linux version. So, if you only plan to install Kali Linux for testing or debugging purposes then use its pre-installed file. On the other hand, if you plan to use it extensively then it is recommended that you should use the installer image.