
Snort is an open-source network monitor that not only detects any network intrusion but also prevents it by using its rule-based detection system and real-time traffic analysis. So, if you are thinking of carrying out security measures like real-time threat detection, and intrusion prevention, or want to improve visibility into your network traffic for Ubuntu, try the Snort. This guide will discuss several ways to install Snort on Ubuntu.
3- Ways To Install Snort on Ubuntu
Snort under the rule-based detection system uses three different techniques which include signature-matching, protocol, and anomaly detection. Further, Snort can log the detected events and network traffic for later analysis. These logs can be valuable for forensic investigations in case of a security incident, helping to understand the attack nature and identify the attackers. To install Snort on Ubuntu there are three ways and to demonstrate each method I will be using Ubuntu 24.04:
1: Through Ubuntu Default Package Installer
The first method to install Snort is using the apt package manager as installing applications via apt on Debian-based Linux distributions is an easy way out. In the case of Snort, the apt app installer installs the older version so to install it execute:
sudo apt install snort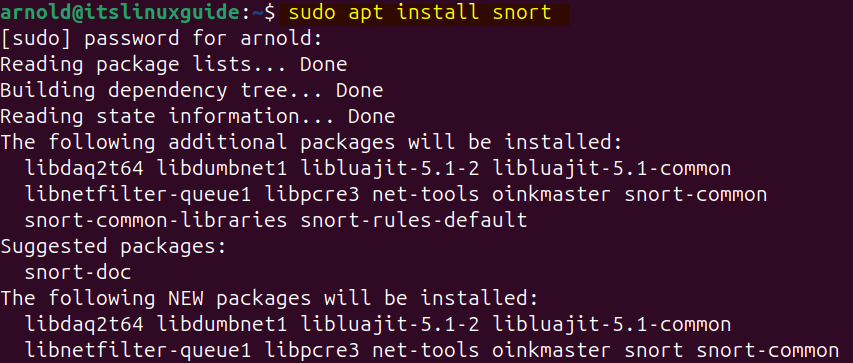
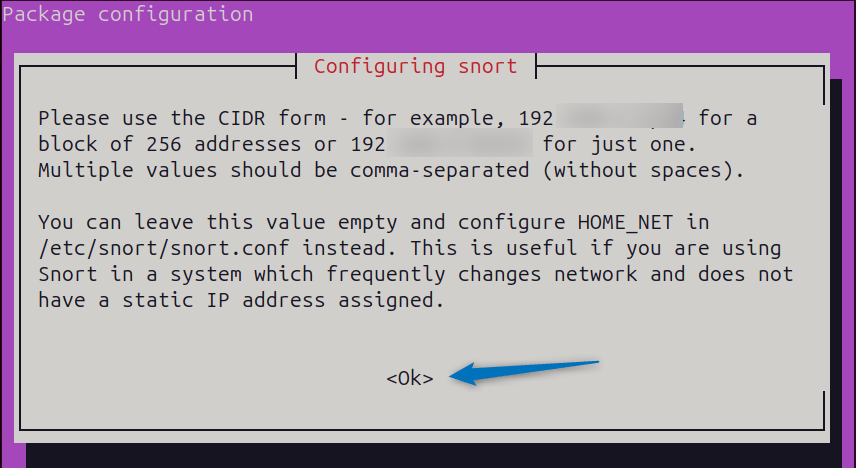
Next, the installer will ask about the system IP address so to prompt the addition select OK:
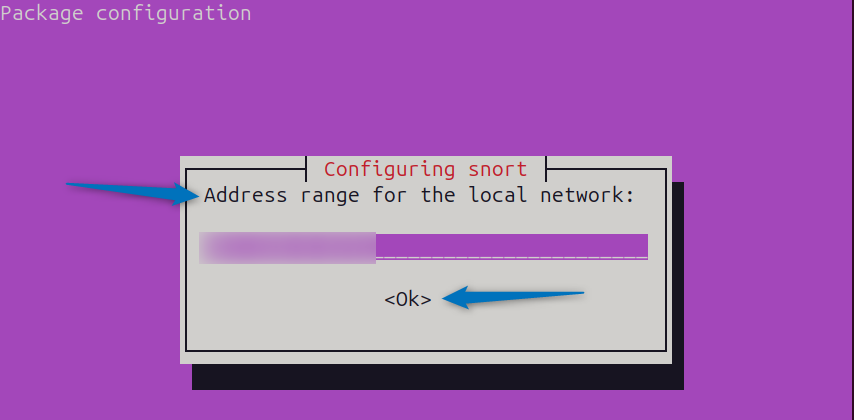
Next, enter your Ubuntu IP address and select OK to proceed, to get the IP address simply execute the ip a command in the terminal:
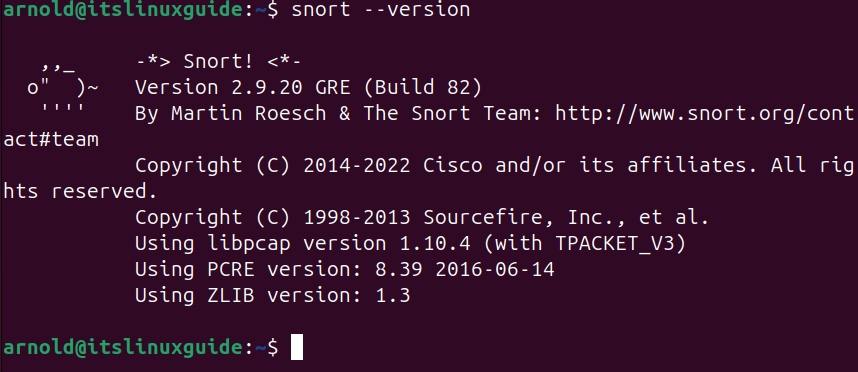
Once the installation is complete, you can validate it by checking the Snort version by using the below command:
snort --versionHere, you can see the version installed is 2.9 but officially the version 3.3.0 is already released:
2: Through Snort Source File
The next method for installing Snort is using its source file however, this method is quite lengthy but easy to follow. Using the source file you can install the Snort latest version, for that first you need to install the data acquisition library for Snort. Snort uses it for packet capture and analysis, which are crucial functionalities for its operation.
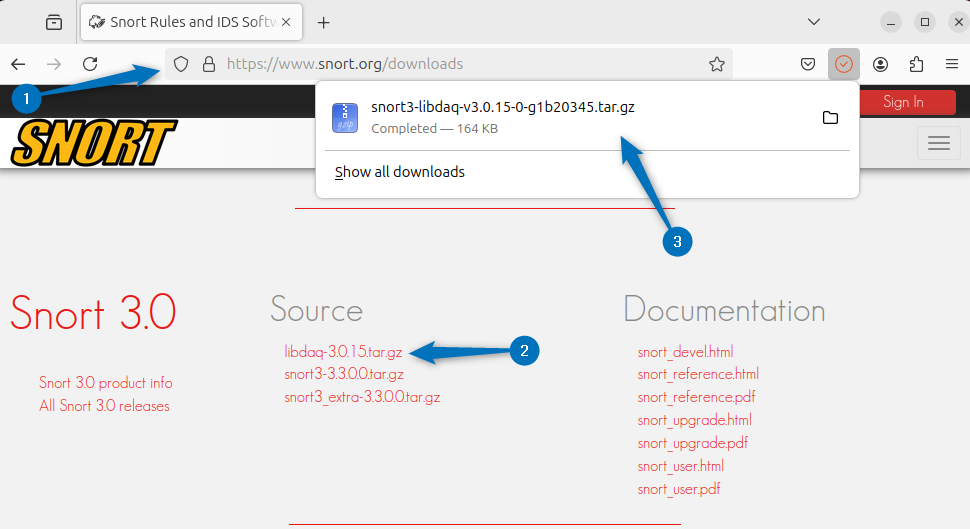
The libdaq is not available in the apt repository so you have to use its source file which you can download from Snort download page:
Next, extract the tar file for the data acquisition library using the tar utility:
sudo tar xvzf snort3-libdaq-v3.0.15-0-g1b20345.tar.gz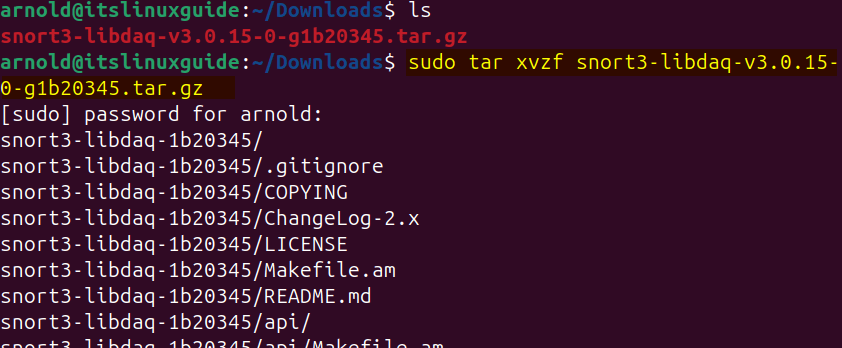
Now, navigate to the extracted folder and then launch the bootstrap file which will create a configuration for libdaq:
sudo ./bootstrap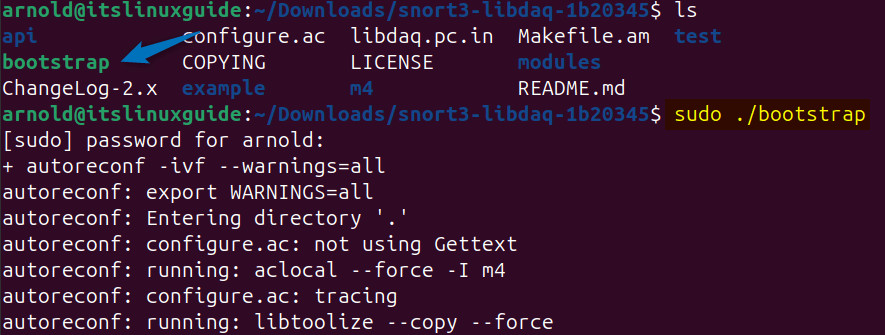
Once the process is completed execute the configuration file to check for all the required dependencies for the libdaq:
sudo ./configure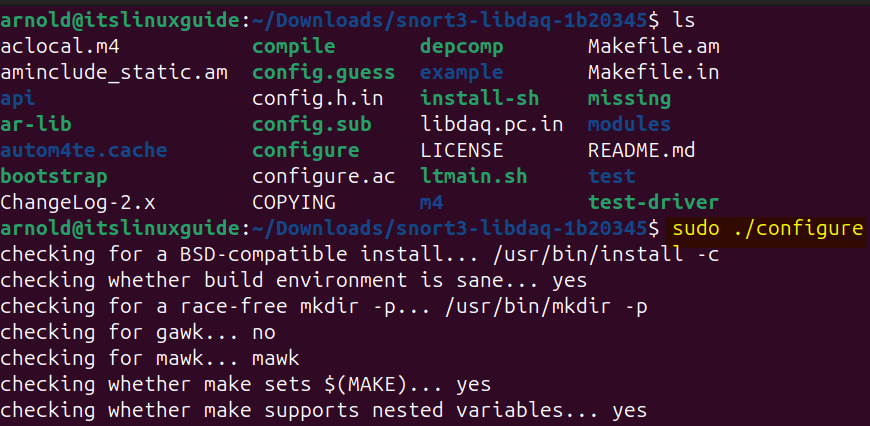
Next, create the make file for libdaq by using the make command:
sudo make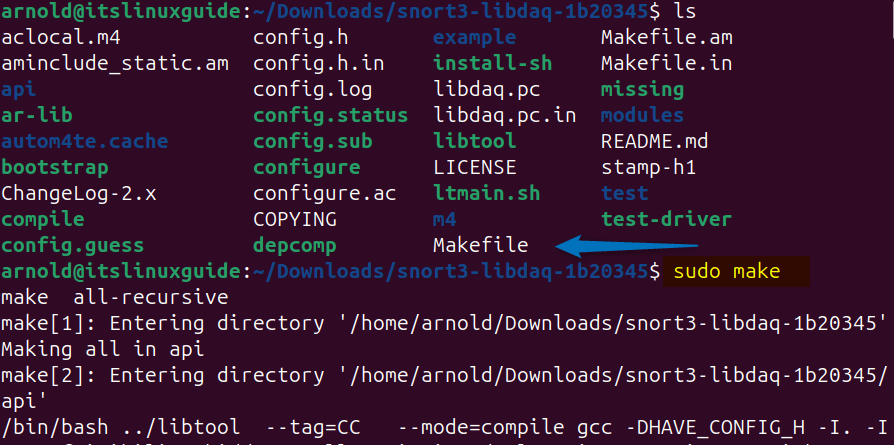
Now, install this data acquisition library for Snort using its make file on Ubuntu:
sudo make install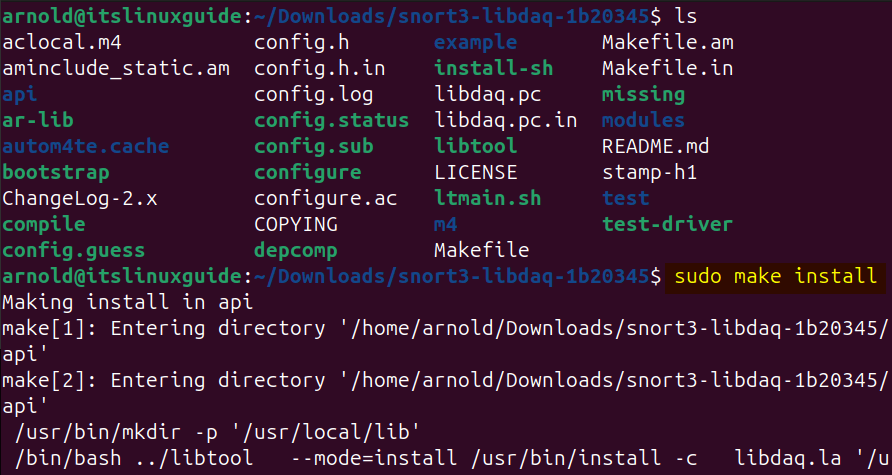
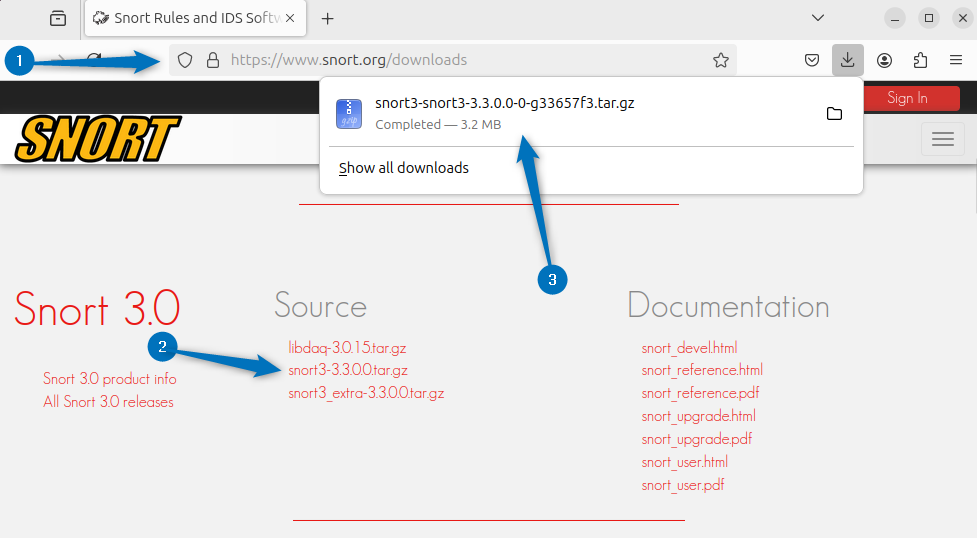
Once the installation is completed now download the tar file for Snort 3.0 on Ubuntu from its official download page:
Alternatively, you can download the Snort file via the terminal as well by using the file download link as in the command below:
wget https://codeload.github.com/snort3/snort3/legacy.tar.gz/refs/tags/3.3.0.0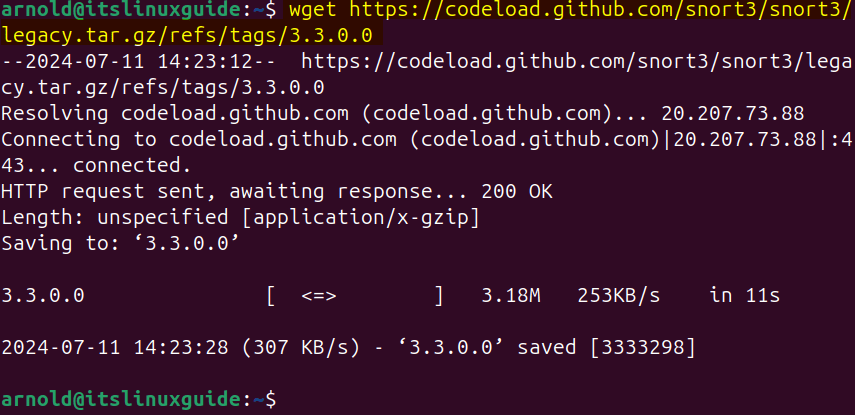
Next, extract the downloaded file using the tar utility as in the command below:
sudo tar xvzf snort3-snort3-3.3.0.0-0-g33657f3.tar.gz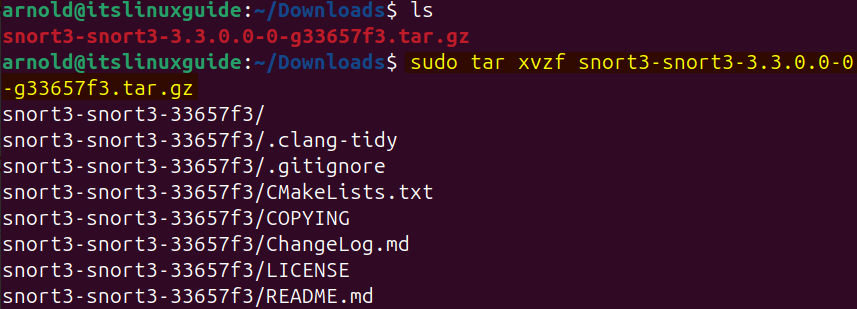
To install Snort 3.0 on Ubuntu you need to install multiple libraries otherwise, you may encounter multiple errors while installation, so here are some libraries you need to install:
sudo apt install build-essential libpcap-dev libpcre3-dev libnet1-dev zlib1g-dev luajit hwloc libdumbnet-dev bison flex liblzma-dev openssl libssl-dev pkg-config libhwloc-dev cmake cpputest libsqlite3-dev uuid-dev libcmocka-dev libnetfilter-queue-dev libmnl-dev autotools-dev libluajit-5.1-dev libunwind-dev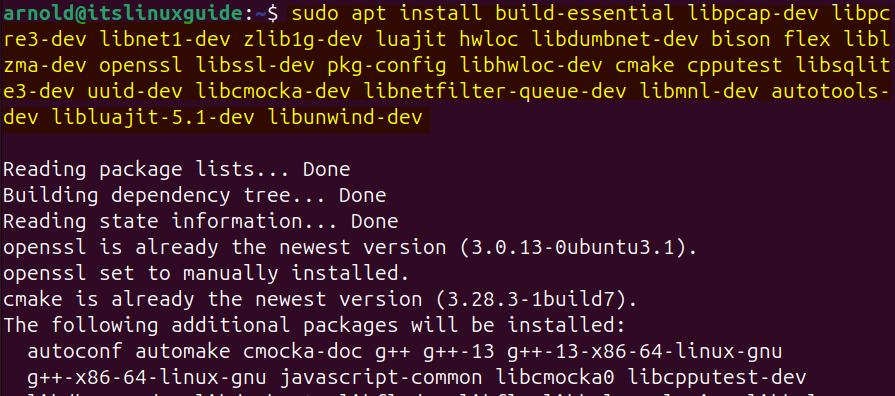
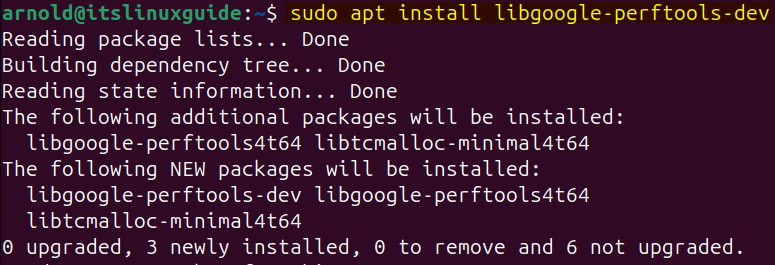
Here, is another library named libgoogle-preftools-dev which is primarily used for performance analysis so you also need to install it as well:
After installing all the necessary libraries execute the configuration file:
sudo ./configure_cmake.sh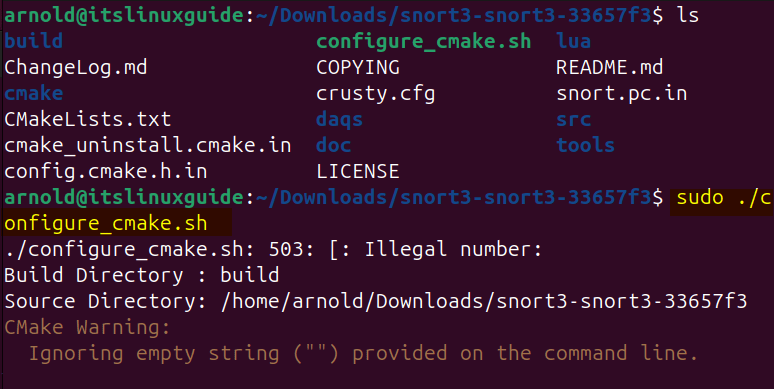
As a result of the configuration file execution, a new directory named build will be created that will contain all the necessary files for Snort installation:
cd build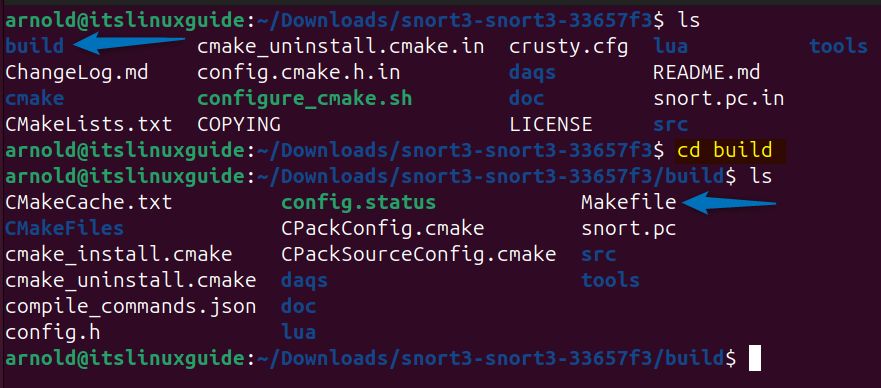
Now install Snort on Ubuntu using its make file by executing the following command:
sudo make install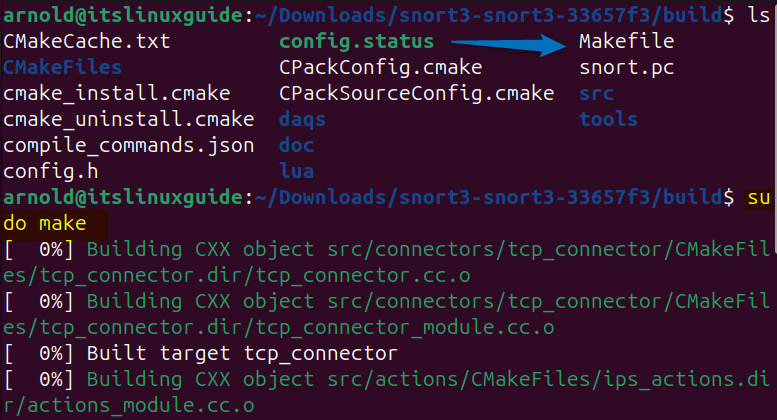
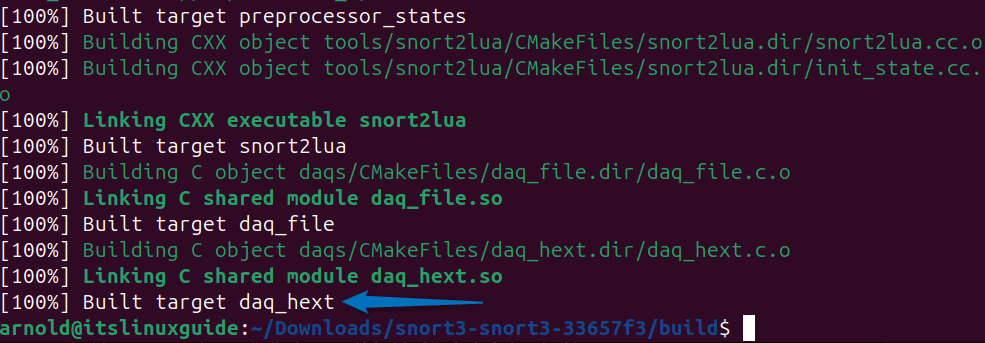
The process will take a significant amount of time and once it is completed you will see the message of the build target at the end as in the image below:
Snort on Ubuntu is installed in the local directory in usr folder, so to use it you need to navigate to it and then execute the lidconfig command to maintain the dynamic linker cache, ensuring the efficient execution of programs that rely on shared libraries:
cd /usr/local/snort/bin
sudo ldconfig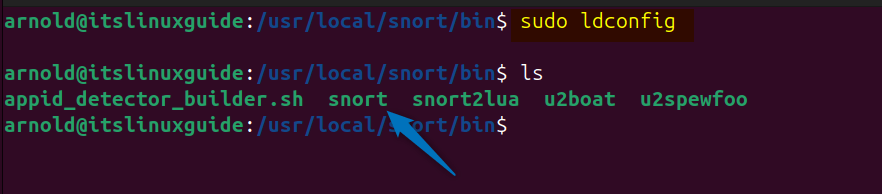
Next, you can check the version of Snort to validate its installation on Ubuntu:
./snort -V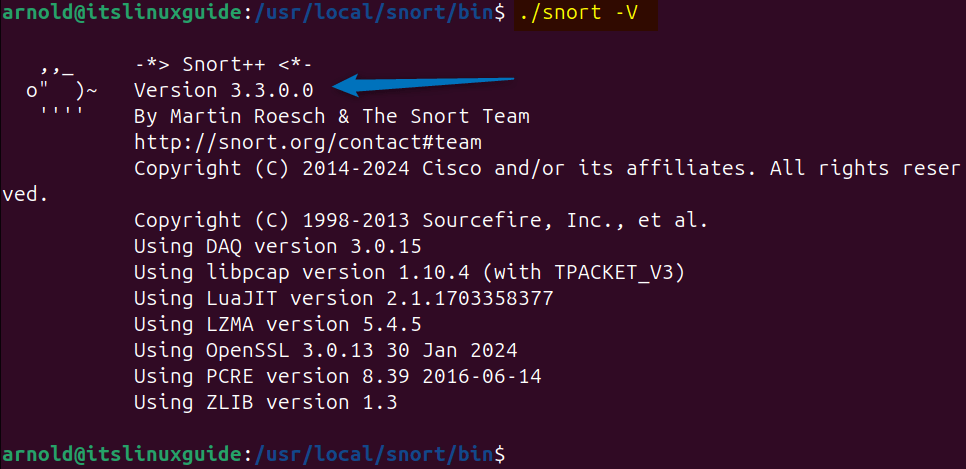
Accessing Snort by manually navigating to its directory can be a tiresome process, so to avoid that you can create a symbolic link of the directory as well to sbin directory:
sudo ln -s /usr/local/bin/snort /usr/sbin/snort3: Through apt-get Command
The third and last way for installing Snort on Ubuntu is using the apt-get command, the primary difference between apt install is that apt-get is a full-featured package management. So to install Snort execute:
sudo apt-get install snort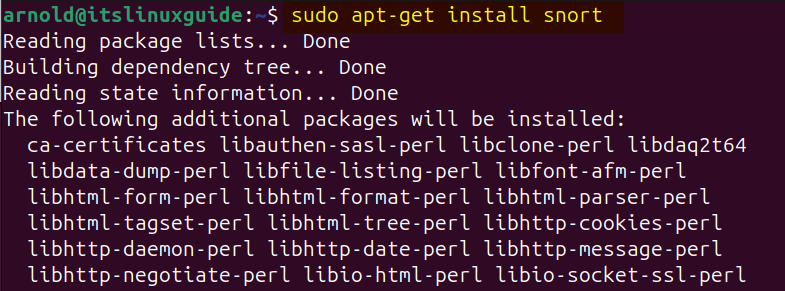
Once the installation is completed, you can check the installation version of Snort:
snort -V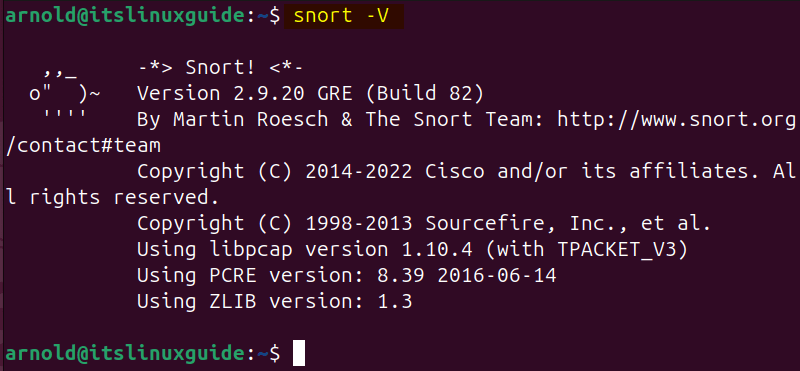
Finally, you can test if the configuration file of Snort is working correctly by executing the below command:
sudo snort -T -c /etc/snort/snort.conf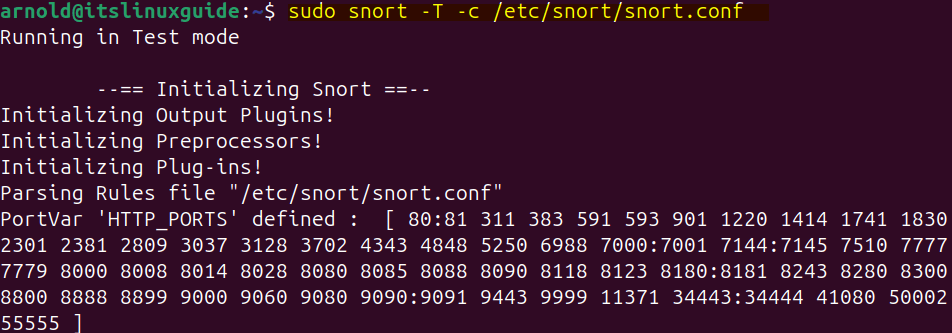
Once the test is completed without any errors, you will see the message of Snort successfully validated the configuration:

Conclusion
To install Snort on Ubuntu, there are primarily three ways discussed in this guide, these include using apt install, apt-get install, and using Snort source file. However, if you need to install the latest version of Snort then use its source file because the other two no doubt are easy ones but they install the older version of Snort.