
Writing styles or fonts are a one of the primarily considerations when it comes to writing any document or creating any guide. Practically the list of fonts is quite huge but most of the time Google or Microsoft fonts are used. Similarly, the collection of fonts also depends on the respective word processor application. Like on Ubuntu and other Linux based operating system, LibreOffice is mostly used so you have to add fonts in it by yourself
3 Ways to Install Fonts on Ubuntu
By default, Ubuntu comes with a fonts app which displays all the available fonts, but you cannot install any font with that. However, there are still three ways to install fonts which this guide will discuss and apart from that the installation of Google and Microsoft fonts is also explained:
1: Through Font Manager
The first method to install any font on Ubuntu is using the font manager, which you need to install using the apt package manager. The font manager is primarily used to either add or remove fonts, and it can add files with both otf and ttf formats. To install font manager on Ubuntu or on other Debian-based Linux systems, use the below command:
sudo apt install font-manager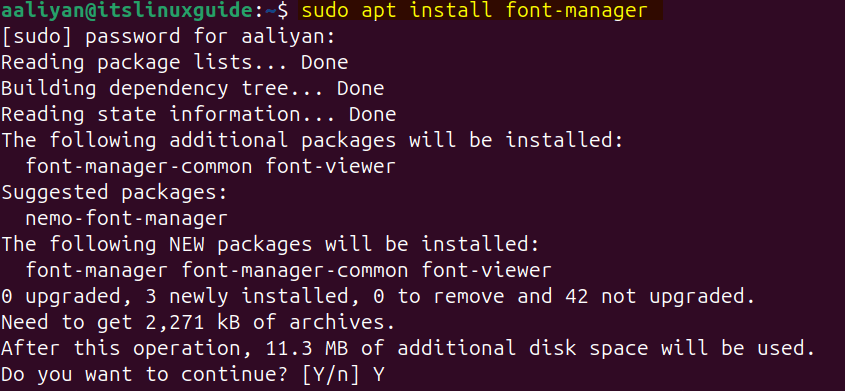
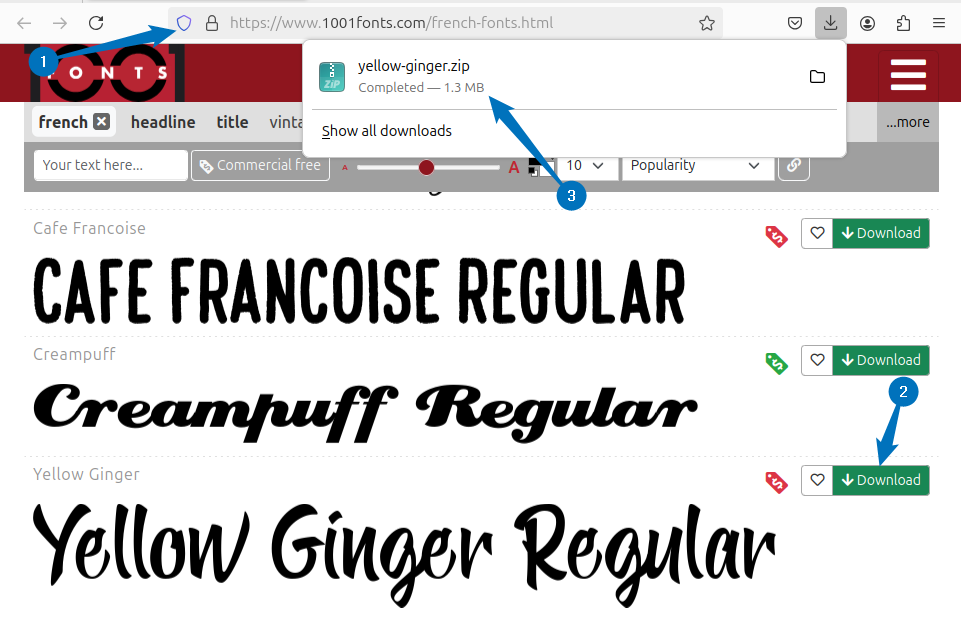
Next, you can download the desired font from any popular and trusted font site, here I have downloaded a font for French language from 1001fonts:
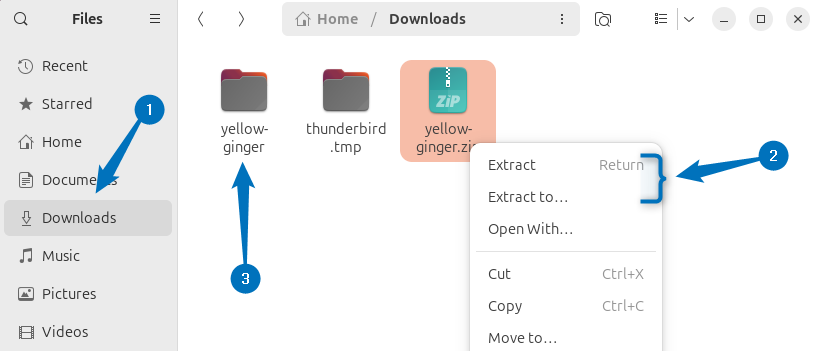
Normally, the font files are always zipped so to install the font via Font Manager you need to first extract the file in the same directory using its right click menu:
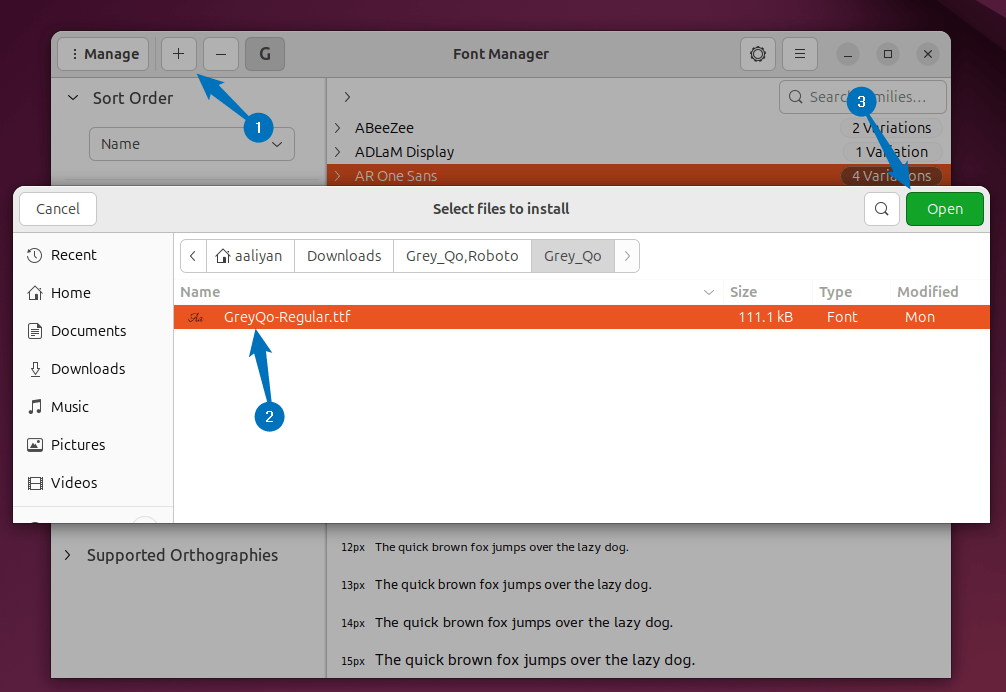
Next, to add the font click on the Add icon and then select the font file in the extracted file folder, this could be either otf or ttf format file both formats are compatible:
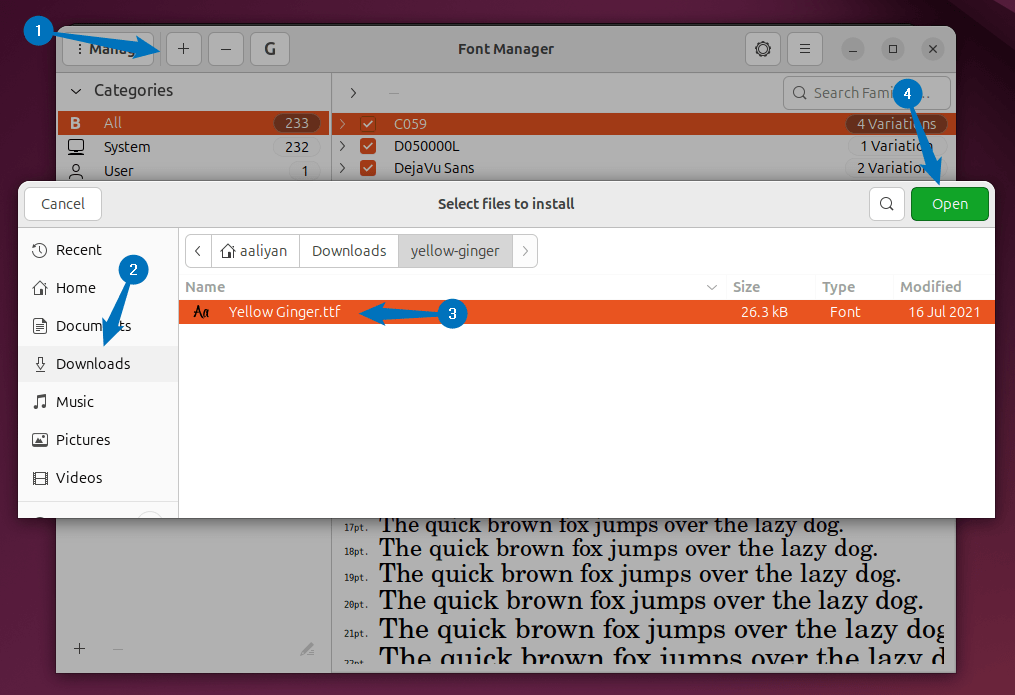
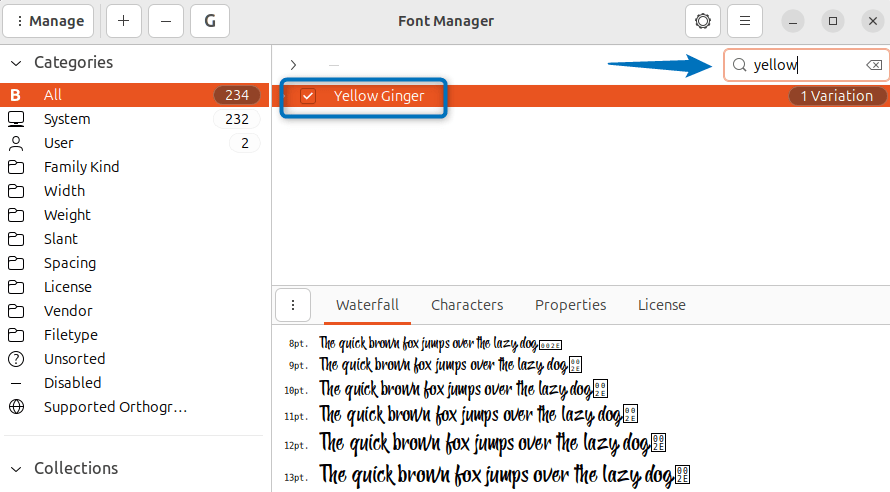
Now after adding the font you can verify it by searching it in the Font Manager search bar:
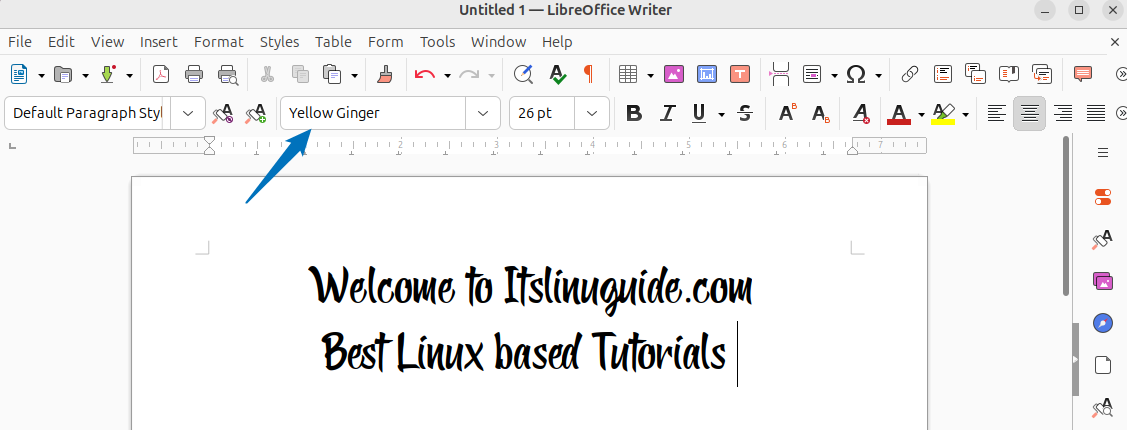
Now you can use this font to create documents in any of word editor, here I am using LibreOffice for word documents:
2: Through Creating Fonts Directory
The next method for installing new fonts is by creating a hidden font folder and placing the extracted files in the respective directory. So to create the fonts directory, run the following command:
mkdir .fonts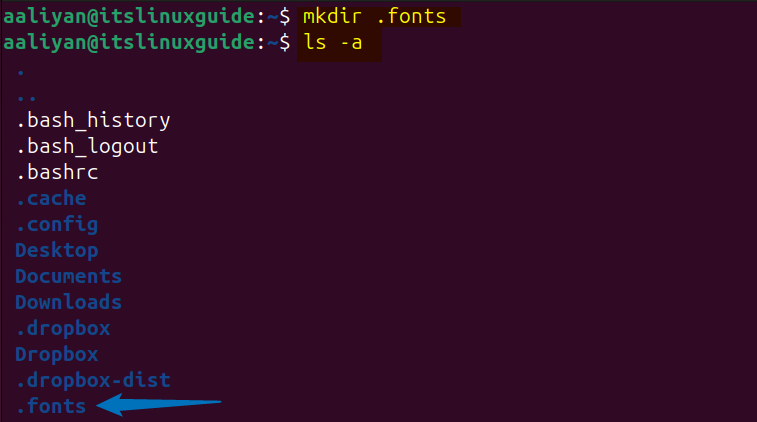
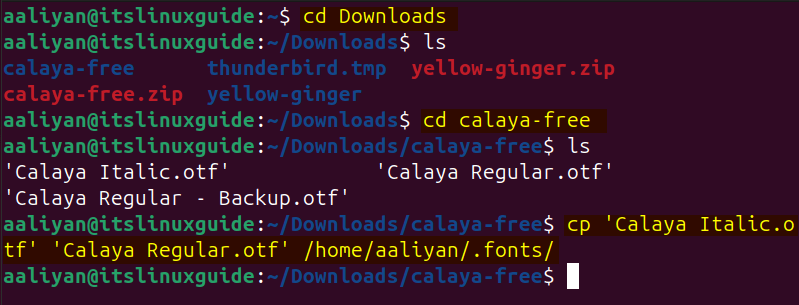
Next extract the downloaded font zip file and then copy the only files with either otf or ttf format by using the below command syntax:
cp [otf-or-ttf-font-files] [path-for-.fonts-directory]If you are performing the copy operating from a different directory, then in that case you have to give the path for the fonts files as well:
Now, to verify the copy operation, you can list the contents of fonts directory:
cd .fonts
ls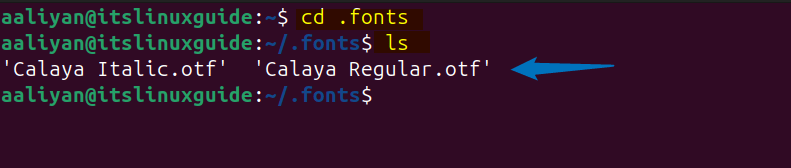
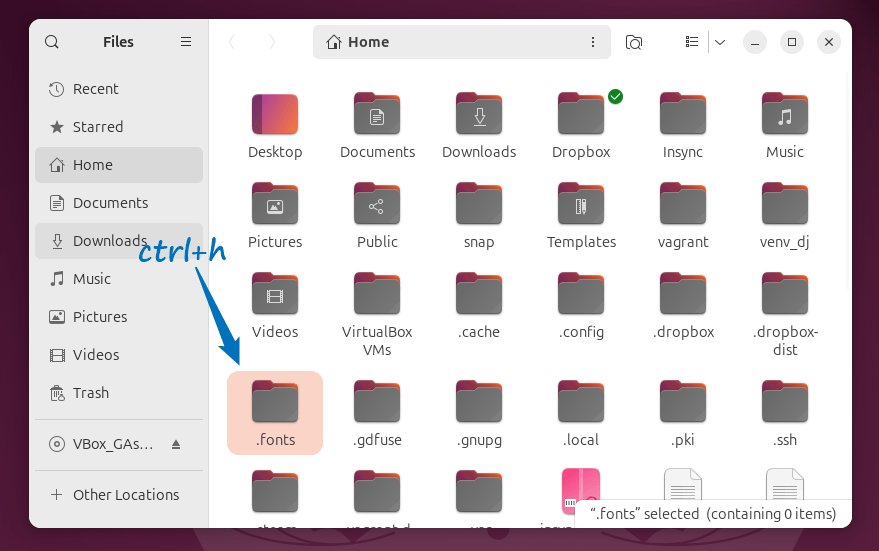
Alternatively, you can also manually copy the files using GUI, first copy the font files and then press ctrl+h key to reveal all the hidden files. Next, open the fonts folder and paste the copied font files:
Further, you can also verify the installation of font by checking the list for writing styles of your word application:

3: Through Default Fonts Directory
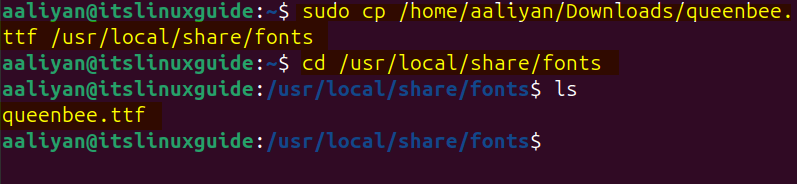
The third and the last method for installing fonts on Ubuntu is using its default fonts folder, which you can find in the share directory, which is a subdirectory of user folder. To copy the fonts file, simply use the cp command along with the source path with file names and destination path using the below syntax:
sudo cp [address-for-file-path-file-name] [destination-directory-path]While using the command line, you can verify by listing the contents of fonts folder as well:
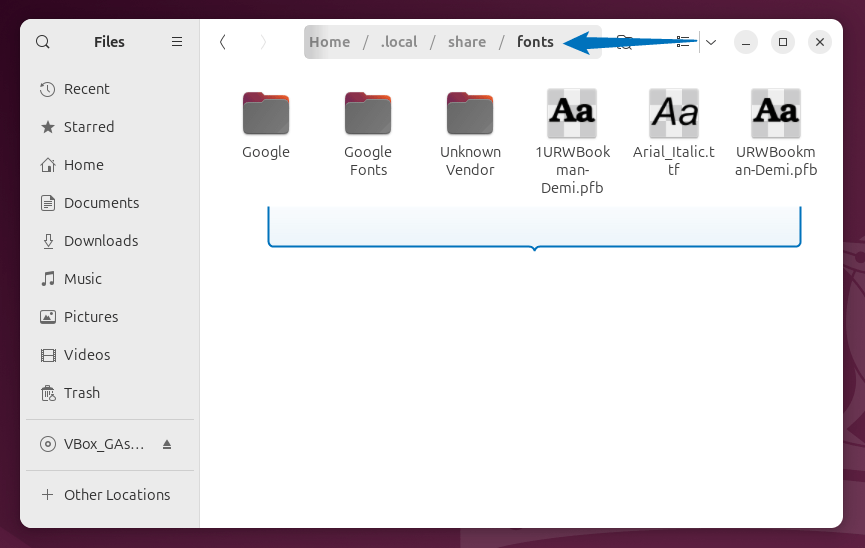
Alternatively, you can also manually copy the files using GUI, first copy the font files and then press ctrl+h key to reveal all the files. Next, open the fonts folder and paste the copied font files:
How to Install Google Fonts on Ubuntu
Google fonts are one of the popular writing styles used while writing any document and on Ubuntu or other Linux system you might have to install them by yourself depending on the word processor application. So there are two ways to install Google fonts on Ubuntu, using the Font Manager.
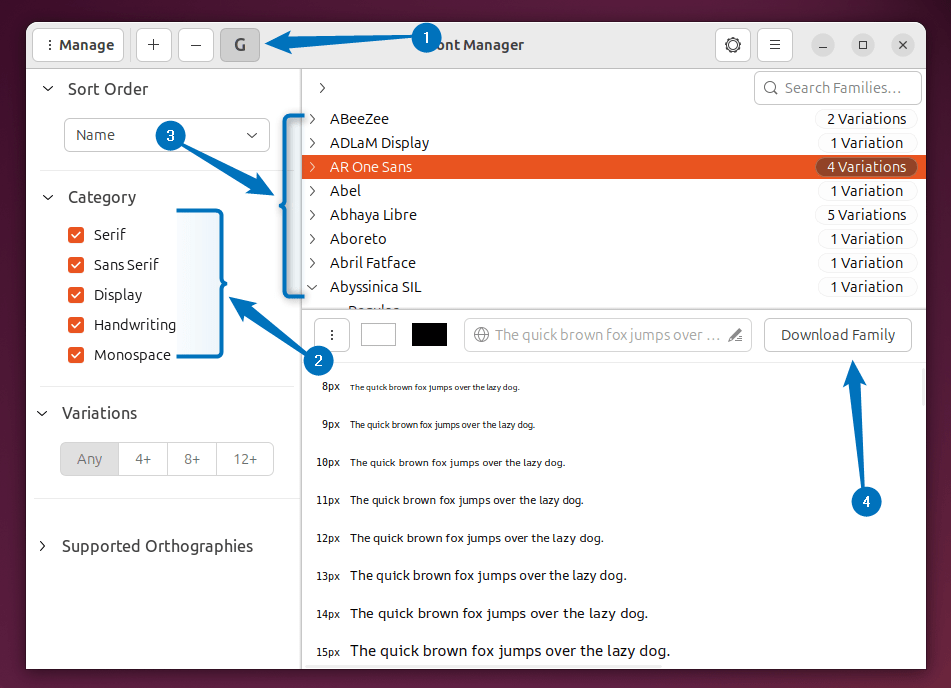
The easy way to do is to simply open the font manager and the click on Google icon on the top left side. Next, on the left, you can refine your search by shortlisting the category then on the upper right side select the desired font and then click on the Download Family. On the bottom right side, you can see the selected writing style as well to get a better preview:
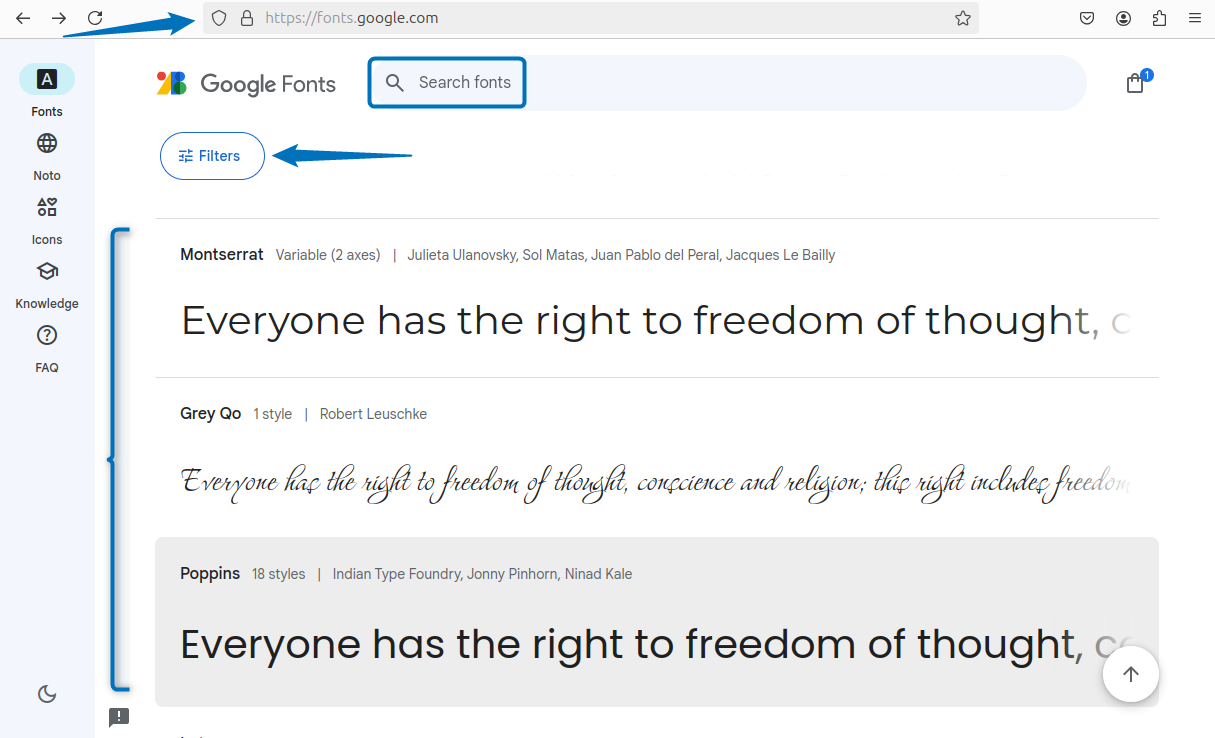
There is another way to install Google fonts, and that is manually downloading the desired font and adding it in the font manager. To look for fonts, visit google fonts and from there either search for the desired font in case you know its name, or simply go through the various fonts given in the list. To refine your search for fonts, you can add some filters as well:
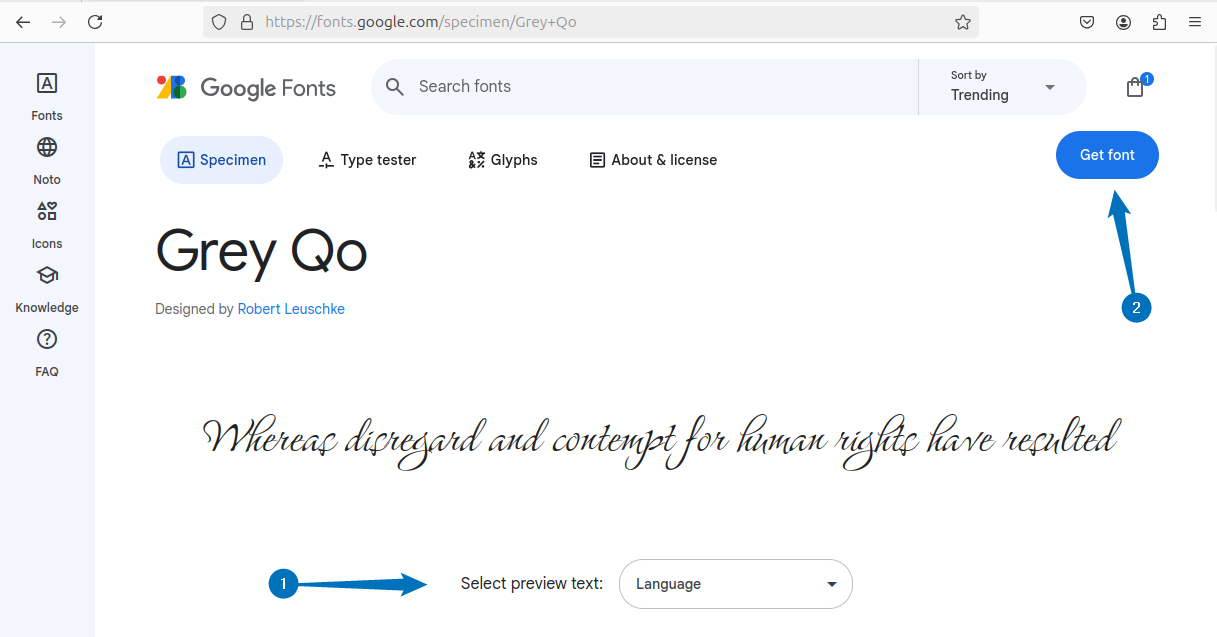
Once you have shortlisted the font, click on it and then click on Get font:
On the next page, click on Download All to get the font zip file:
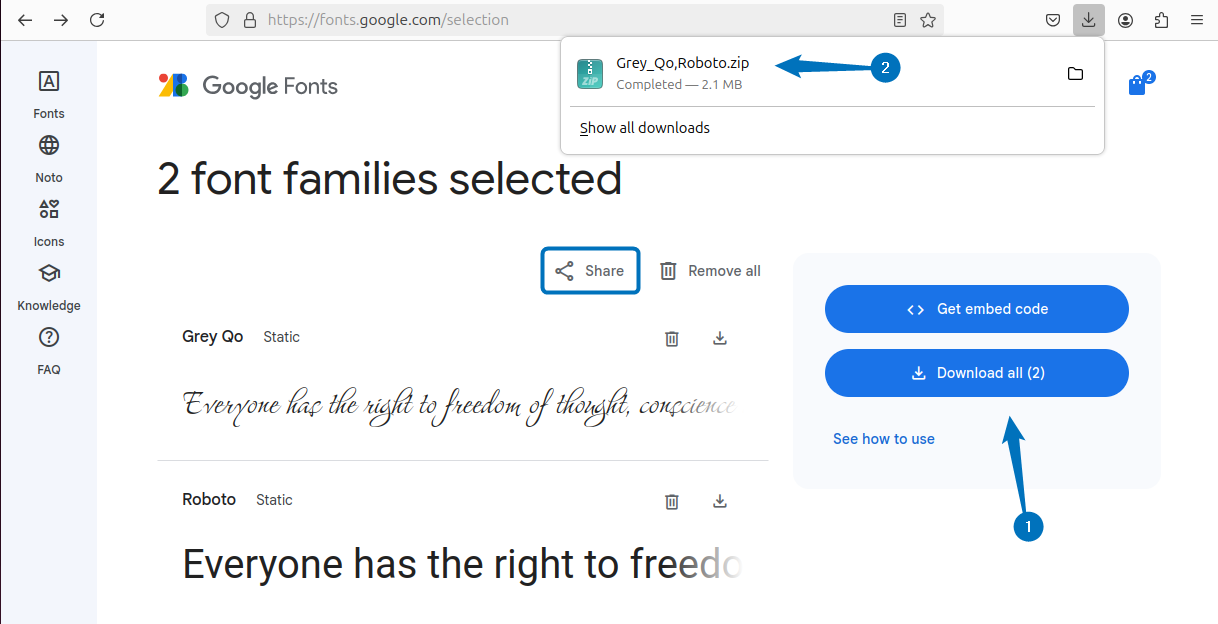
Next, extract the file and the open Font Manager, from there click on the Add option and then select the font file by navigating to the extracted directory:
How to Install Windows/Microsoft Fonts on Ubuntu
Another type of fonts that also commonly used in operating systems for document creation are the Microsoft fonts. To install Microsoft fonts on Debian based systems like Ubuntu, you can use the apt package manager as in the command below:
sudo apt-get install ttf-mscorefonts-installer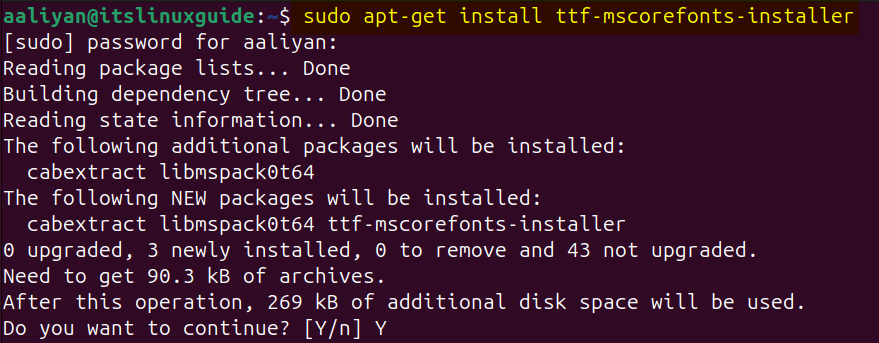
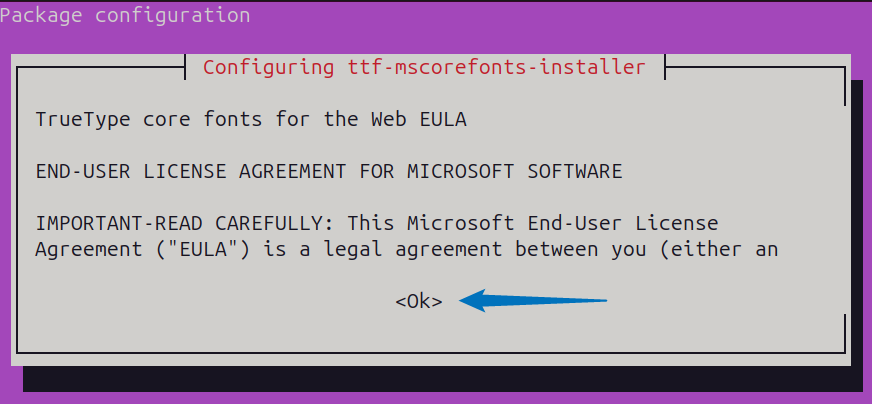
Once the installer is started, first read the terms and conditions of Microsoft and after that click on OK:
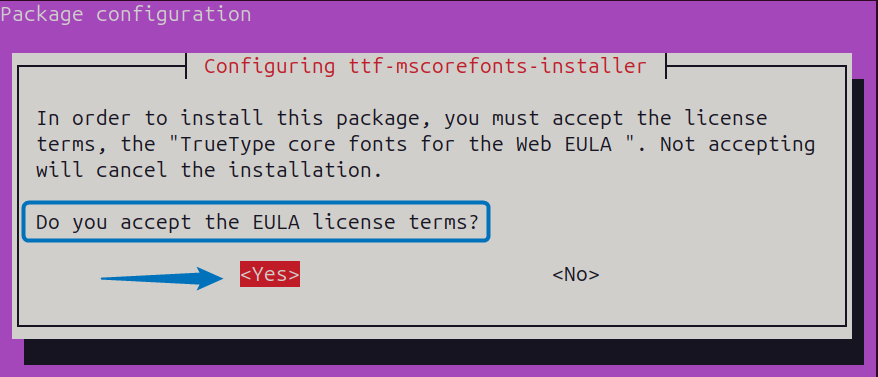
Next, click on Yes to accept the terms and conditions to proceed with fonts installation:
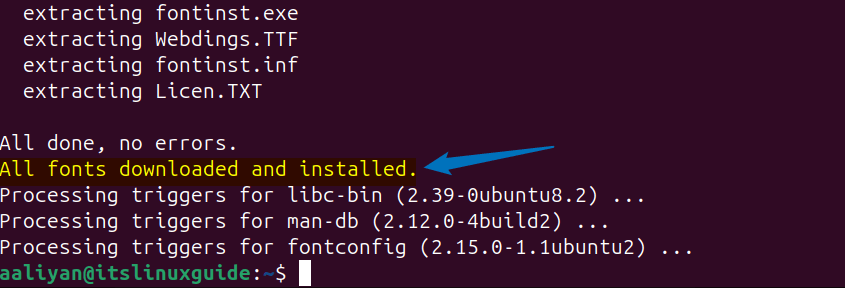
Once the installation is completed, you will see a completion message as in the image below:
Note: After installing any font on Ubuntu, it is advisable to refresh the font cache to apply the changes and for that execute the below command:
sudo fc-cache -fv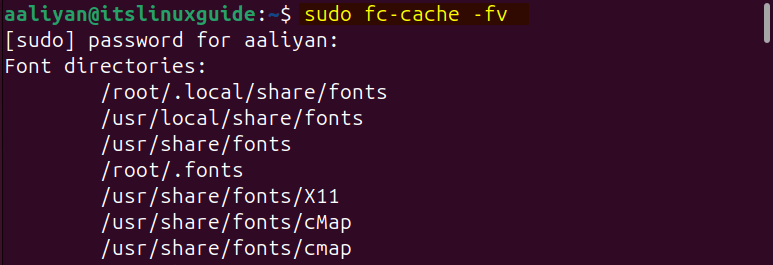
Conclusion
This guide discussed three ways to install fonts on Ubuntu, which included using the font manager, manually creating a fonts directory or using the default fonts directory in system files. Further, this guide also discussed the method for installing Google and Microsoft fonts on Ubuntu. For Google fonts you can either manually add them or use the Google icon in font manager whereas for Microsoft fonts, use the Ubuntu default app installer.