On Ubuntu by default LibreOffice is pre-installed which is a pretty decent office application, however there are other office applications as well like WPS Office which you can install and use depending on your preference. It comes with a word processor, a spreadsheet and presentation application, further if you need additional features or integrations WPS Office will be a good choice.
4 Ways to Install WPS Office on Ubuntu
WPS Office can be used with cloud storage services like Google Drive and OneDrive, further it is compatible with Microsoft Office file formats (DOCX, XLSX, PPTX). There are four ways to install WPS Office on Ubuntu, which is guide will discuss in detail:
1: Through WPS Deb File
To install WPS Office on Ubuntu, one of the best ways is to use its deb file, which you can download directly from WPS Office site:
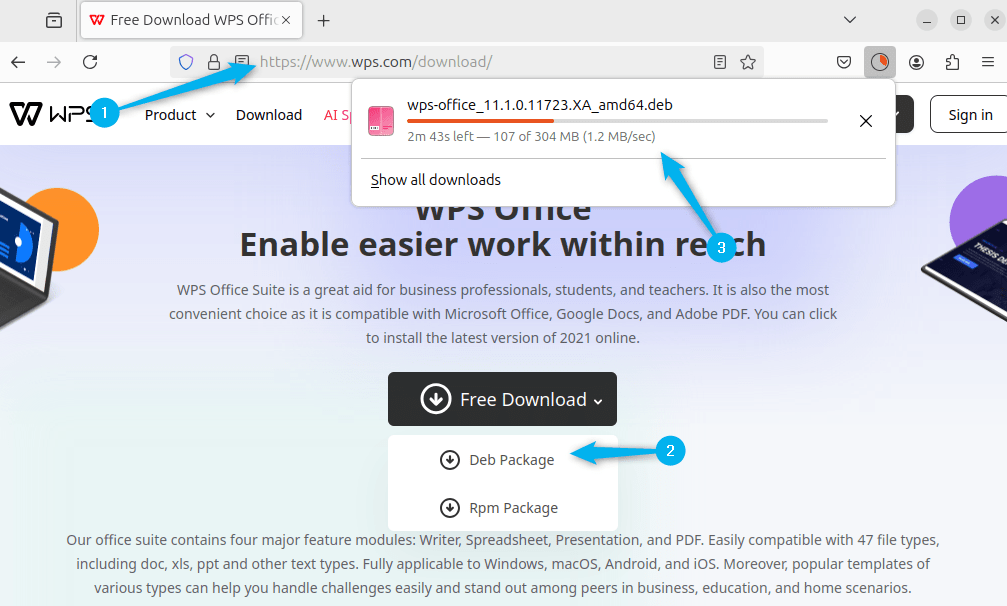
Alternatively, you can use the below command that uses the WPS deb file download link to get it via terminal:
wget https://wdl1.pcfg.cache.wpscdn.com/wpsdl/wpsoffice/download/linux/11723/wps-office_11.1.0.11723.XA_amd64.deb

Now use the apt package manager to install WPS Office via its deb file by using the below command:
sudo apt install ./wps-office_11.1.0.11723.XA_amd64.deb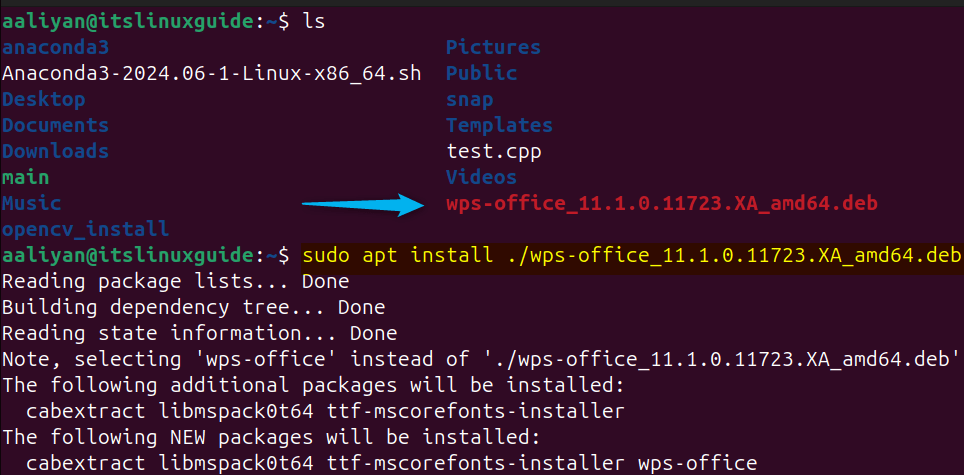
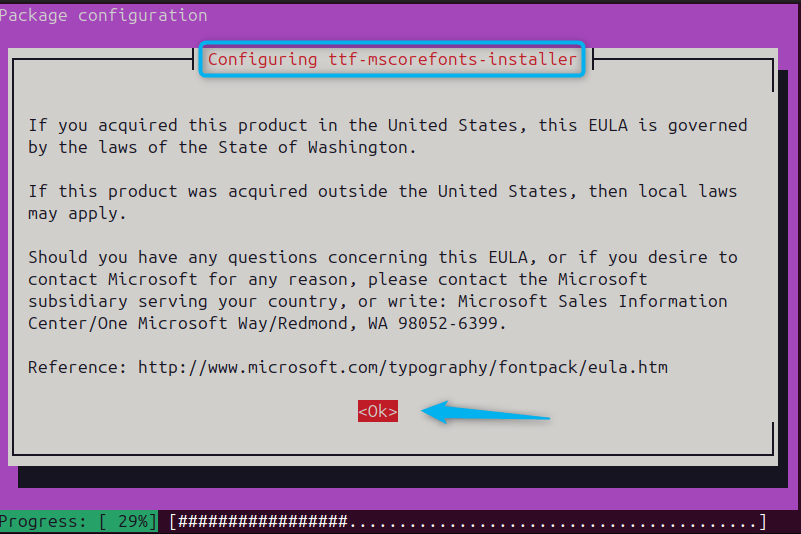
During the installation under the package configuration, the installer will ask about installing Microsoft fonts, so read all the terms and conditions and click on Ok:
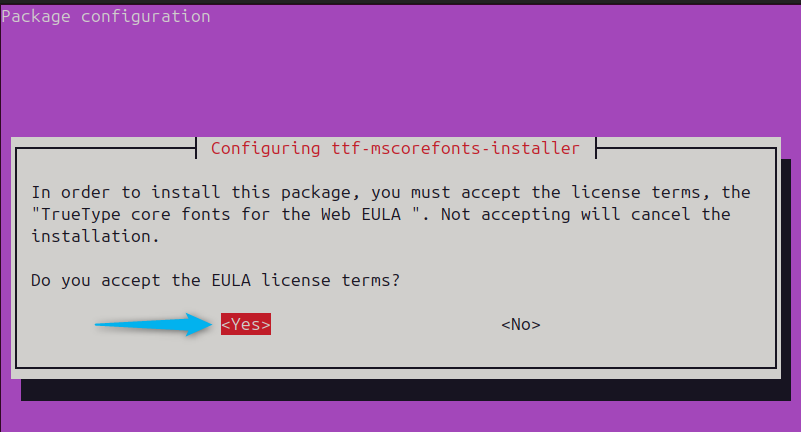
Next, accept the EULA license terms for using WPS Office on Ubuntu:
Once the installation is completed, you can launch this office application by executing:
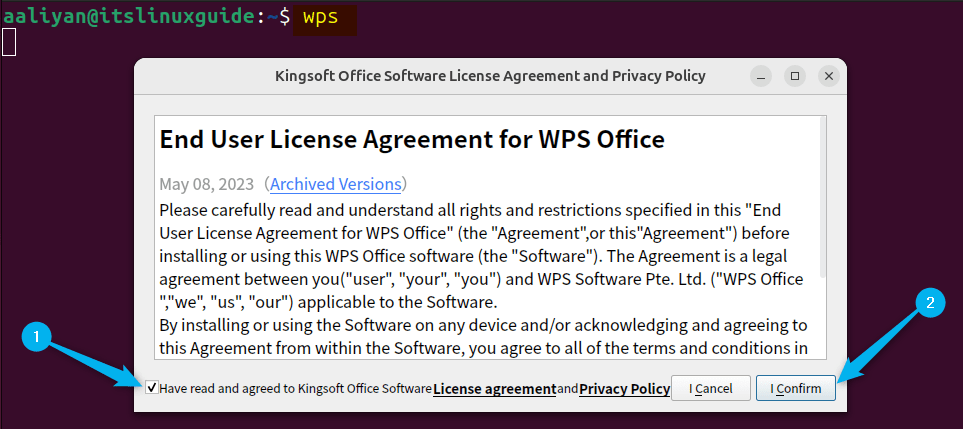
wpsOn the first launch, you will be asked to accept the end user license terms:
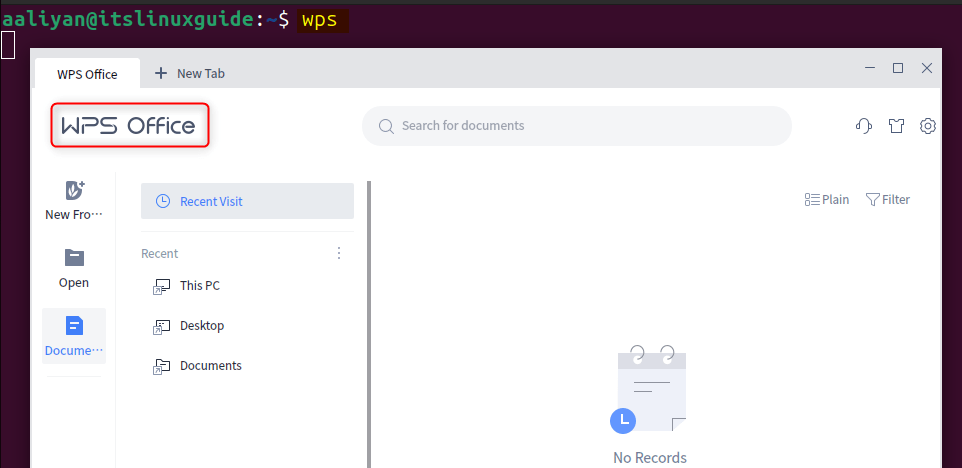
Now you can either use desired WPS Office app:
2: Through Snap App Installer
Another way to install WPS Office on Ubuntu is using the Snap package installer that already comes pre-installed, so to install WPS execute:
sudo snap install wps-office
Next, to validate the WPS installation, you can list all the apps installed on Ubuntu via snap by running the following command:
sudo snap list
Also, if you want WPS Office with multiple languages the use the below command to install it via snap installer:
sudo snap install wps-office-multilang3: Through Flatpak App Installer
Another third party app installer that you can use to get WPS Office on Ubuntu is Flatpak that primarily installs applications using the flathub repository, so in case of WPS use:
flatpak install flathub com.wps.Office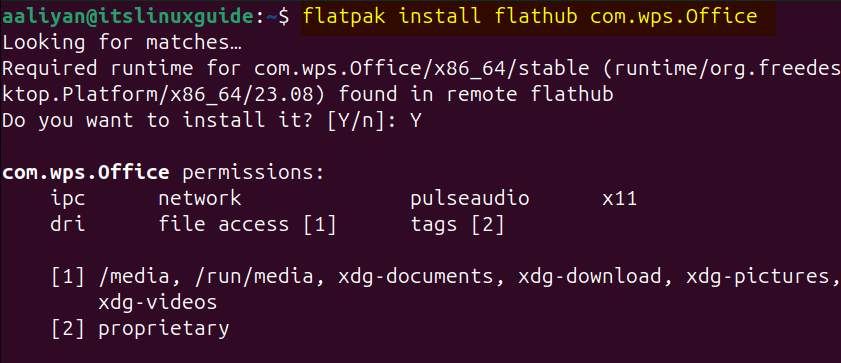
Once the installation is completed, you can launch it from terminal by running the below command:
flatpak run com.wps.Office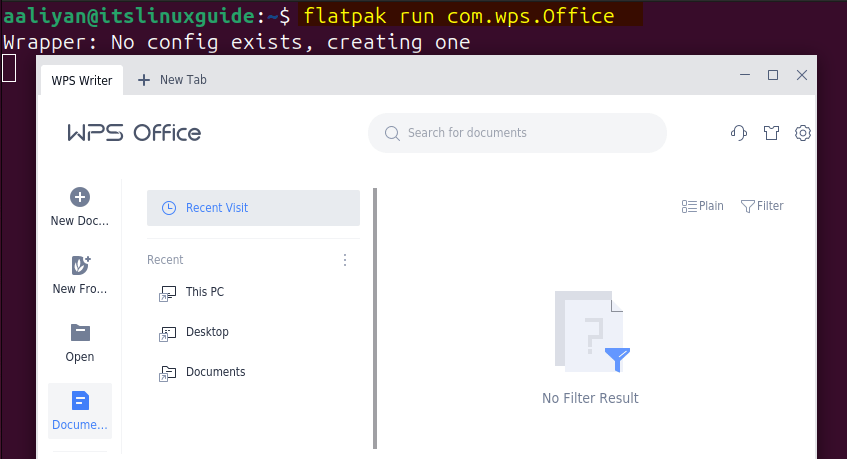
4: Through Ubuntu App Center
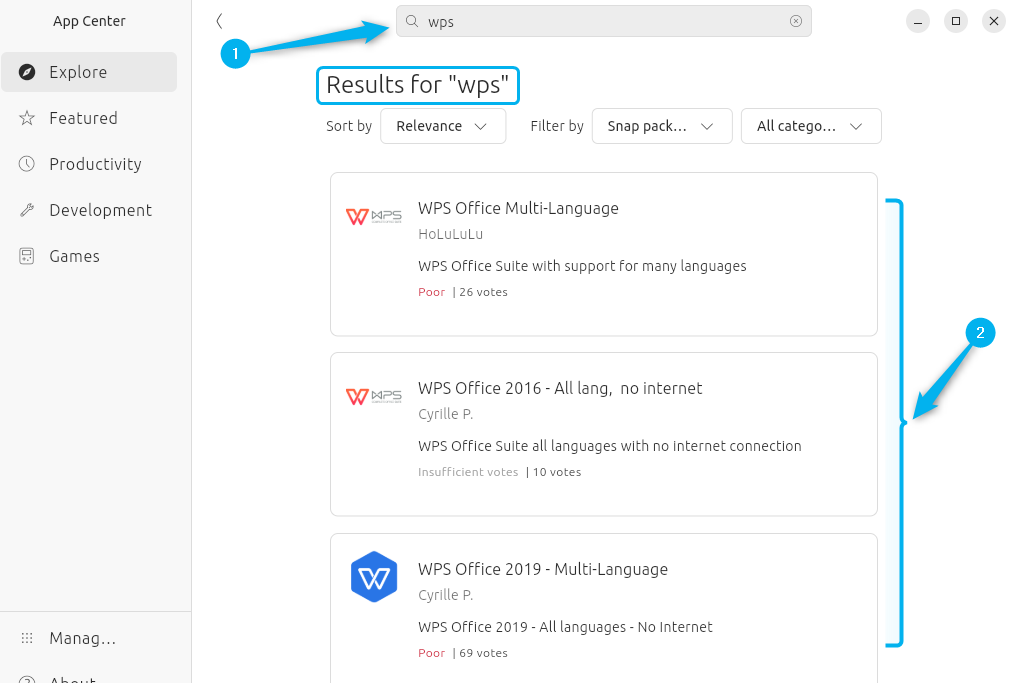
If you are looking for a GUI method for installing WPS Office then use the Ubuntu App installer which indirectly is a GUI version of Snap installer. When you search for WPS in the App Center you will get three installation options, here I am installing the multilang 2016 WPS Office:
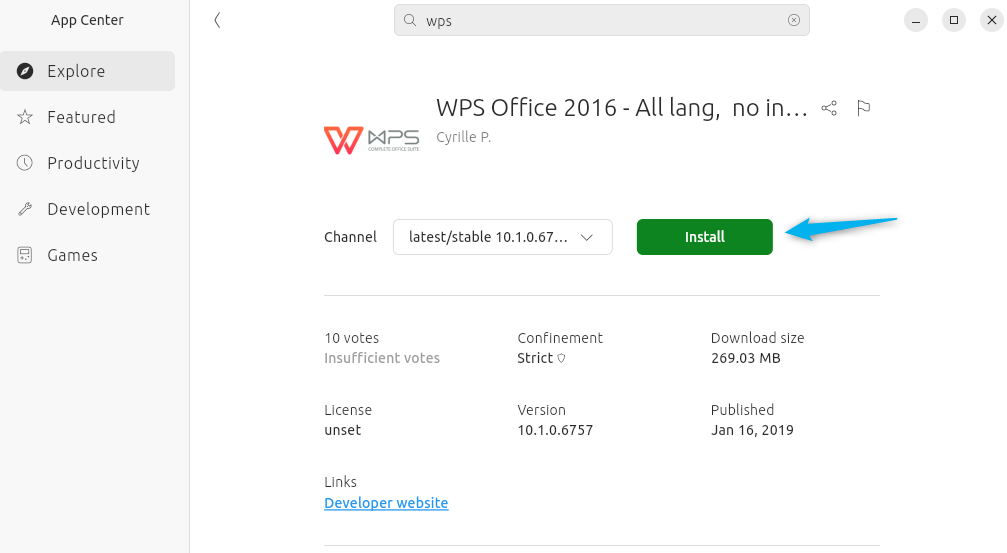
After the selecting the preferred installation type, begin the installation by clicking on Install:
To launch WPS you can search for it in the application menu:

Note: To install fonts in WPS Office, you can read the detailed guide on How to install Fonts on Ubuntu
Conclusion
This guide discussed four ways to install WPS Office on Ubuntu which include using its deb file, snap package installer, flathub repository and Ubuntu App Center. If you need multiple languages, then either use the snap installer or the App Centre. You might get the error while installing Microsoft fonts during WPS installation via its deb file, so in that case you need to install them separately.
