
Choosing WordPress to create a website or a content management system (CMS) is a far better option as it is open-source and has a large community of support. This makes it suitable for beginners, as it has an intuitive dashboard and a beginner-friendly user interface. Furthermore, using WordPress on Debian as compared to other operating systems is better, as it supports both LEMP and LAMP stacks.
9 Steps To Install WordPress On Debian
Several prerequisites are necessary to install WordPress on Debian, including installing a web server, a database system like MySQL or MariaDB, and an open-source scripting language like PHP. So, in this case, installing WordPress has 9 steps, which this guide will explain.
Step 1: Install Apache Web Server on Debian
Web servers act as a bridge between users and websites by processing user requests and retrieving necessary data. Furthermore, several web servers can be used for WordPress. Here I have installed Apache2 as it is an open-source server, and to install it, execute:
sudo apt install apache2 -y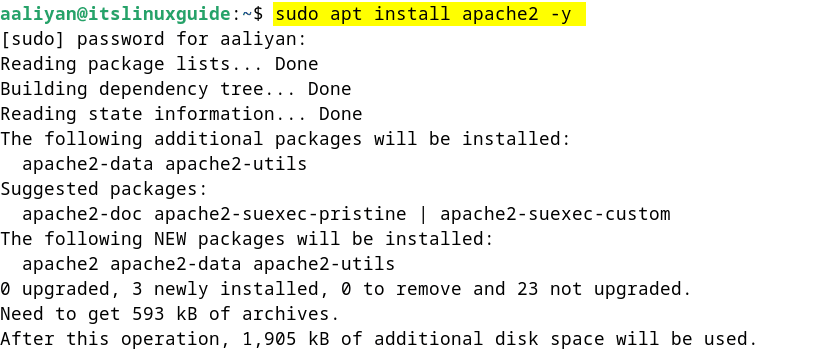
To verify Apache2 installation, use the following command:
sudo apache2 -vNext, enable the Apache2 Web server on Debian using the below command, and afterwards verify its status:
systemctl enable apache2 --now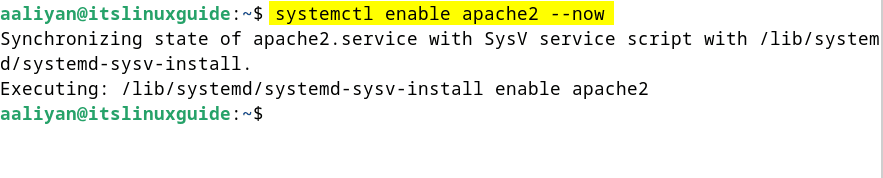
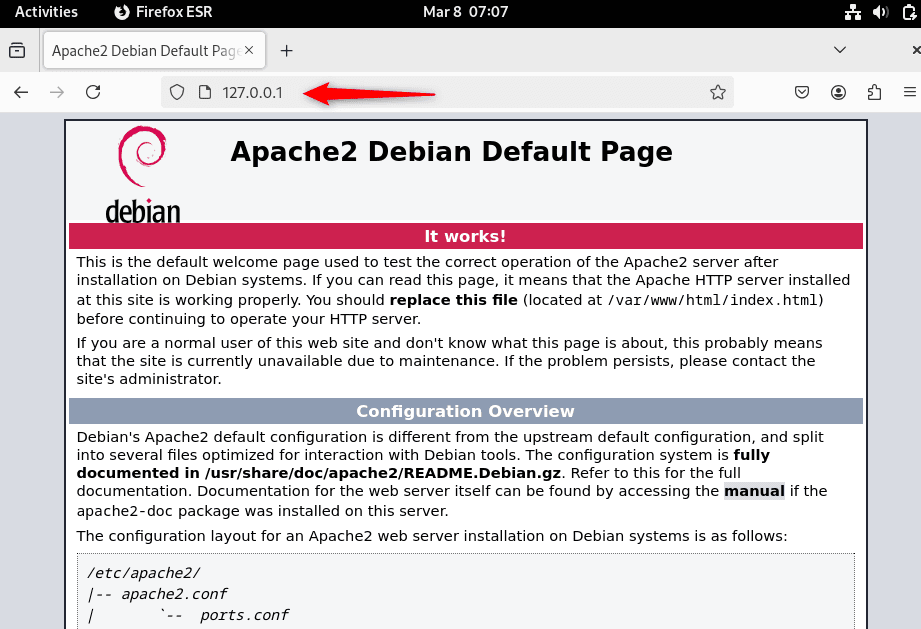
Now open the web browser and either enter the system IP address or write localhost in the URL tab to view the Apache2 default page:
http://127.0.0.1
http://localhost
Step 2: Install MariaDB Database Server
The database is one of the main constituents of any content management system. A database server like MariaDB, MYSQL, or PostgreSQL is needed to install WordPress on Debian.
sudo apt install mariadb-server mariadb-client -y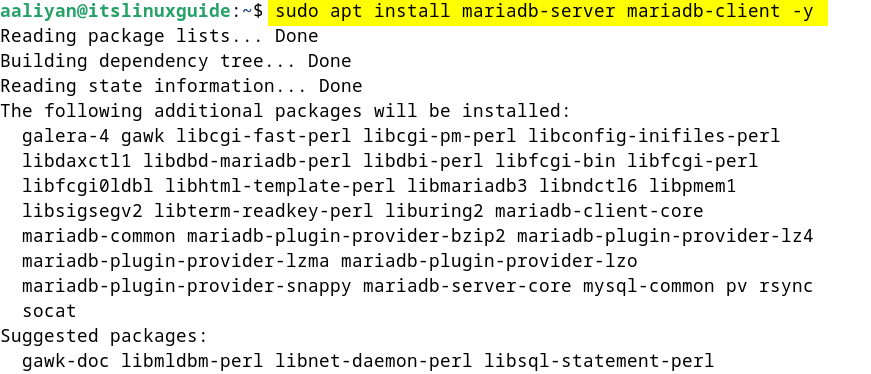
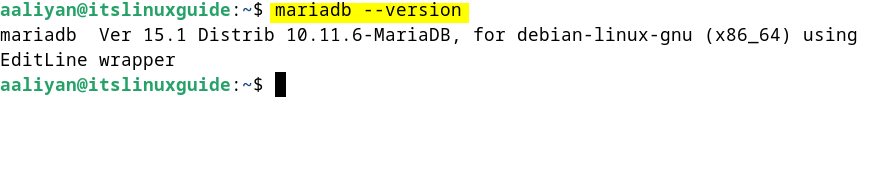
Now, verify the MariaDB version by executing the following command:
mariadb --version
Furthermore, to check if the service for MariaDB is active and running then use the systemctl utility as in the command below:
sudo systemctl status mariadb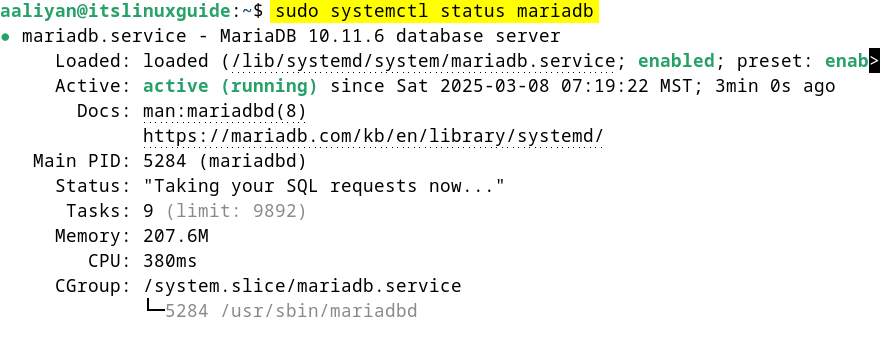
Execute the following commands if the Apache server service is not enabled or active:
sudo systemctl enable mariadb --now
sudo systemctl start mariadb
The default settings in the latest MariaDB versions may lack strong safeguards against unauthorized access or security vulnerabilities. To enhance security, running the mysql_secure_installation tool is recommended.
sudo mysql_secure_installation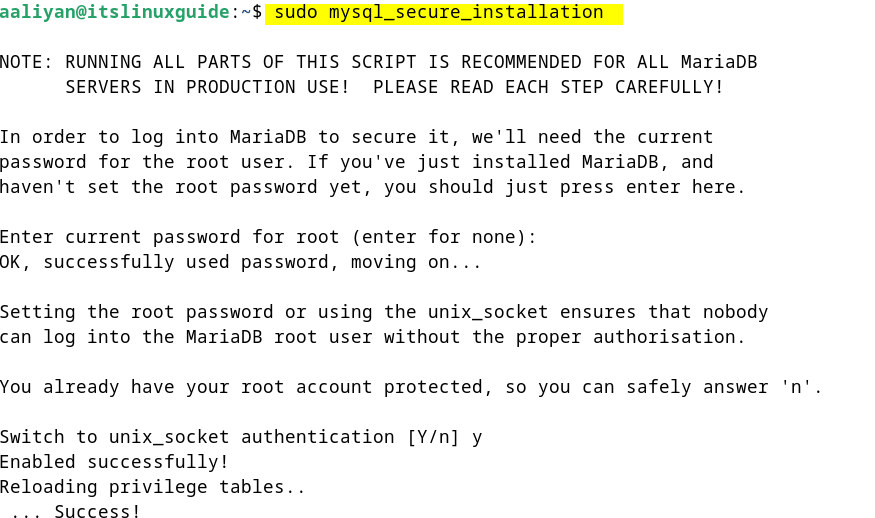
During the script execution, respond to various prompts. For the root account password prompt, select “n,” and for all the other prompts, respond with “y”.
Step 3: Install PHP on Debian
Since WordPress is built using PHP, without it, WordPress cannot interact with the database or process its core files. To make the PHP WordPress work properly, some PHP extensions need to be installed as well, so execute the following command:
sudo apt install php libapache2-mod-php8.2 php8.2-cli php8.2-common php8.2-zip php8.2-curl php8.2-mysql -y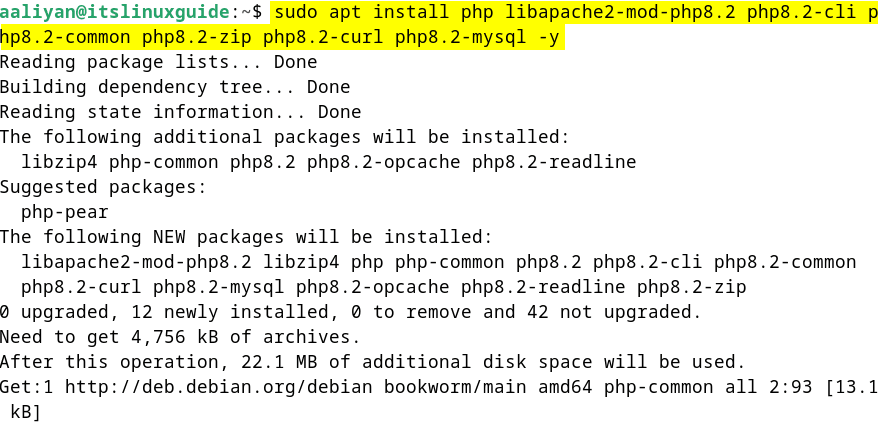
Next, verify the PHP installation by executing the version command:
php -v
Furthermore, multiple versions of PHP can be installed, but only one can be used at a time. In that case, to activate the desired version, use the following command:
sudo a2dismod php<verison-number>To shift to another version of PHP, use the a2enmod command:
sudo a2enmod php<version-number>To confirm the changes, restart the Apache server by executing:
sudo systemctl restart apache2
Step 4: Install WordPress Backend on Debian
One of the main constituents for creating a web application is its backend, which manages data and ensures that everything on the front end works smoothly. So, in the case of WordPress, install the backend by downloading the tar.gz file for WordPress from its official site:
wget https://wordpress.org/latest.tar.gz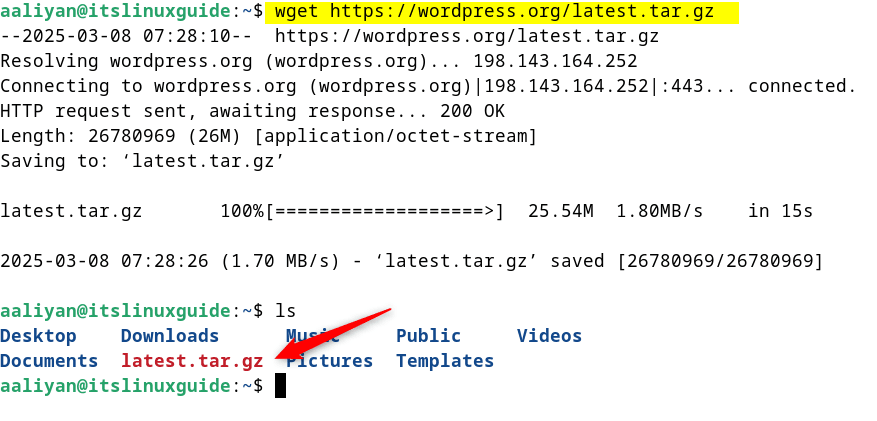
Next, extract the WordPress file to the HTML directory under the var folder:
sudo tar -xzvf latest.tar.gz -C /var/www/html/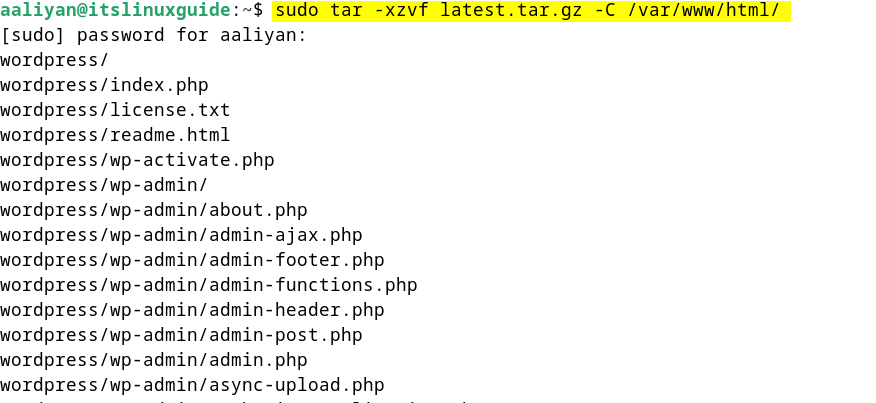
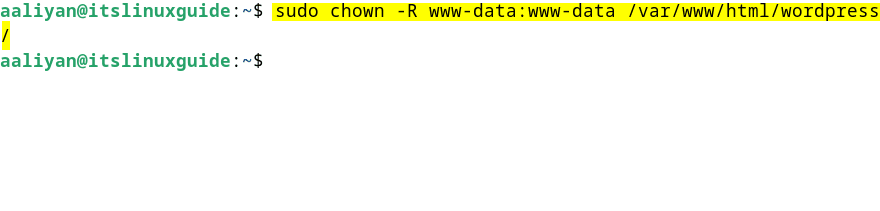
Change the permissions of the HTML directory for www-data user to read the file :
sudo chown -R www-data:www-data /var/www/html/wordpress/
Next, update the permissions for the extracted directory. For that, use the chmod 775 command to read, write, and execute the directory using the d flag to target directories. Furthermore, use the chmod 644 using the find flag for the WordPress directory, limiting them to read and execute:

Step 5: Create a Database for WordPress
Previously, I installed MariaDB for the database, so now create a database to store all the website data and user information, and then add the website details. So, launch MariaDB on Debian:
sudo mariadb -u root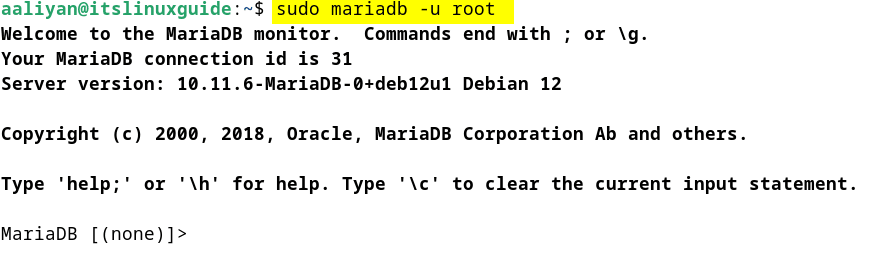
Next, create a database. Here for testing, I have named it TESTWORDPRESSDB:
CREATE DATABASE TESTWORDPRESSDB;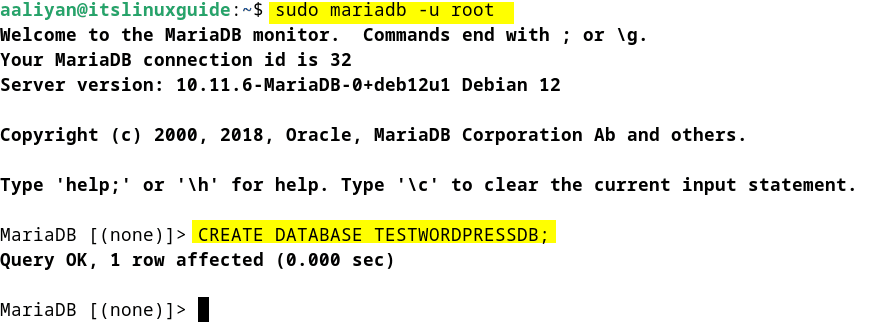
The next step is to make a user for WordPress along with setting the password for accessing the database:
CREATE USER '<user-name>'@localhost IDENTIFIED BY '<user-password>';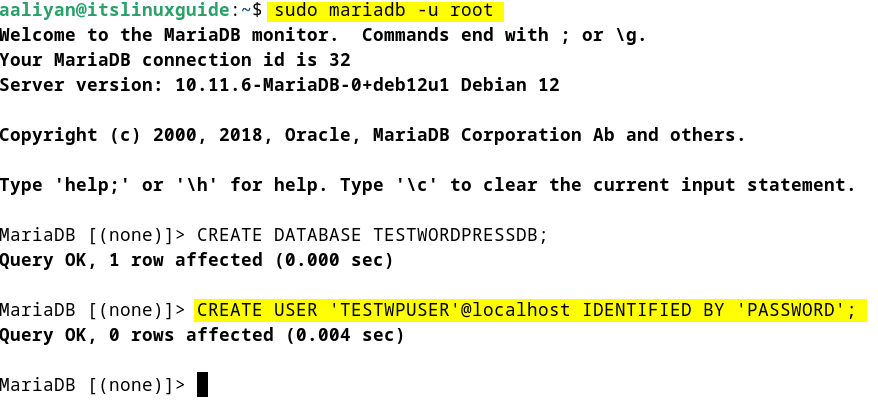
Now grant the user all the rights for managing the WordPress database.
GRANT ALL PRIVILEGES ON <Database-name>.* TO WPUSER@localhost IDENTIFIED BY '<Database-password>';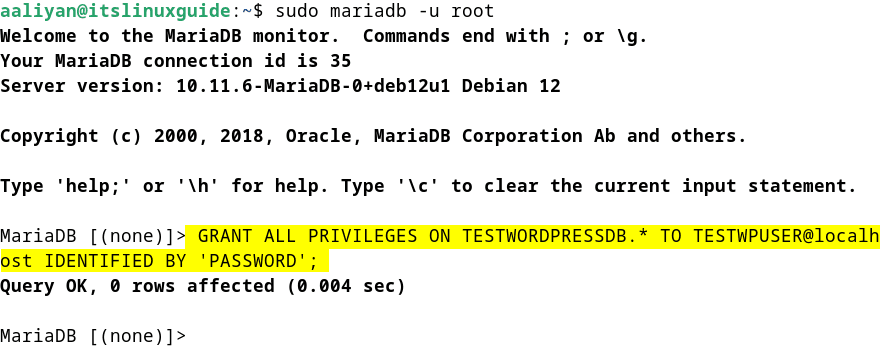
To apply the changes, reload the database, and after that, exit the database:
FLUSH PRIVILEGES;
EXIT;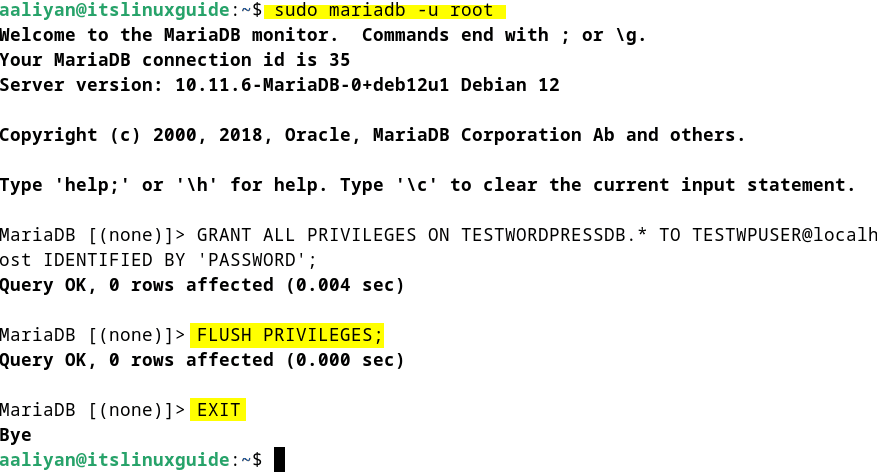
Step 6: Configure WordPress on Debian
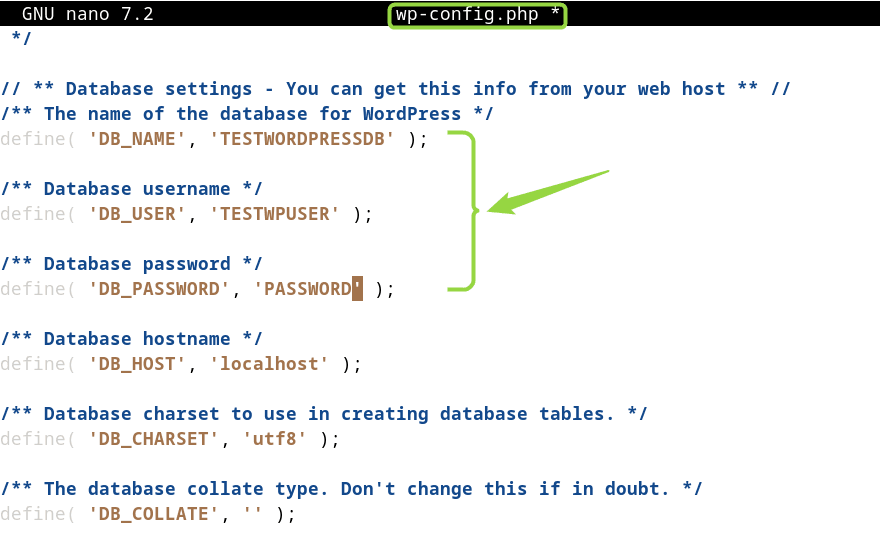
The username and password for both the database and the user created in the previous step are to be saved in WordPress’s configuration file. This way WordPress can access it directly, so first navigate to the directory and then rename the sample file:
cd /var/www/html/wordpress/
sudo mv wp-config-sample.php wp-config.php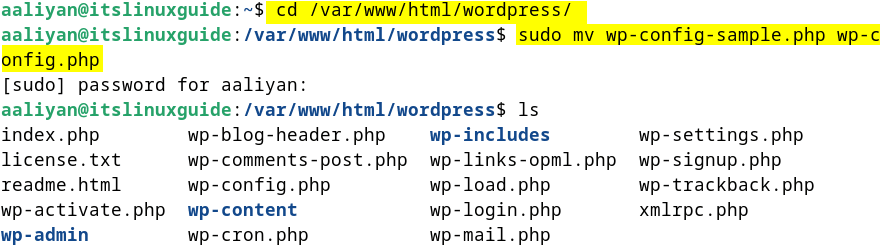
Next, add the name and password for the database in the configuration file:
sudo nano wp-config.php
Now, add the following code in the configuration file at the end, but remember this is an optional adjustment:
define( 'FS_METHOD', 'direct' );
define('WP_MEMORY_LIMIT', '256M');
$table_prefix = 'wp_';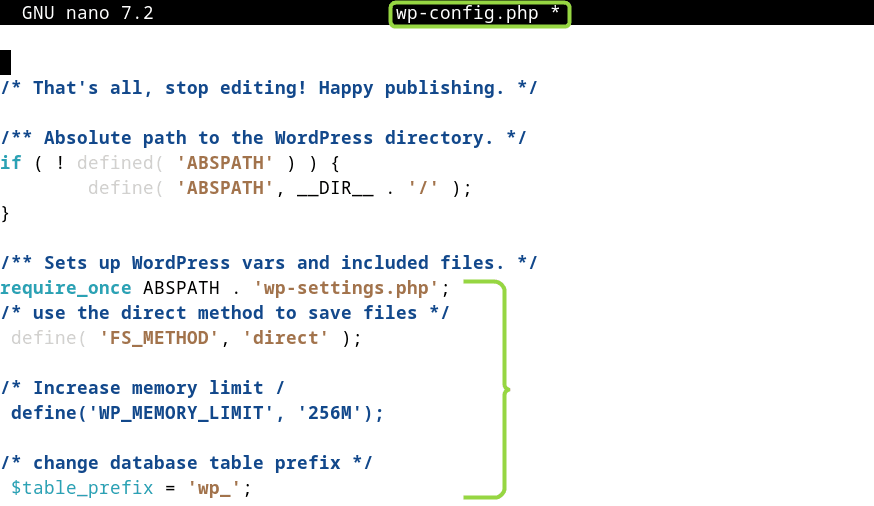
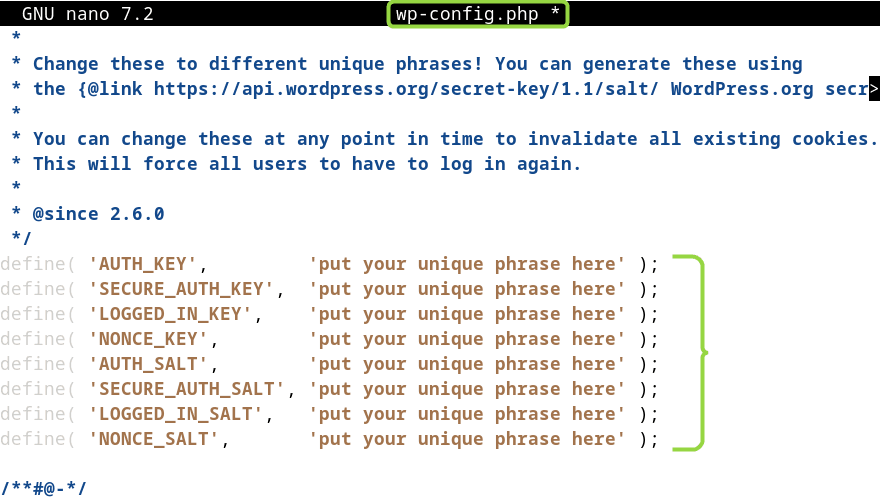
WordPress stores its security keys in the form of cookies and other site data, and these can be generated from the official WordPress website and then add them in the configuration file. Furthermore, these keys can be added by WordPress if not added manually:
Step 7: Configure Apache2 Server for WordPress
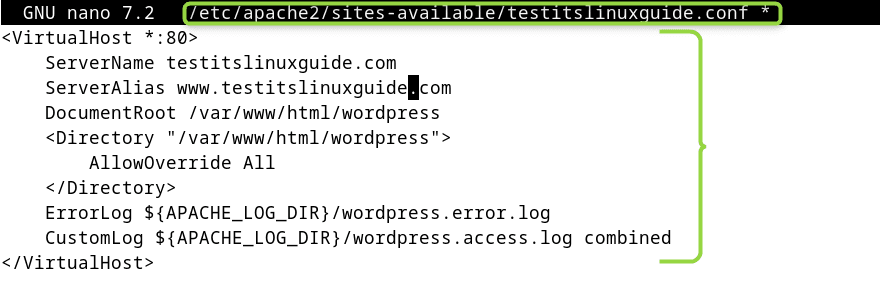
Create a configuration file with the domain name in the sites-available directory of the Apache2 server to permit internet access for WordPress:
sudo nano /etc/apache2/sites-available/<domain-name>.conf
Next, paste the below code lines and add the domain name:
<VirtualHost *:80>
ServerName <your-domain>
ServerAlias <website-url>
DocumentRoot /var/www/html/wordpress
<Directory "/var/www/html/wordpress">
AllowOverride All
</Directory>
ErrorLog ${APACHE_LOG_DIR}/wordpress.error.log
CustomLog ${APACHE_LOG_DIR}/wordpress.access.log combined
</VirtualHost>
This code configures the WordPress site by specifying the domain name, server name, and directory paths required for storing its settings:
Step 8: Dry Run the Virtual Host
Now run the configuration test for the Apache server to see for any sort of errors:
sudo apache2ctl configtest
After running the test, successfully enable the website on Apache by executing the configuration file for the website:
sudo a2ensite <domian-name>.conf
To apply the changes in the Apache server, reload it via systemctl:
sudo systemctl restart apache2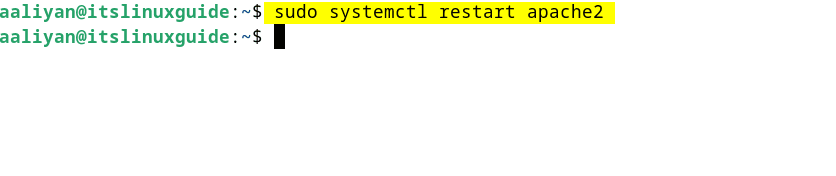
Step 9: Install WordPress Frontend
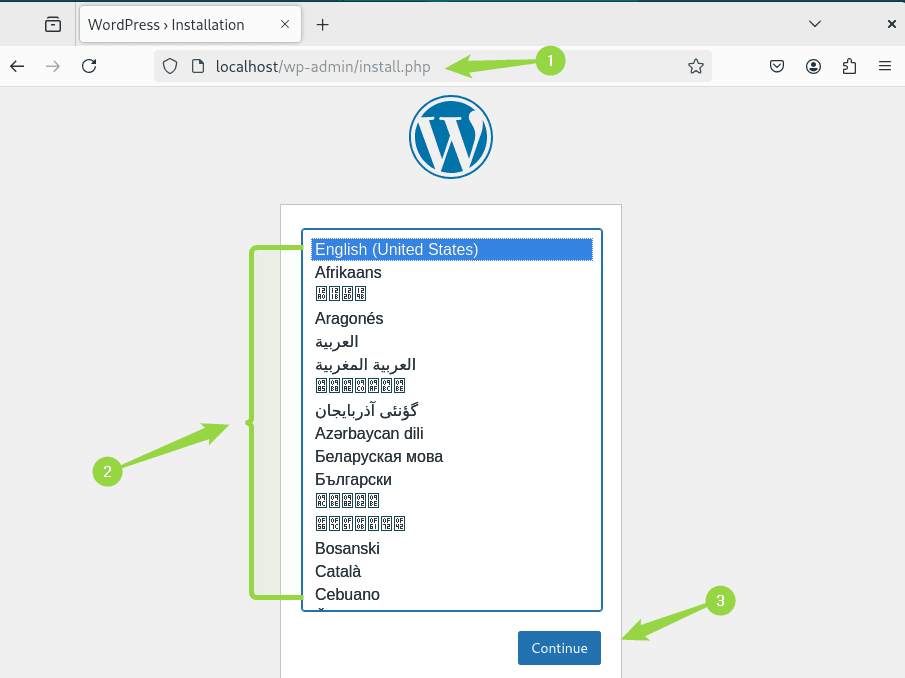
The final step is to open the WordPress login page, simply use the below URL:
http://localhost/wp-login.phpOn the login page first, select the desired language and then click on Continue:
NOTE: If in any case there is an error of PAGE-NOT-FOUND then delete the default.conf file from the site-available directory.
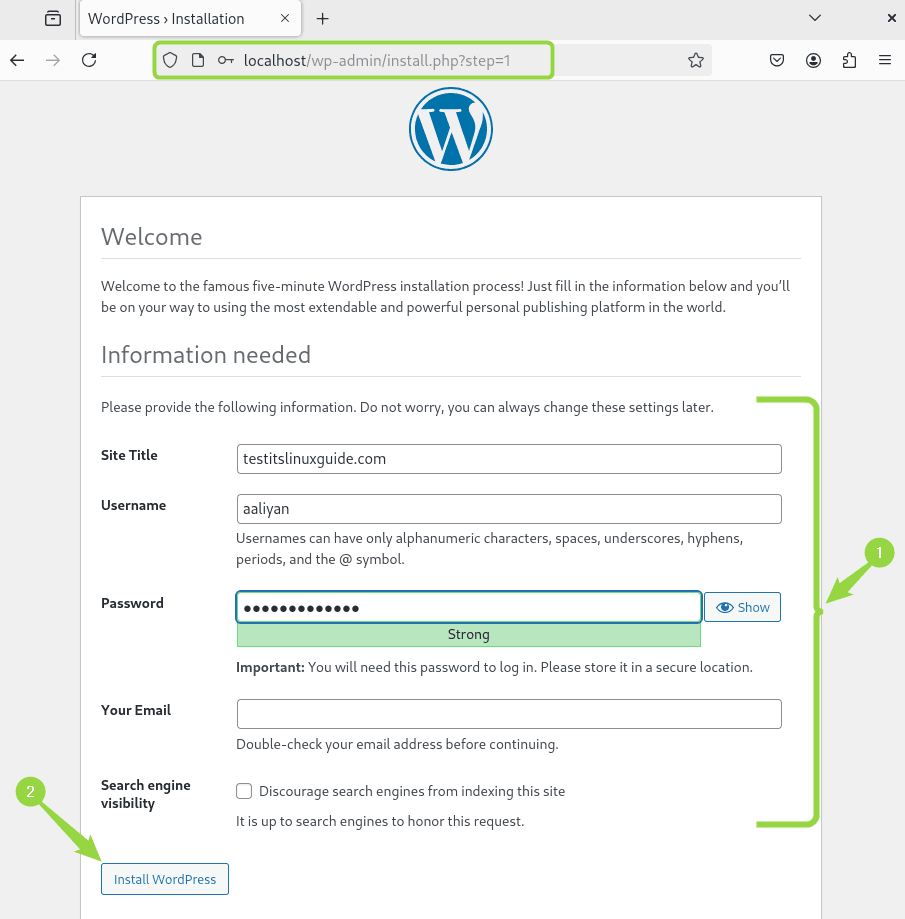
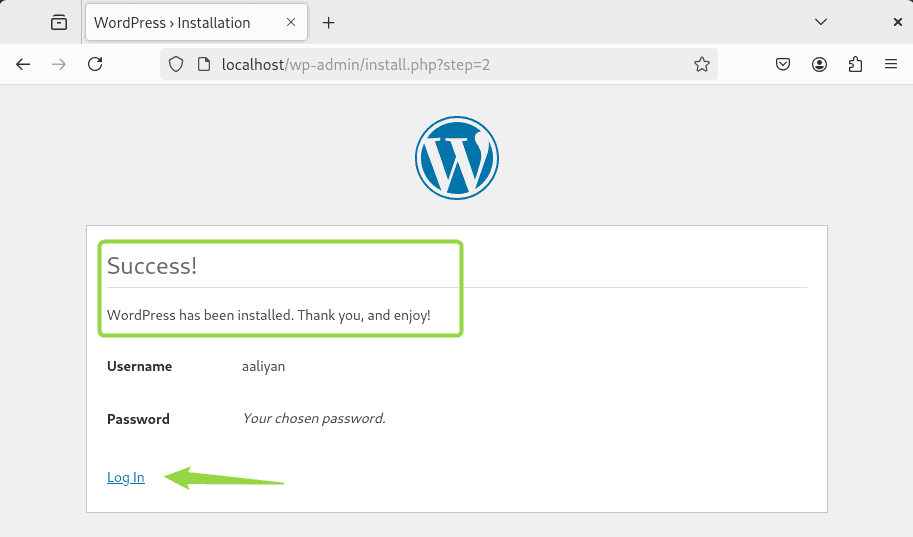
Now, click on Install WordPress after entering the necessary details like site title, username, and password for CMS login:
After the installation is completed, log in using the credentials for WordPress CMS:
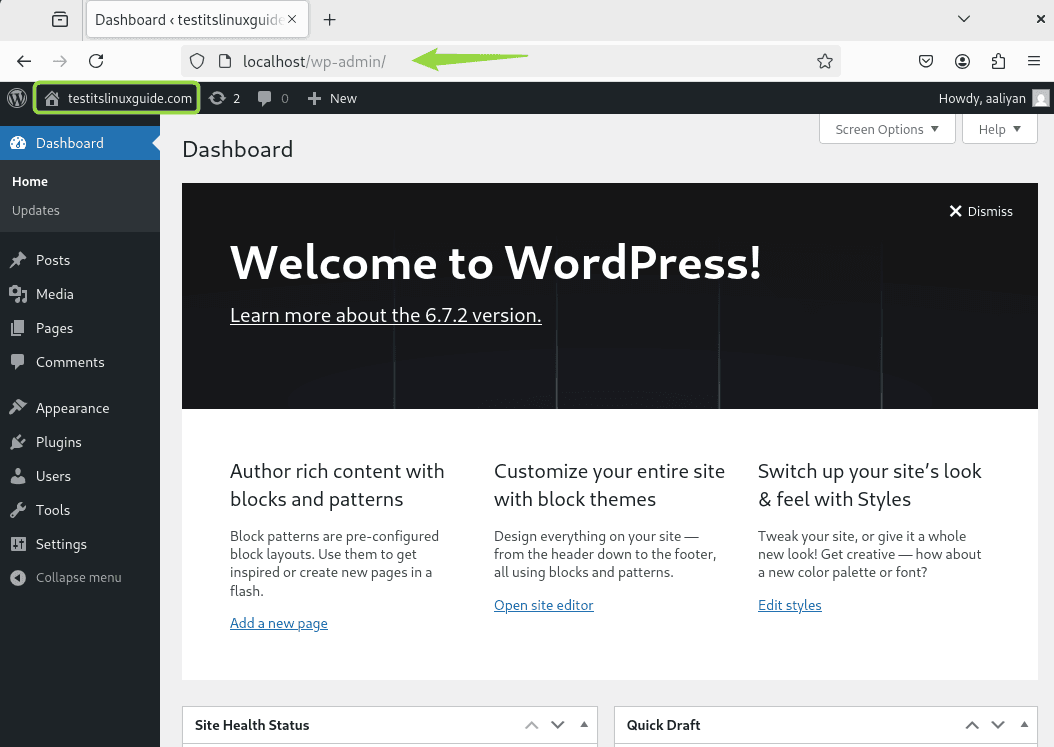
The WordPress dashboard will now open, and there is a menu column on the left side to manage the website:
Note: If the database encounters an error or failed connection, verify the password and username details from the WordPress configuration file.
Conclusion
To install WordPress on Debian, set-up a web and database server that requires installing Apache2 and MariaDB. After that, create a database and input its credentials into the WordPress configuration file. Finally, launch localhost in your browser to complete the front-end installation of WordPress on Debian.