
The source files for any application, specifically for Linux operating systems like Ubuntu, are tar or compressed files, which allow the user to make any customizations during installation. One of the prime advantages of using the tar.gz file is that the source code can be viewed to locate any security vulnerabilities or backdoors before installation. Furthermore, it gives the flexibility to configure build options, which can optimize the software for the hardware or specific use cases.
2 Ways to Install Tar.gz File on Ubuntu
Some applications provide already installed versions that also come in the form of tar files. This format is not limited to tar.gz; there are other formats as well like tar.xz. The tar.gz format is mostly used, and this guide will elaborate on the two ways to install a tar.gz file on Ubuntu.
1: Through the make file utility
The prime method for installing an application via tar.gz file is using the make utility, which primarily compiles the source code, creating its binary file. So here, I am installing Node.js for demonstration, the first step is to extract or decompress the tar.gz file:
tar -xf<tar-file-name.tar.gz>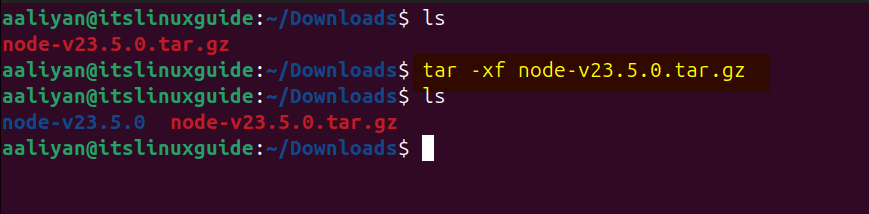
Note: Here while using the tar command I have used some flags with it, here x is for extraction and f is for the file. Whereas, here is the table that explains the use of each flag:
| Sr.No | Flag | Description |
|---|---|---|
| 1 | -x | This flag is used as an instruction to tar to extract the archived file. |
| 2 | -f | This flag gives the name to the extracted file based on the archived file. |
| 3 | -v | This flag enables verbose mode, which lists the files being extracted. |
| 4 | -c | This flag uses the given directory path as the destination for the extracted file. |
The next step is to prepare the software package for installation by checking the system for the necessary tools, libraries, and dependencies. Here, the build process can be customized by specifying options such as installation directories, enabling or disabling features, and setting compiler flags. So, execute the configure file:
./configure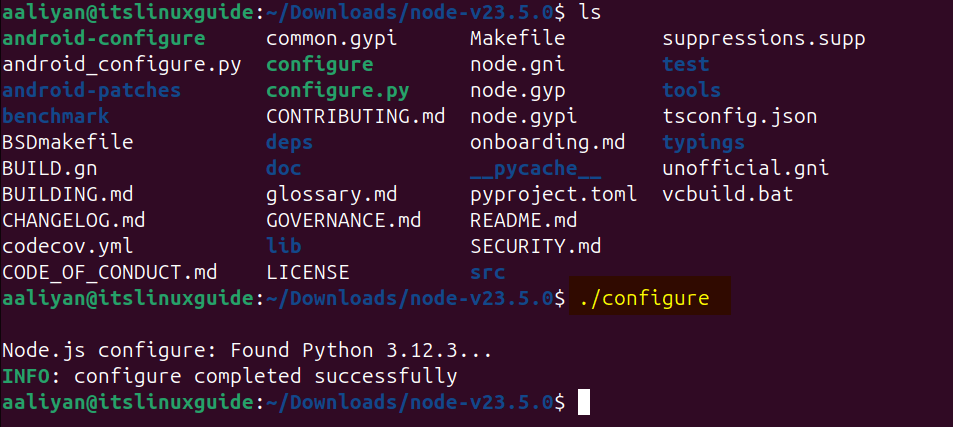
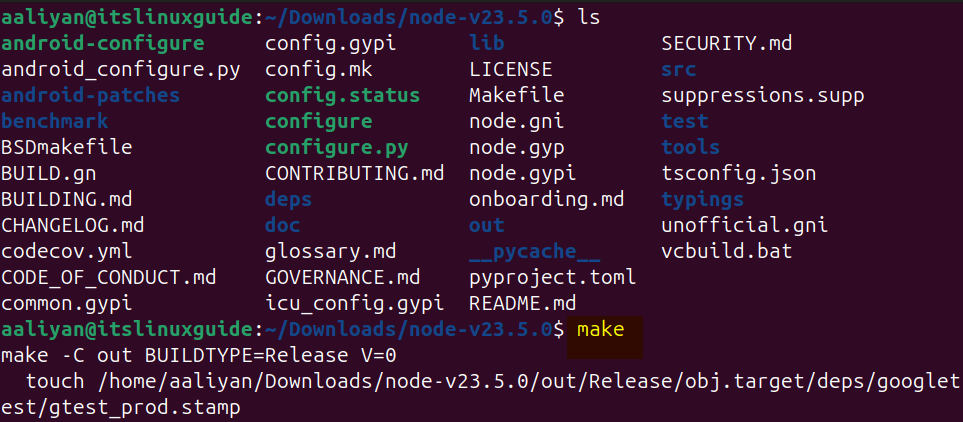
Now compile the source code using the make command, which reads the Makefile that contains the rules and instructions on how to build the software:
make
Now install the application using the make install command that primarily uses the Makefile:
make install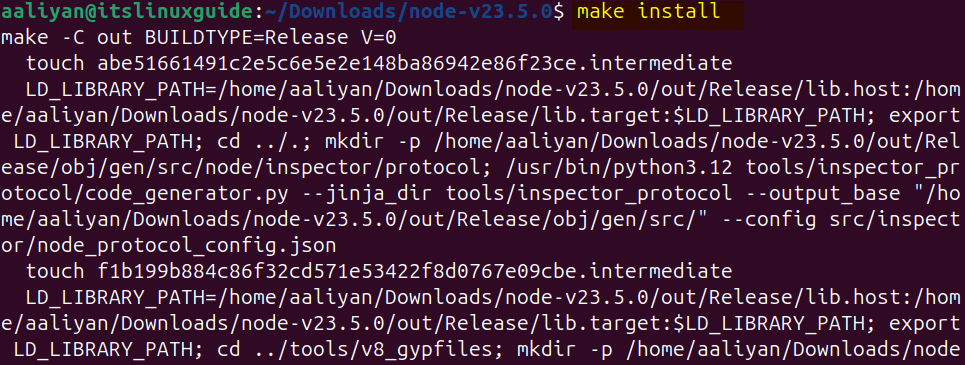
2: Through AppImage File
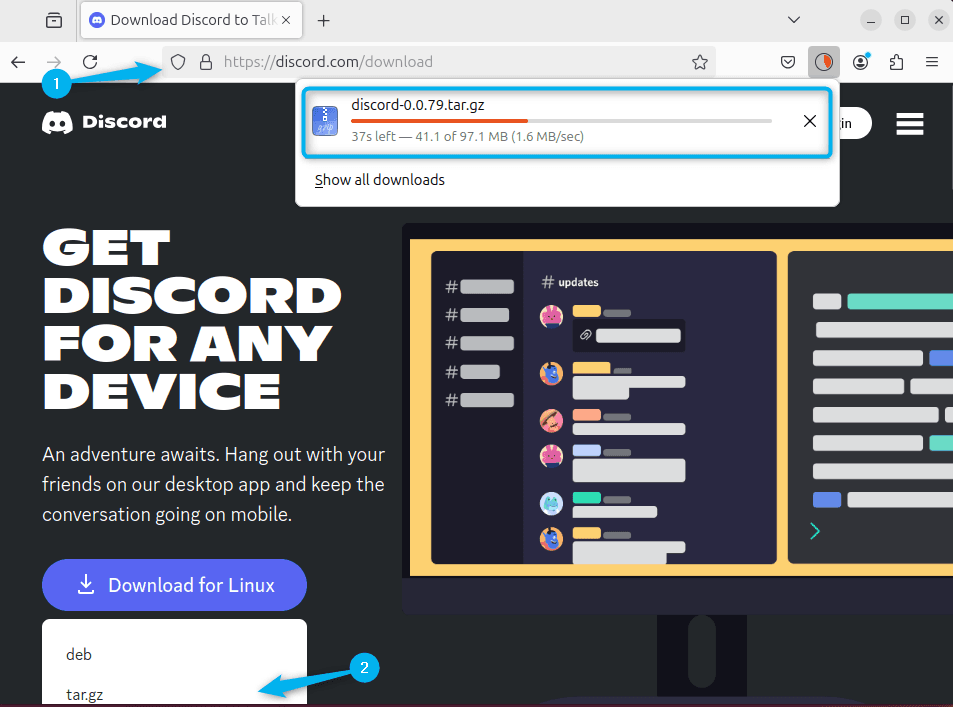
Some applications provide their pre-installed or plug-and-play versions and in that case, these files mostly come with tar.gz format. To demonstrate this, I have downloaded the AppImage file for Discord:
Next as in the previous method use the tar utility for extracting the tar.gz file on Ubuntu:
tar -xf<tar-file-name.tar.gz>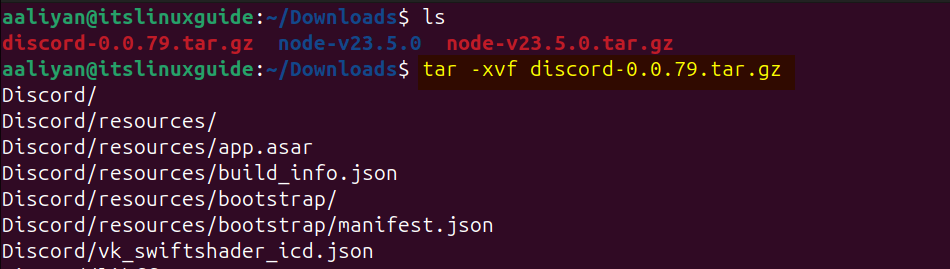
Now, here you just need to run the app file, in my case, I have executed the Discord script file:
./Discord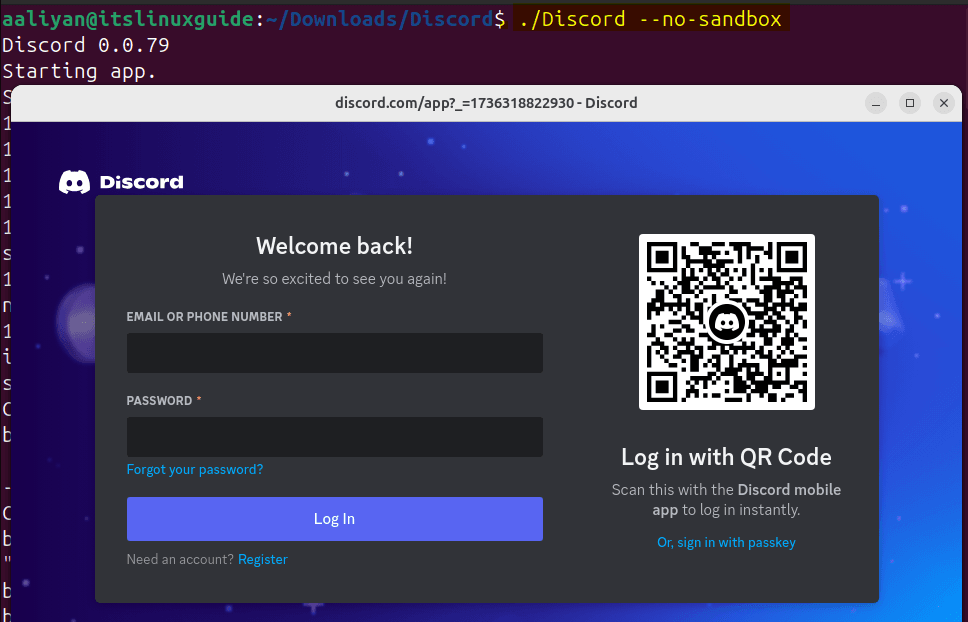
Conclusion
This guide discussed two ways to get the tar.gz file on Ubuntu. The primary method for installing tar.gz is to use the make utility. However, apps that come with the plug-and-play version also have the tar.gz file, and it only requires decompressing.