
Slack is a cloud-based communication platform primarily used by businesses and organizations to enhance communication and collaboration among teams, thus improving overall workflow. Slack offers a dedicated desktop app for Ubuntu, providing a more integrated and feature-rich experience than the web version. So if you use Ubuntu for work-related or study-related tasks and want to use Slack for communication, then read this guide. This guide will not only explain Slack installation but will also discuss using Slack on Ubuntu.
4-Ways to Install Slack on Ubuntu
One of the major benefits of using Slack is that it replaces slow email chains with real-time messaging, allowing teams to have instant conversations and share updates quickly. Moreover, it maintains discussions arranged into channels made for particular teams or projects. This keeps discussions focused and prevents information overload, there are four ways to install Slack on Ubuntu 24.04:
1: Through Ubuntu App Center
Ubuntu App Center is one of the easy ways around to install applications, in the case of Slack first search for it:

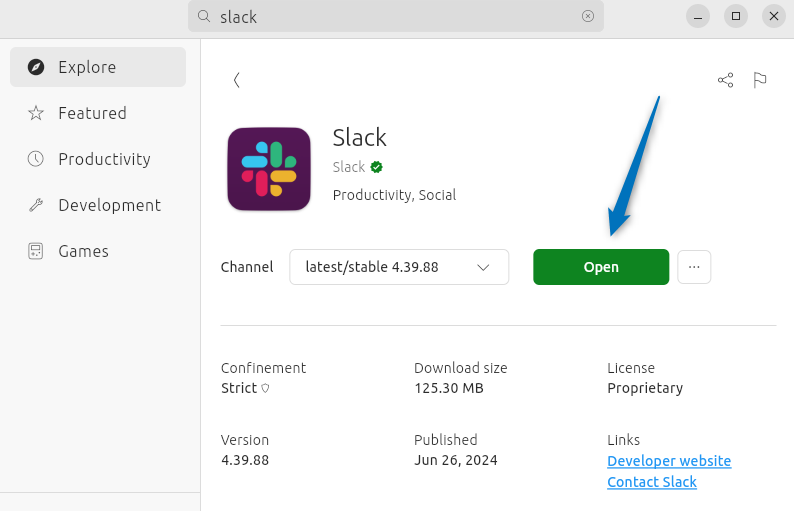
Next, choose the preferred version, currently, it has two versions one is beta and the other one is stable. After the version selection, click on the Install:

Now once the installation is complete, click on Open to launch Slack:
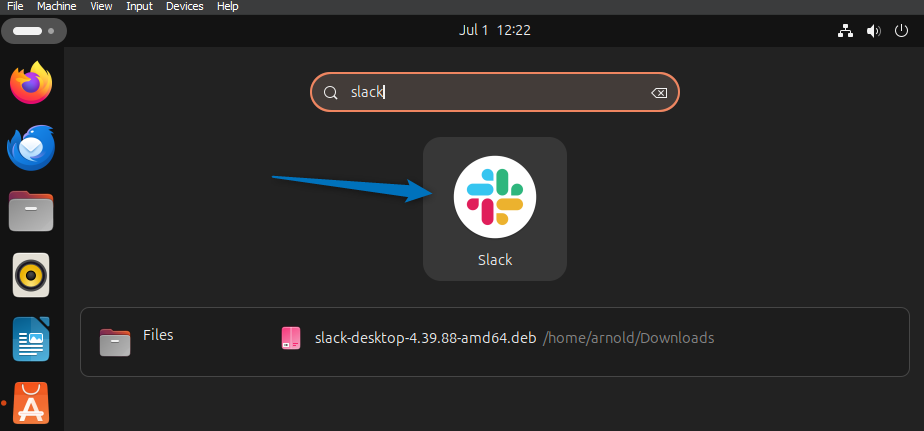
Alternatively, search for Slack in the apps menu:
2: Through Slack Deb File
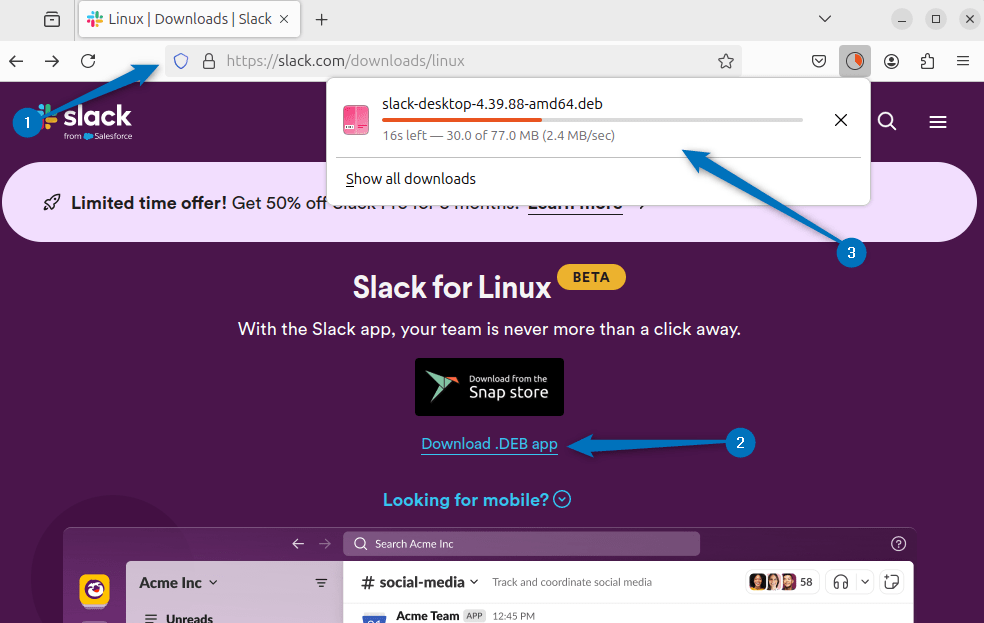
Another way to install Slack on Ubuntu is using its deb file which you can download from Slack’s official download page:
Once the Slack deb file is downloaded, install it using the Ubuntu default package manager as in the command below:
sudo apt install ./slack-desktop-4.39.88-amd64.deb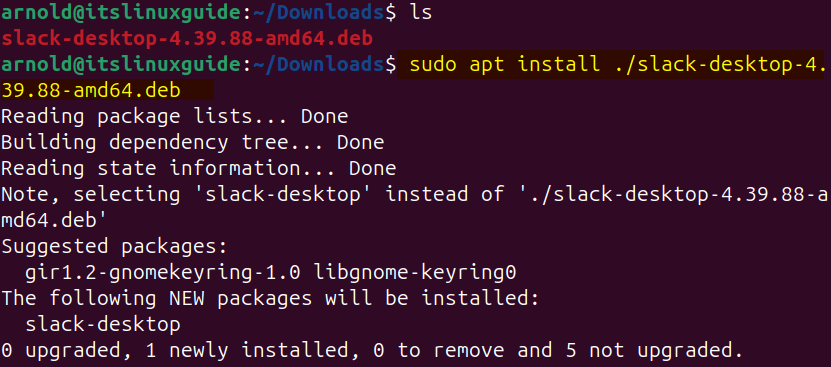
Now to verify the Slack installation, check its version by executing:
slack --version
To launch Slack on Ubuntu installed via its deb file, run the slack command in the terminal:
slack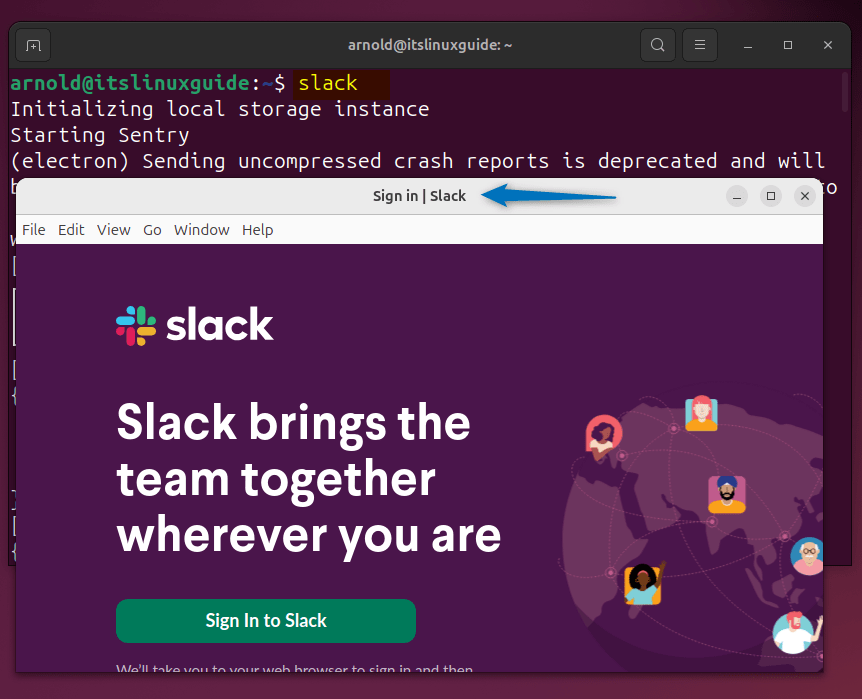
3: Through Snap Package Manager
The third method for installing Slack on Ubuntu is using the Snap app installer, which is also officially recommended by Slack. To install Slack execute:
sudo snap install slack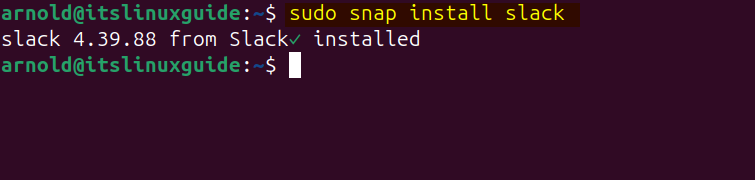
Next, to verify the Slack installation via Snap, you can list Snap-installed apps on Ubuntu by executing:
sudo snap list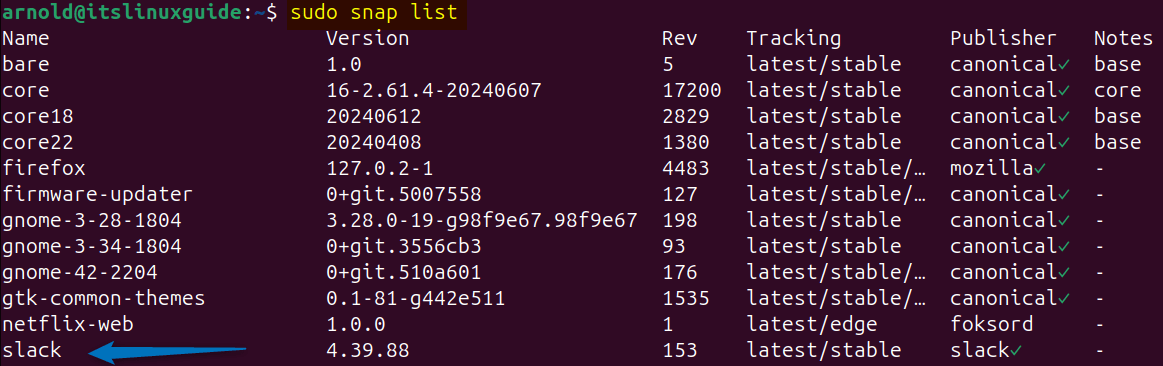
You can launch Slack either via the terminal or Ubuntu’s app menu:
4: Through Flatpak Package Manager
The fourth and last method to install Slack on Ubuntu is using the Flathub repository, but remember that the Slack package is unverified, although it is published officially by Slack. To install Slack using Flatpak execute:
flatpak install flathub com.slack.Slack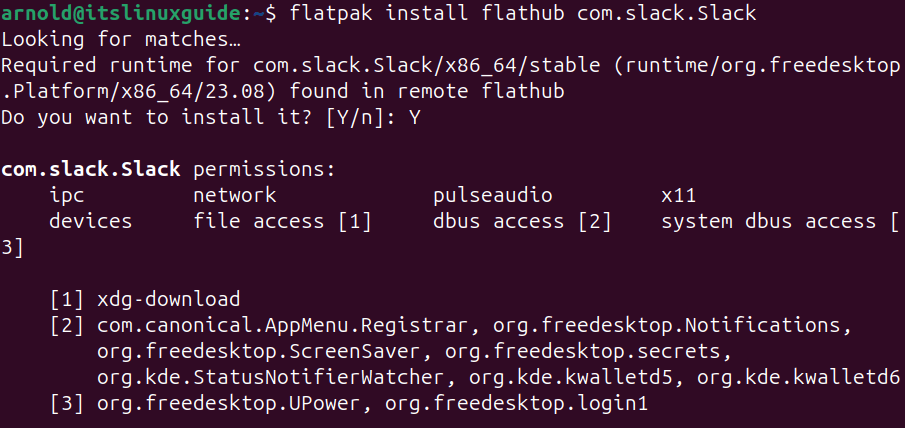
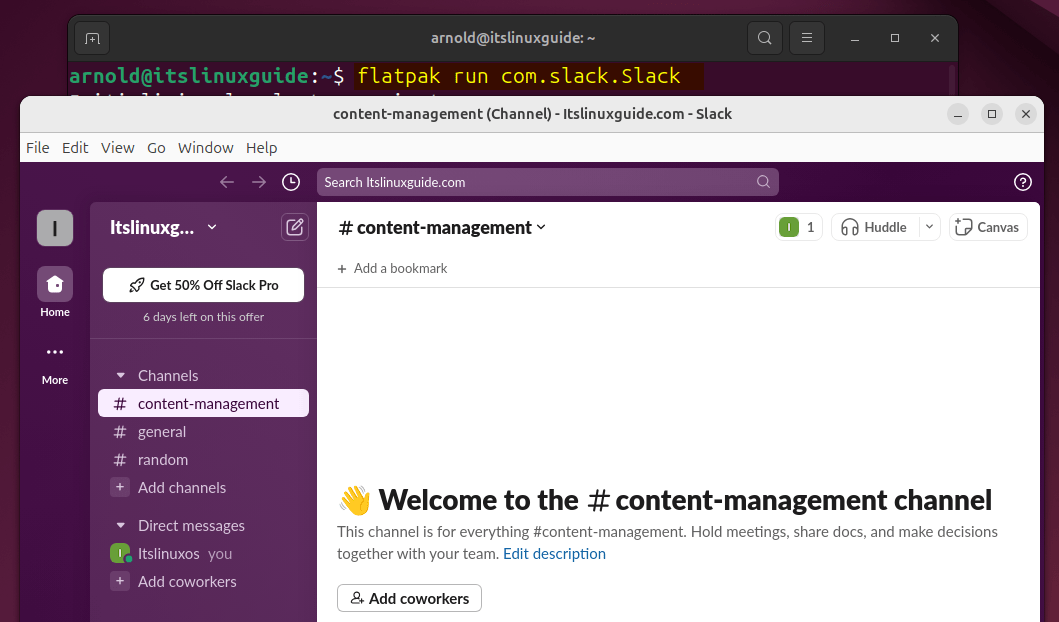
Further, to launch Slack on Ubuntu installed via Flathub execute the below command:
flatpak run com.slack.Slack
How to Use Slack on Ubuntu
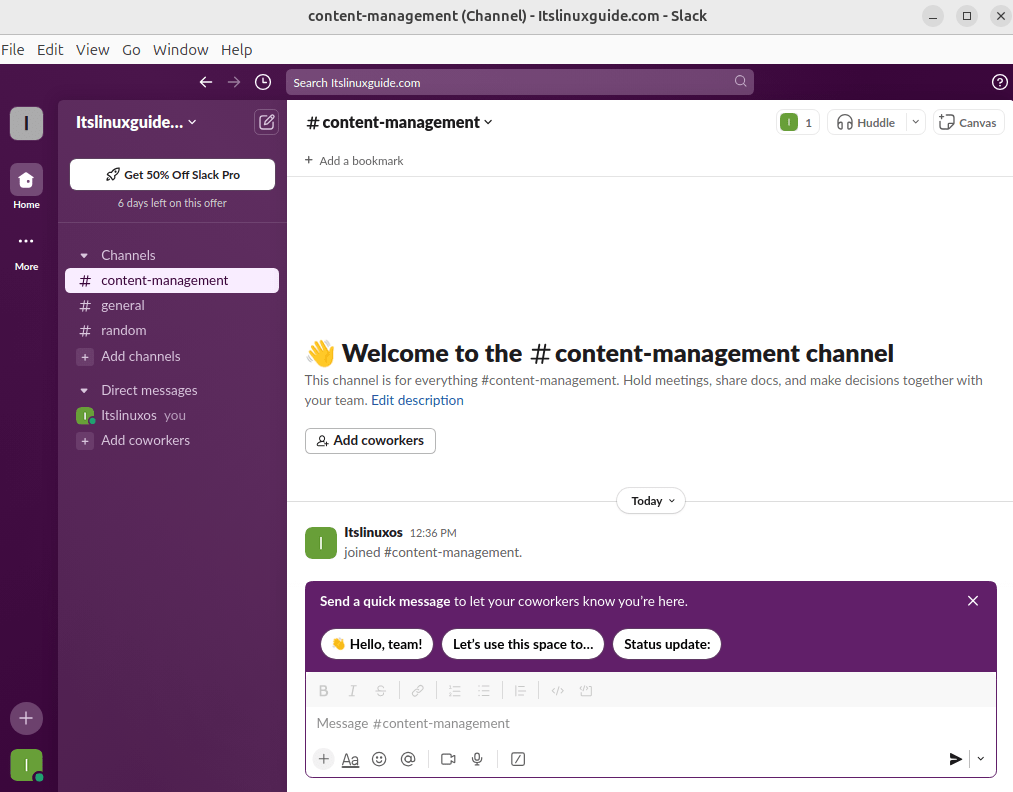
On Slack, you can create channels based on tasks, projects, or any other similar activity. Further, you can add different members to these channels, in short, there is much more that can be done to manage tasks and communicate with team members. For the newbies, I have explained some of the basic tasks:
Creating a Channel In Slack on Ubuntu
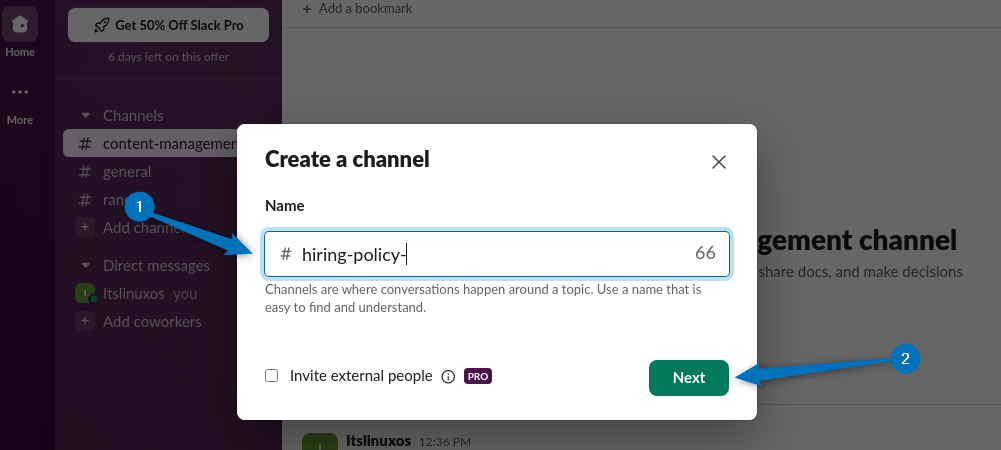
After creating an account on Slack create a workspace, next name it based on the company name or on the ongoing project. The next thing to do is to create a channel, click on Add channels from the left pane:

Next, name the channel and click on Create:
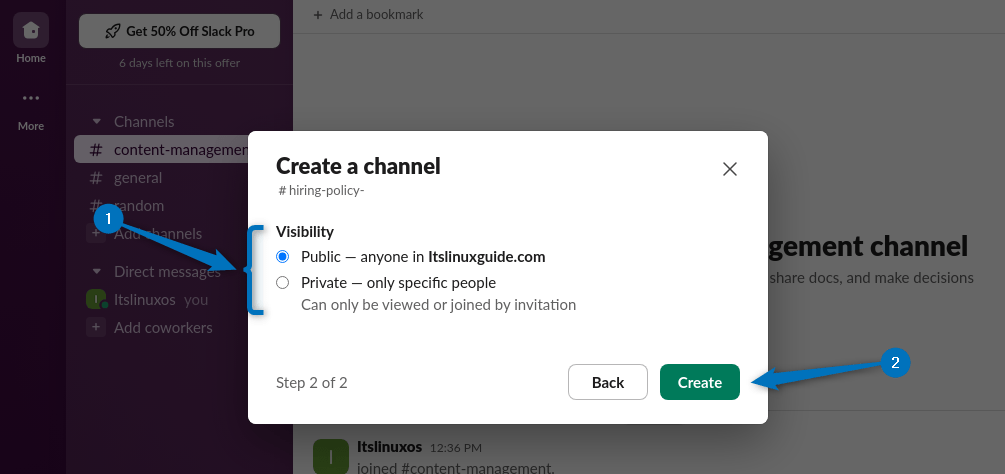
Further, there is a privacy option to set the privacy for the channel, it can be set to private to limit the access or vice versa:
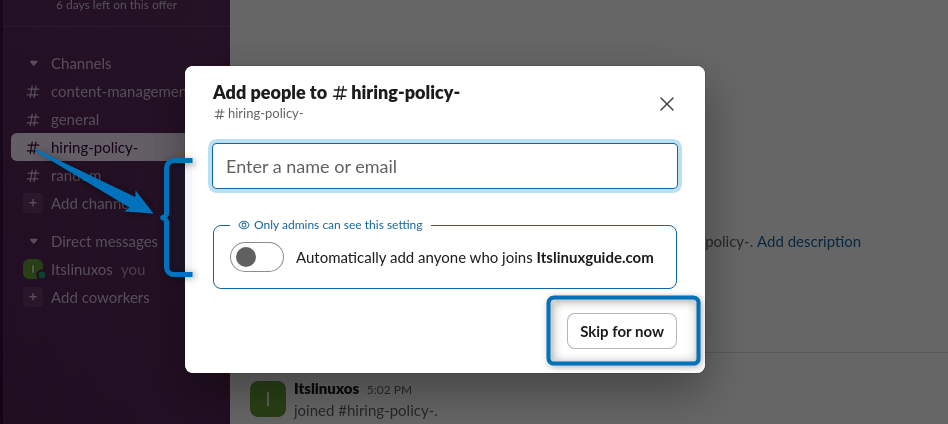
Now there are two options for adding members to the Slack channel, one is to manually add the members. If this is a public channel, more like an announcement channel, then automatically allow adding anyone joining the workspace. Furthermore, members can also be added members at a later stage:
Adding Co-workers in Slack Channel on Ubuntu
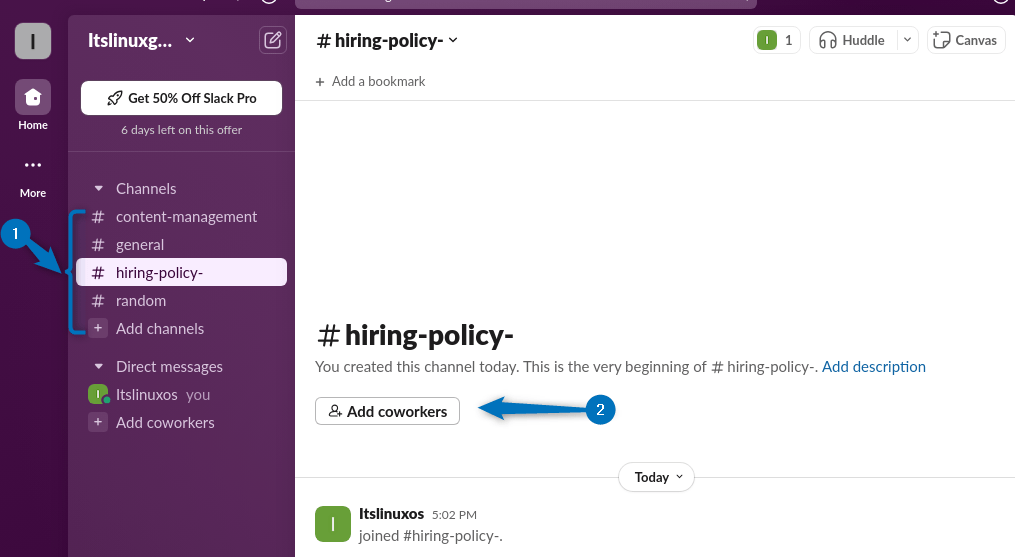
Adding members or co-workers in the Slack channel is pretty easy, first go to the respective channel and then click on Add coworkers:
Now enter the email for the respective user to be added:

Removing Co-workers/members From a Channel in Slack on Ubuntu
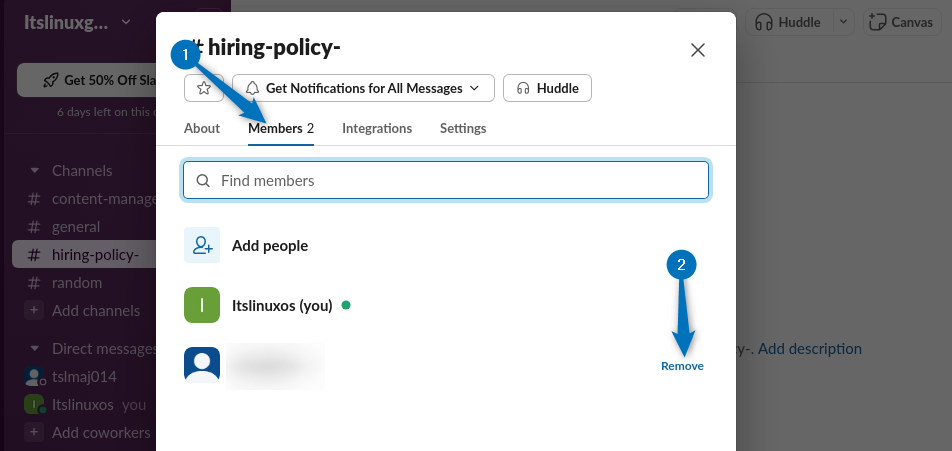
To remove any member from the channel on Slack, first, go to the receptive Slack channel and then click on the number of members icon on the top:
Next, click on the user you want to remove and then click on Remove:
Scheduling a Message in Slack on Ubuntu
On Slack, messages can be scheduled, which can be helpful if you are not available, or there is a need to set an automated reminder. To schedule any message, first type the message in the respective channel, then click on the arrow icon and select Custom time:
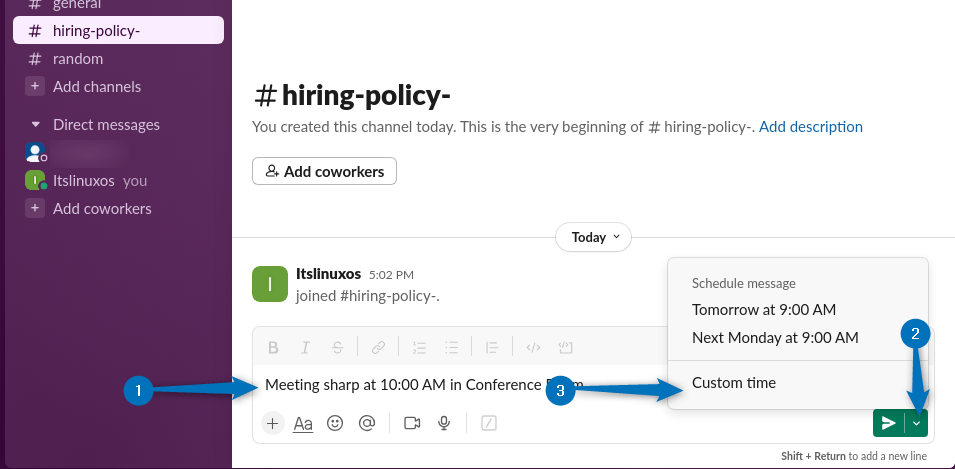
Next, choose the date and the time for the message, after that click on Schedule Message:

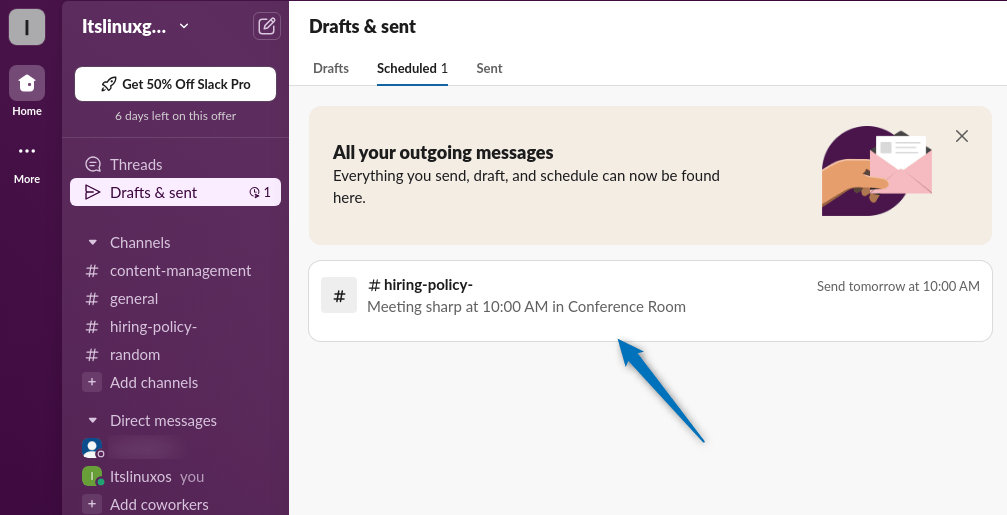
To verify the message scheduling, click on see all scheduled messages:
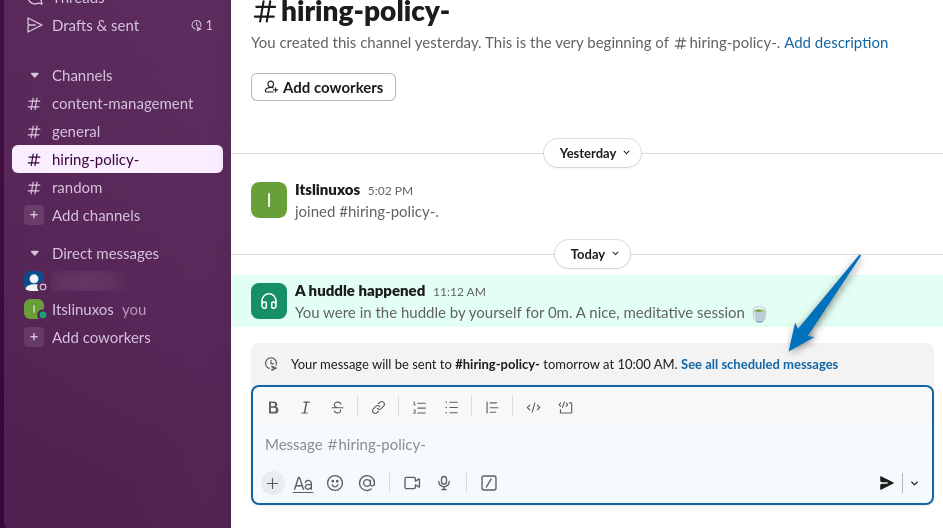
Here in the image below, there is an automated message has been scheduled on Slack:
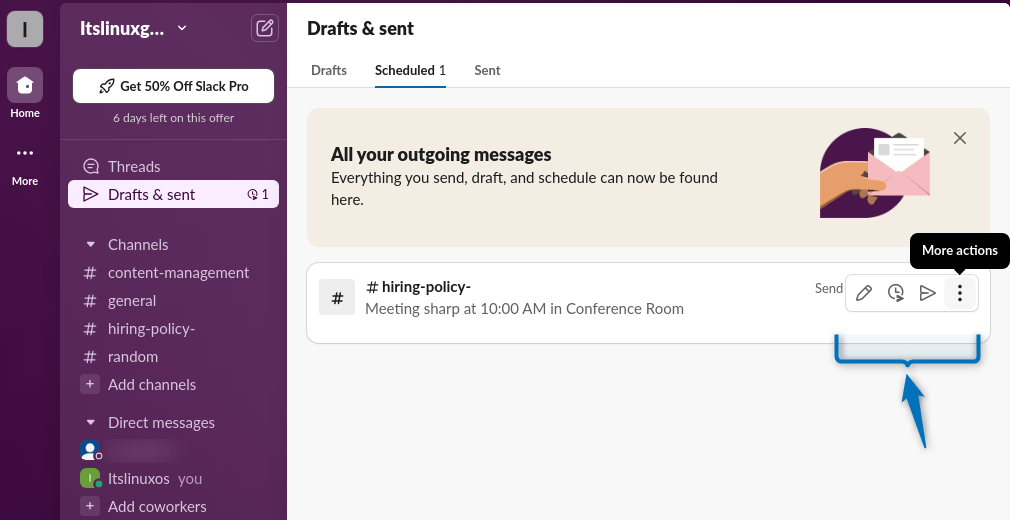
Further, there are some other settings in More actions like editing the message time settings and the message itself:
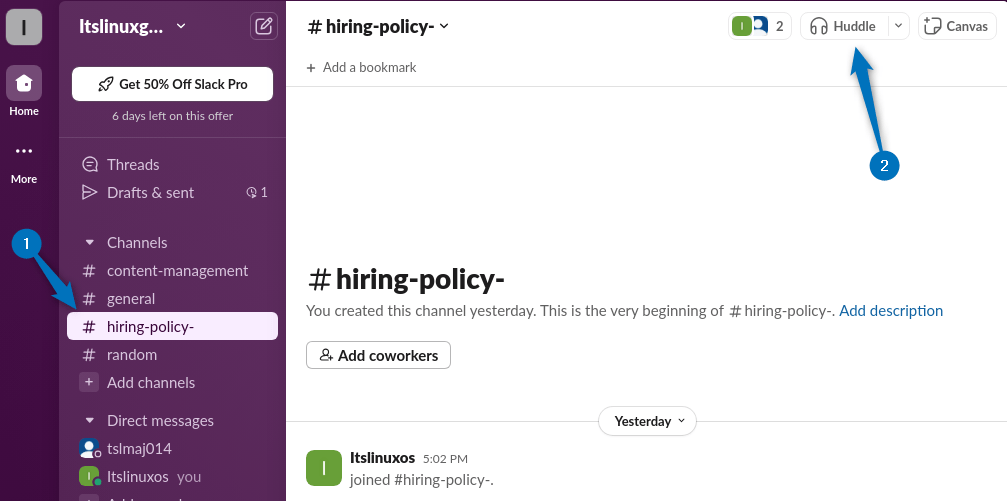
Creating a Huddle/audio Call in Slack on Ubuntu
One last thing you should know while using Slack is that you can now do audio and video calls using the newly introduced feature named Huddle. This removes the hassle of using other video and audio calls software, which can save a lot of time. To create a huddle, first go to that respective Slack channel on Ubuntu and then click on the Huddle option at the top:
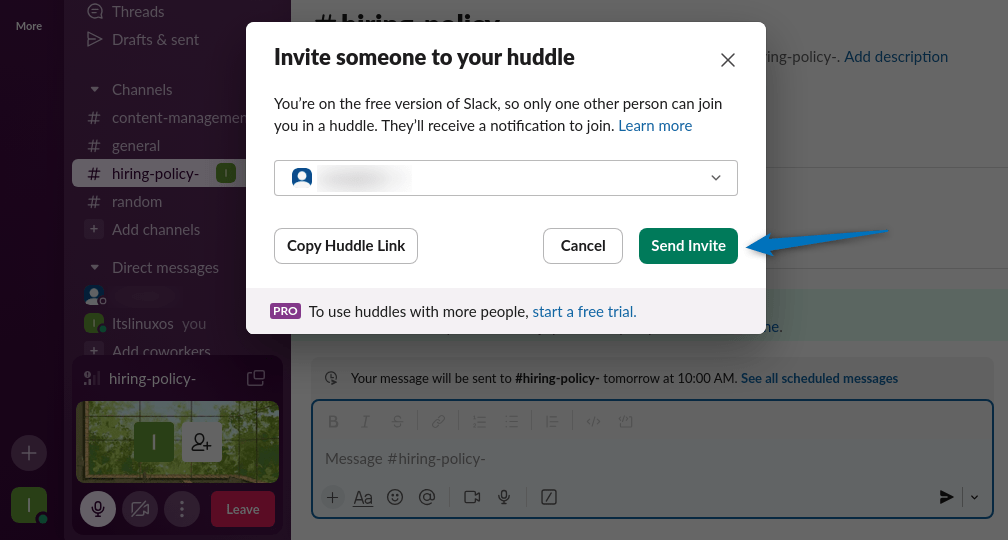
Next, add the participants by clicking on the Add user option in the left pane:
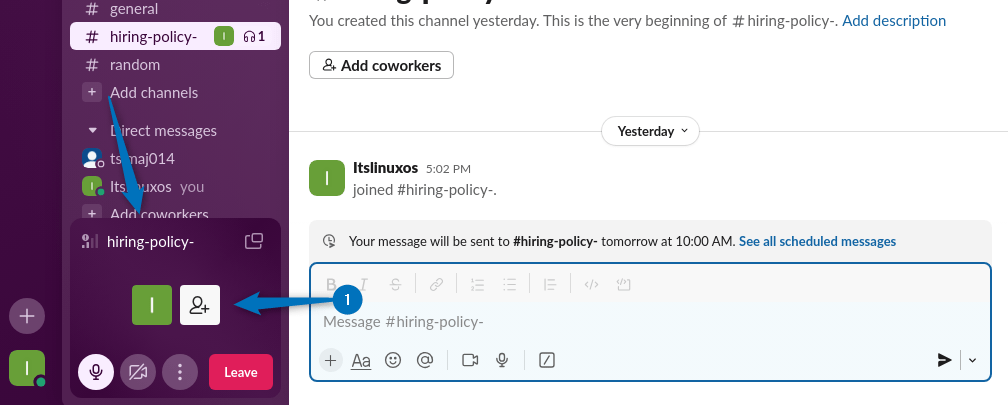
Now add the respective user email, here remember that all the channel members will be automatically added to the huddle:
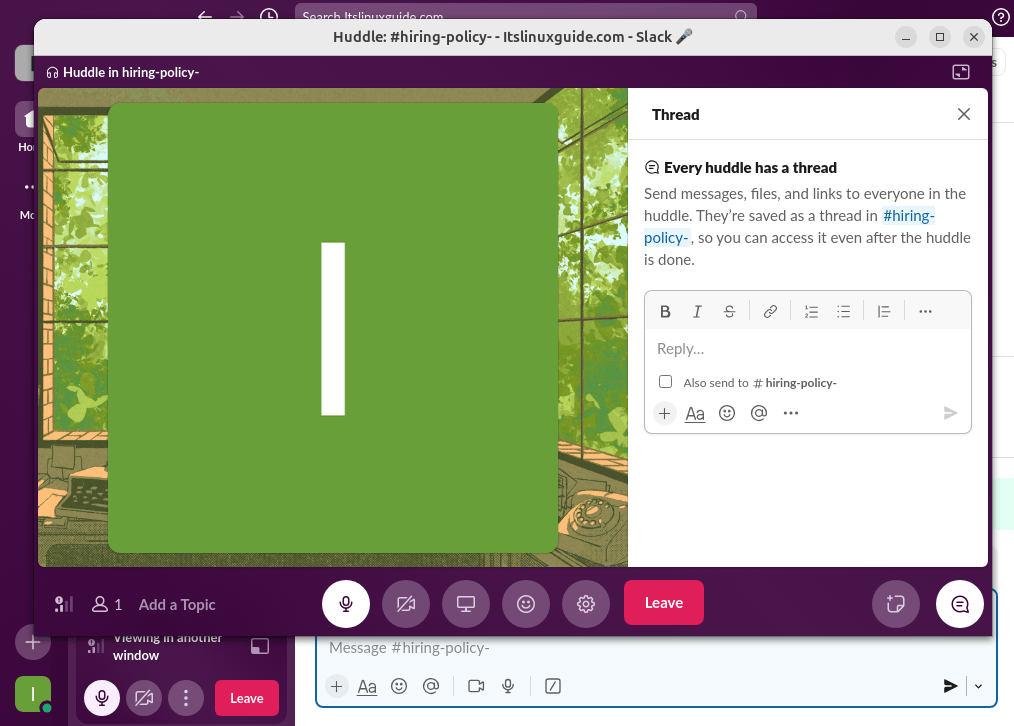
You can open the huddle in a separate window by clicking on that sub-window icon:
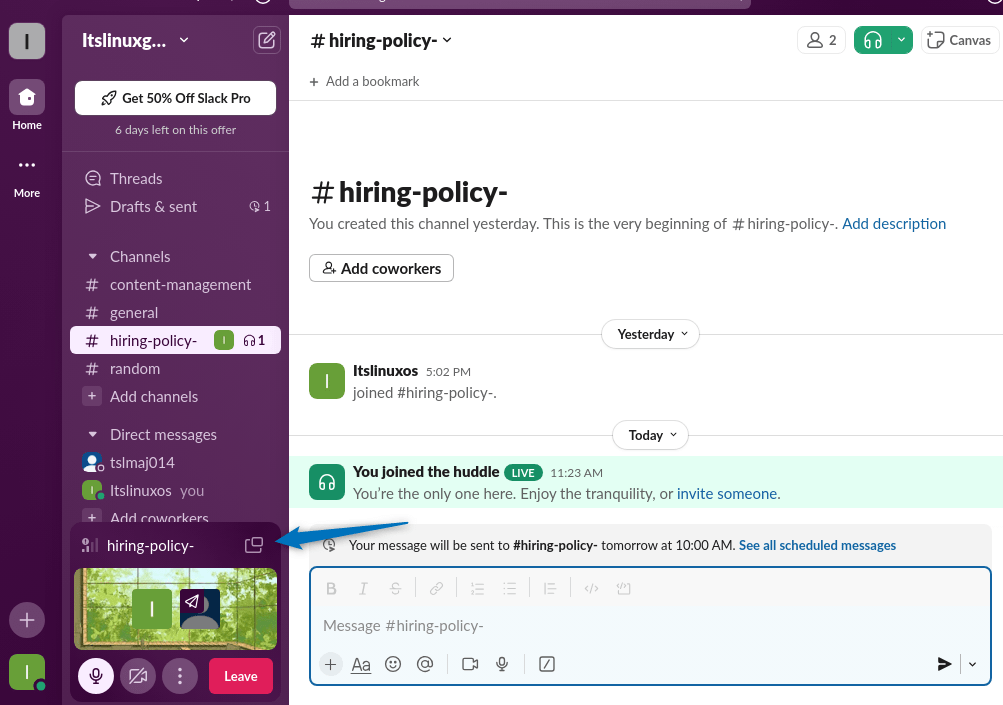
Now here add a topic, send messages/reactions, and a bunch of other stuff:
Conclusion
To install Slack on Ubuntu there are four diverse methods which include using Ubuntu App Center, Slack deb file, Snap, and Flatpak package manager. If you are looking to install Slack via terminal then use the Snap package manager, otherwise using Ubuntu App Center is the best option. For better communication use the options like audio/video calls or screen share.