
OpenCV is primarily a computer vision library that is mostly used for applications like image and video processing, machine learning, deep learning and object detection. In case you are using Linux operating system like Ubuntu, OpenCV can be a good option to begin with carrying out these tasks. Ubuntu provides a favourable environment for developing applications with OpenCV due to its native support, package management, community resources, and integration with other tools.
5- Ways To Install OpenCV on Ubuntu
OpenCV primarily focuses on feature extraction, object tracking, augmented reality and image processing like filtering, edge detection, colour space conversion, and more. There are five ways to get OpenCV on Ubuntu, which this post will discuss.
1: Through Ubuntu Default App Installer
The first method to install OpenCV on Ubuntu is using the apt package manager that use the development library for OpenCV, to install it execute the below command:
sudo apt install libopencv-dev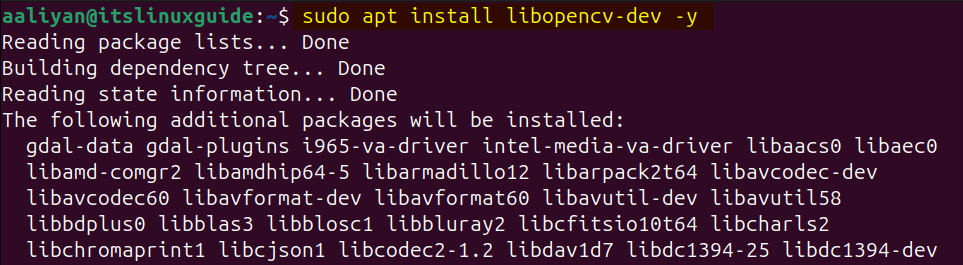
Once the installation is completed, you can list the details of the library installed using the dpkg package manager as in the command below:
dpkg -l libopencv-dev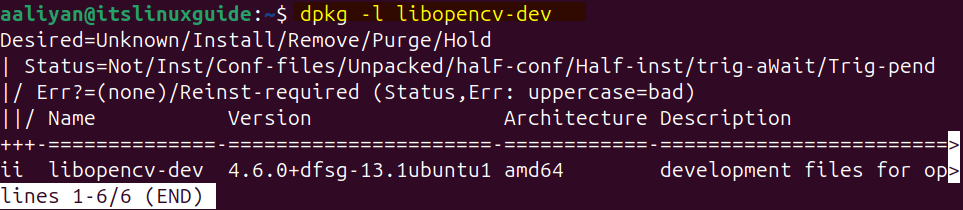
2: Through OpenCV Core Modules
The second method for installing OpenCV is using its core modules tar file, which you can find on GitHub however, but first you need to have installed unzip, cmake and g++ packages. So to install these packages, execute the below command:
sudo apt install -y cmake g++ wget unzip
Next, download the zip file for OpenCV core modules on Ubuntu and name it with opencv.zip file by running the below command:
wget -O opencv.zip https://github.com/opencv/opencv/archive/4.x.zip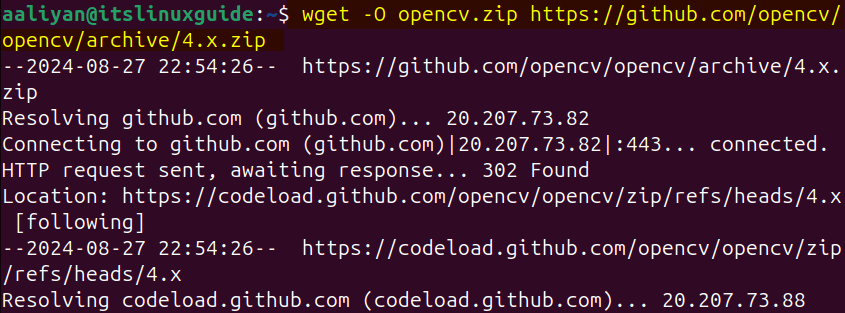
Now extract the OpenCV zip file using the unzip utility you installed earlier by running the below command:
unzip opencv.zip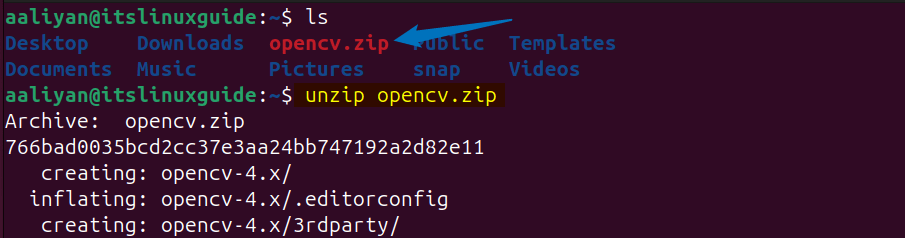
To install OpenCV via its core modules you have to first create the build file, so for that first create a directory named build and switch to it as in the command below:
mkdir -p build && cd build
Now use the cmake utility to generate the build system for OpenCV using the extracted zip file by running the following command:
cmake ../opencv-4.x
Once the build is complete, you will see a successful message at the end along with the directory path where the build files are written:

Now, compile the build files which mainly include source code and link libraries using the cmake utility to configure the build process in Ubuntu, this might take a few hours to complete:
cmake --build .
Once the OpenCV build file is configured, use it to create a make file for OpenCV by executing the below command:
make -j4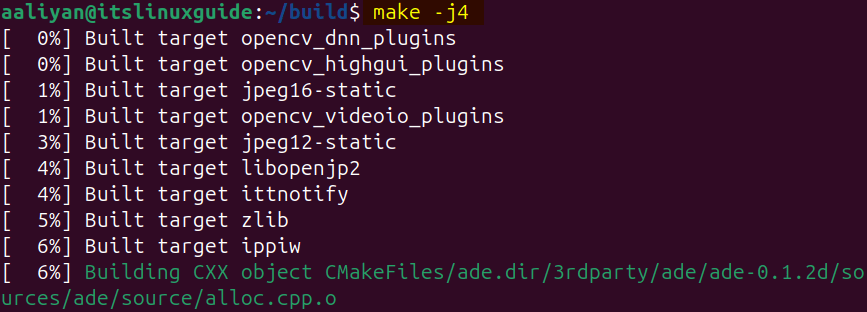
Next, use OpenCV make file to install it on Ubuntu:
sudo make install
After the installation is completed, you can verify it by using the pkg-config utility as in the below command:
pkg-config --modversion opencv4
3: Through opencv_contrib
If you are looking to get some extra modules for OpenCV to extend its functionality or to get features like stereo vision, augmented reality, object detection, and more than you can use the Opencv_contrib for its installation. Here, you need to download the core module file as well as a separate file for contribution modules. To download the core module zip file from GitHub use the below command:
wget -O opencv.zip https://github.com/opencv/opencv/archive/4.x.zip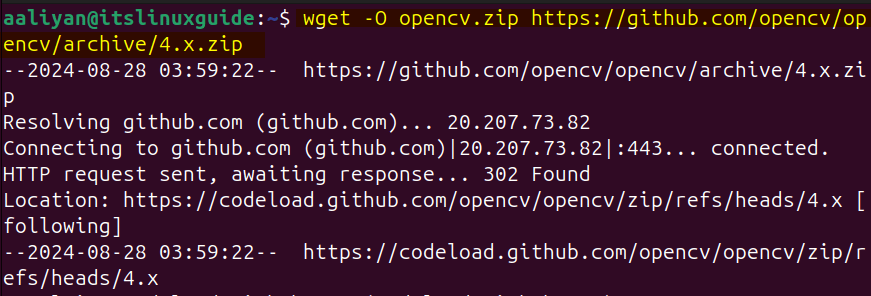
Next, download the contribution modules zip file using the below command:
wget -O opencv_contrib.zip https://github.com/opencv/opencv_contrib/archive/4.x.zip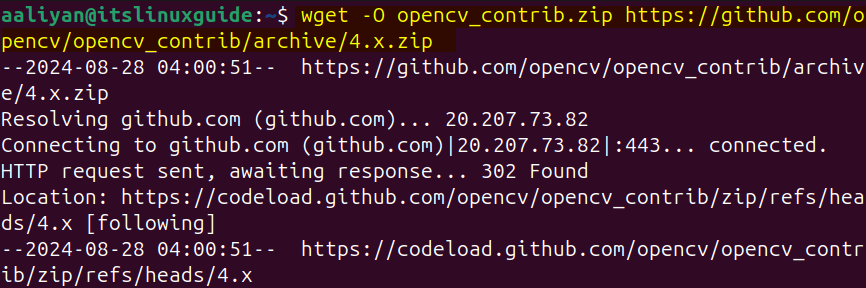
Next, extract the OpenCV core module file using the unzip utility by running:
unzip opencv.zip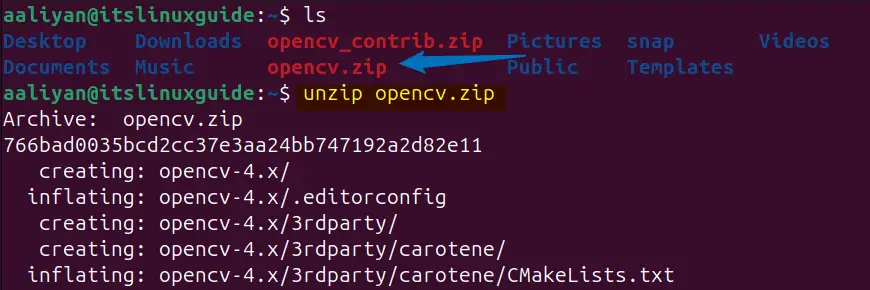
Now extract the contribution module zip file:
unzip opencv_contrib.zip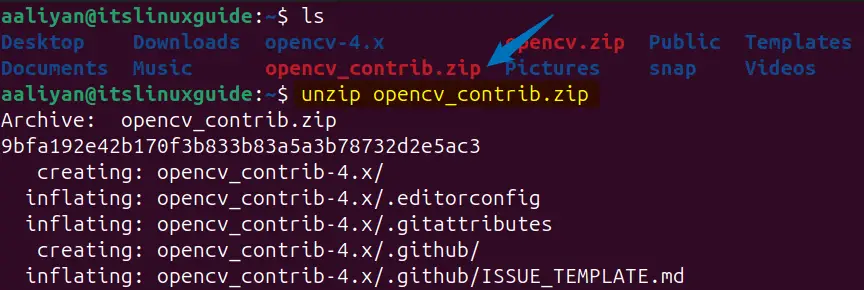
Once both the files are extracted now you need to create a build directory and afterwards switch to this directory:
mkdir -p build && cd buildNow use the cmake utility to generate a build system for OpenCV containing its core and contrib modules by using the below command:
cmake -DOPENCV_EXTRA_MODULES_PATH=../opencv_contrib-4.x/modules ../opencv-4.x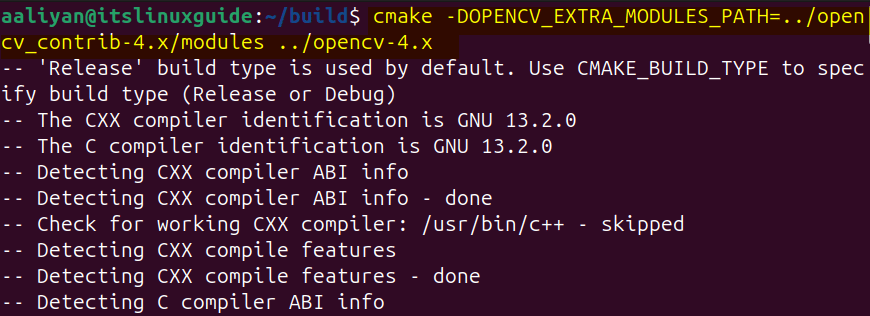
Once the build system is generated, you will see the following message as in the image below:

Now, compile the build files which mainly include source code and link libraries using the cmake utility to configure the build process in Ubuntu:
cmake --build .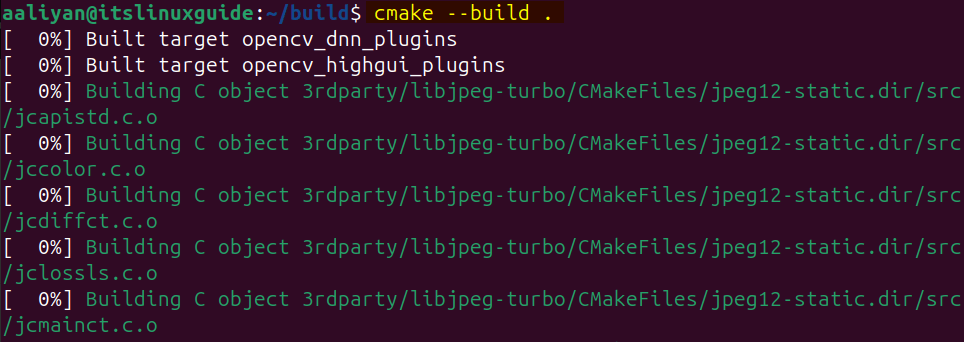
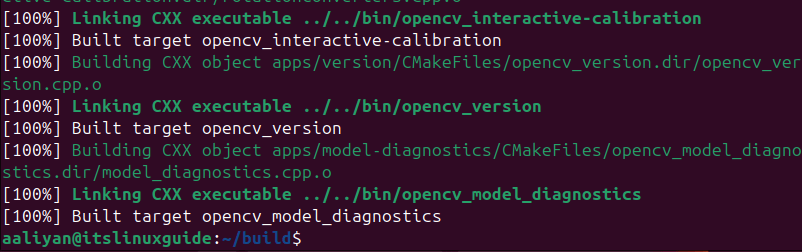
The building process takes a lot of time once the process is completed, you will see the message of Built target opencv_model_diagnostics as in the image below:
Next, create the make file for OpenCV build using the make utility:
make -j4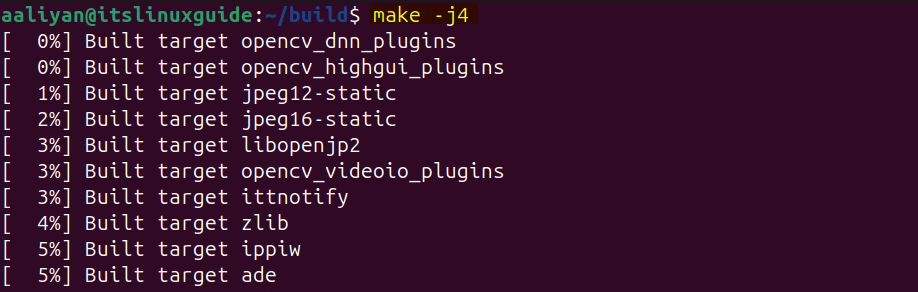
Once the make file is created, successfully install OpenCV by executing:
sudo make install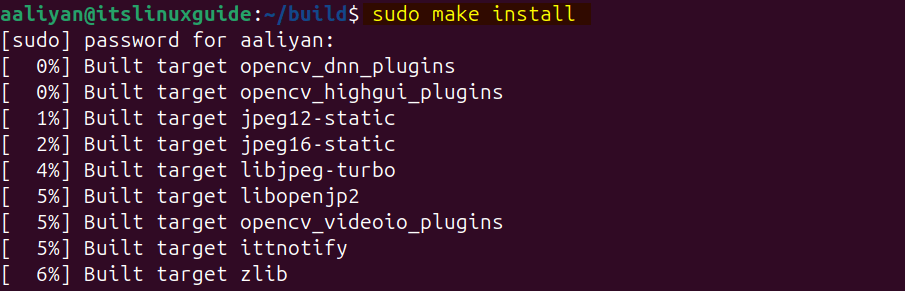
After the installation is completed, you can verify it by using the pkg-config utility as in the below command:
pkg-config --modversion opencv4
4: Through Pip Package Installer
If you are plaining or already working on multiple projects on Ubuntu or any other Linux distribution, then it’s better to create virtual environments that potentially isolates the project itself from the whole system. So in case of OpenCV you can use the pip package manager by creating virtual environment, first you need to install Python virtual environment by using:
sudo apt install python3-venv -y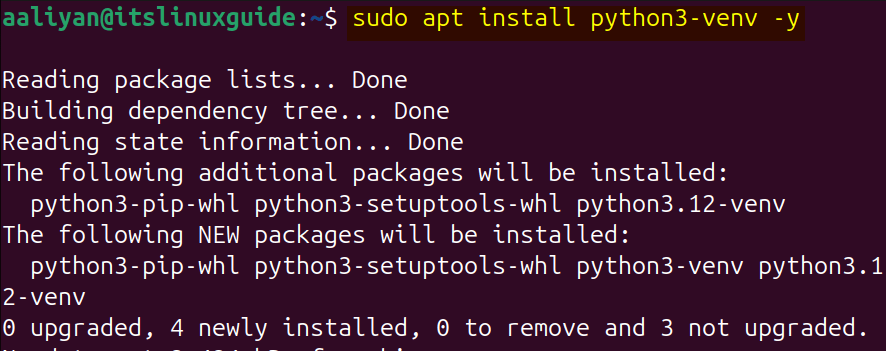
Next, create a virtual environment and then activate it by using the below commands, here you can set the desired name for your virtual environment:
sudo python3 -m venv opencv_install
source opencv_install/bin/activate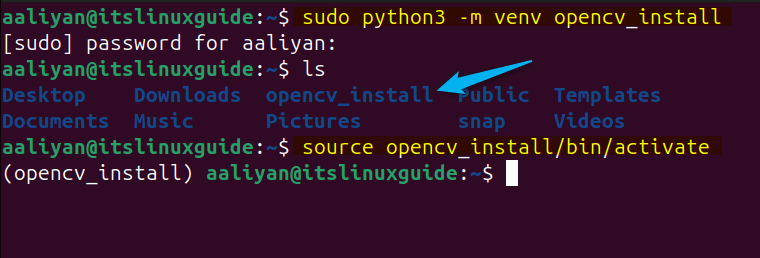
Now use the pip package installer to install OpenCV on Ubuntu by using the below command:
pip3 install opencv-python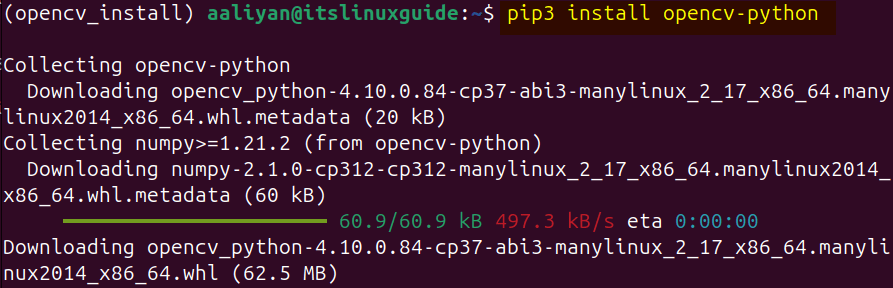
To verify the OpenCV installation via pip, import its library and then display its version by executing the following commands:
python3
import cv2
print(cv2.__version__)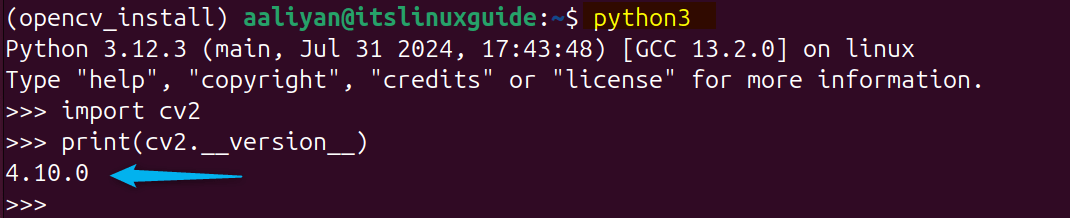
Further, if you want to install the extra modules for OpenCV to extend its functionality than use the contribution package by using the below command:
pip3 install opencv-contrib-python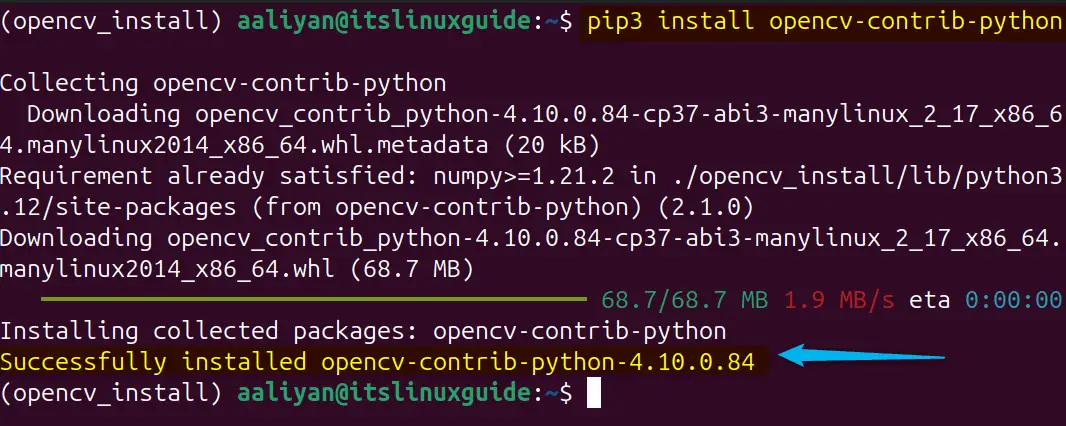
5: Through conda Package Manager
Conda is also a Python based package installer, but it is different from the pip package installer as it is primarily used in machine learning, or data related tasks. Further, it comes with a vast repository of community-contributed packages known as Conda-forge. To begin with OpenCV installation via anaconda, first check the Python version and then create its virtual environment using the following commands:
python --version
conda create -n opencv_install python=3.12.4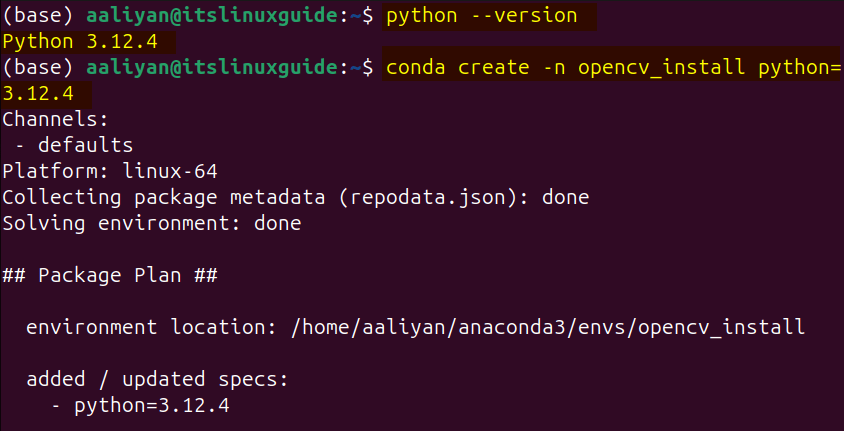
Next, activate the created virtual environment by running:
conda activate opencv_install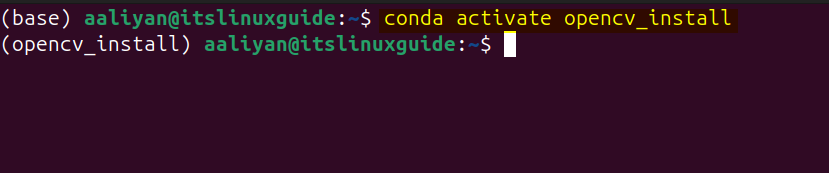
Now use the conda-forge repository to install OpenCV in Ubuntu by using the below command:
conda install -c conda-forge opencv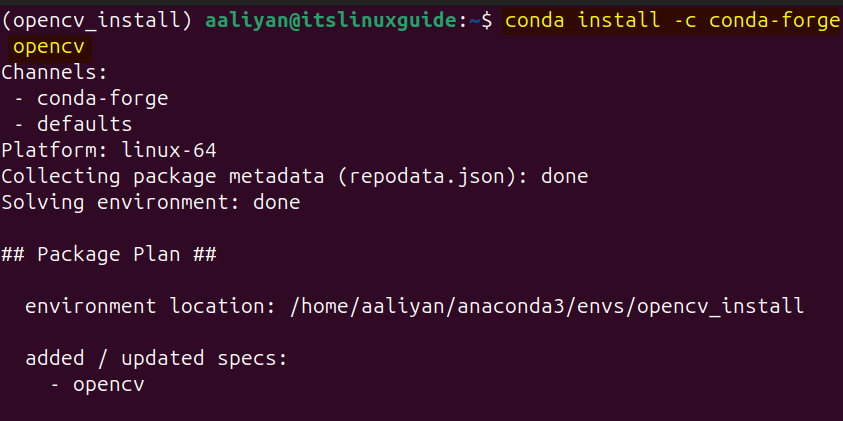
You can verify the OpenCV installation by listing the OpenCV package in conda by using the below command:
conda list opencv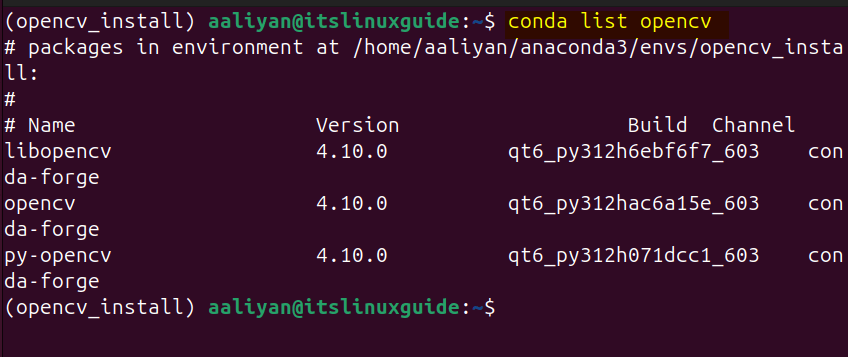
Further, if you are looking to install only core package for OpenCV the use the below command:
conda install opencvHow To Run OpenCV Program in Ubuntu
For beginners, here I have demonstrated a simple example that will help you understand how to compile an OpenCV program using the g++ compiler. First, create a file with .cpp extension using your text editor:
sudo nano test.cpp
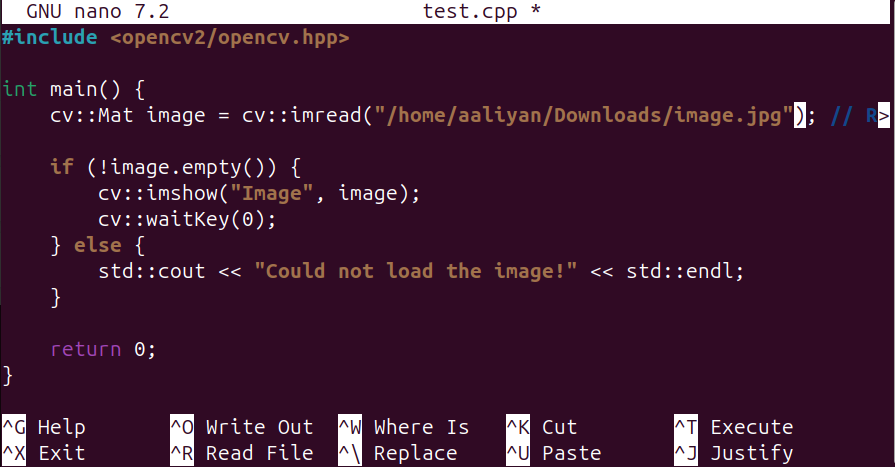
Now add the below lines of code, this is the basic program that loads an image and then displays it. This program uses the OpenCV header file, which provides access to OpenCV functions and classes:
#include <opencv2/opencv.hpp>
int main() {
cv::Mat image = cv::imread("[image-file-path]"); />

if (!image.empty()) {
cv::imshow("Image", image);
cv::waitKey(0);
} else {
std::cout << "Could not load the image!" << std::endl;
}
return 0;
}
Once you have copied the code in the .cpp file, close it after saving it:
Now use the g++ compiler along with the pkg-config utility to compile this code by executing the below command:
g++ test.cpp -o main `pkg-config --cflags --libs opencv4`
Once the code complied run the main program and as a result the respective image will open:
./main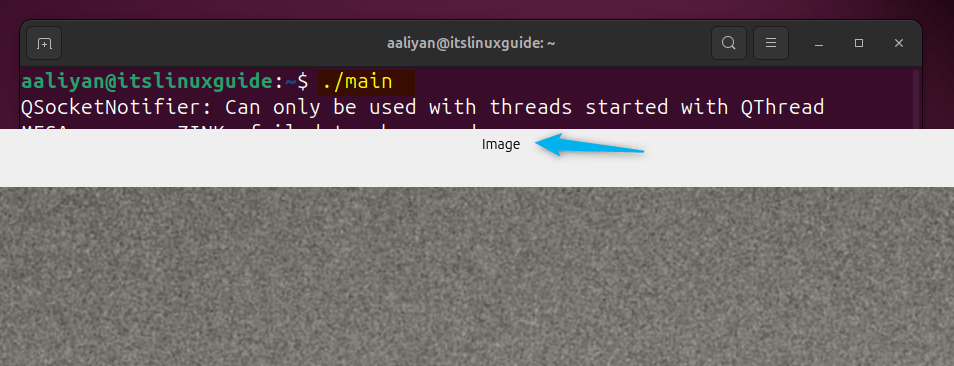
Further, if you see OpenCV header file error or pkg-config error then you have to set the path for pkg-config utility by running the following command:
export PKG_CONFIG_PATH=/usr/local/lib/bin/pkgconfig
Conclusion
This guide explained five ways to install OpenCV on Ubuntu and these ways include using apt package manager, OpenCV core modules, OpenCV Contrib, pip package manager and using anaconda distribution. Also, this post explained how to run a code using OpenCV for loading and displaying an image. The best method to install OpenCV on Ubuntu is either using its apt package manager to using the contrib modules.