
Apache Maven is a standardization framework that works as a build automation tool, dependency manager, and project management tool for Java-based projects. Furthermore, it creates a uniform build system that makes it easy to navigate to multiple projects. This guide will discuss its installation on Ubuntu.
3 Ways To Install Apache Maven on Ubuntu
Maven comes with several features, and the most prominent one is that it’s extensible, by creating custom plugins using scripting languages. This guide will cover three ways to install it on Ubuntu.
1: Through the Ubuntu Default Package Manager
The first method to install Maven-Apache on Ubuntu is via its default package manager; however, before that, installing OpenJDK is necessary, as Maven runs on Java. So, to install OpenJDK, use the command below:
sudo apt install openjdk-17-jre -y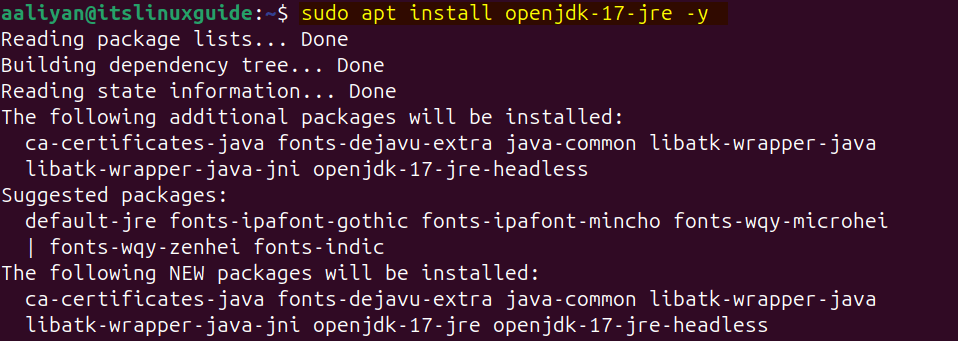
Here, I have installed OpenJDK 17; however, its available version can be checked using the following command:
apt search openjdk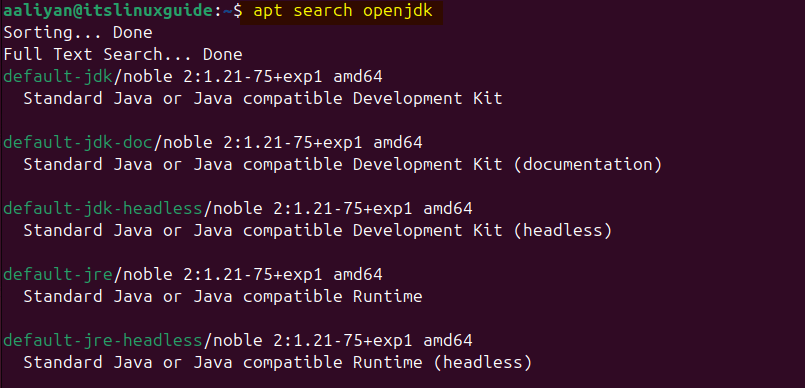
After installing OpenJDK, install Apache Maven by executing the command below:
sudo apt install maven -y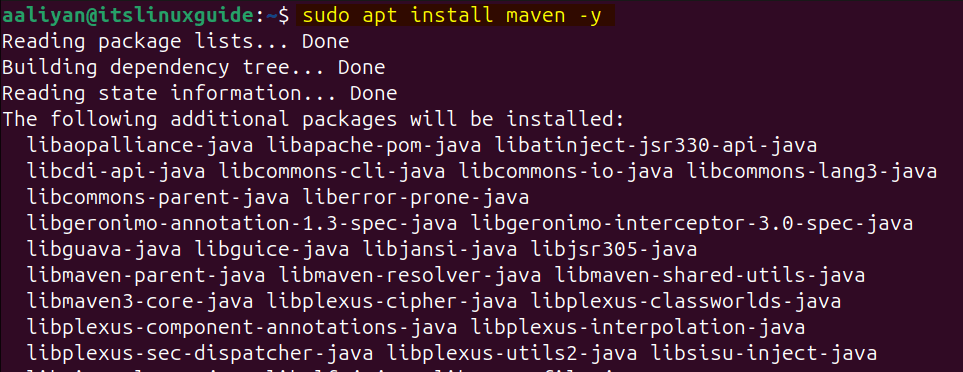
To verify the Maven installation via apt execute the version command:
maven --version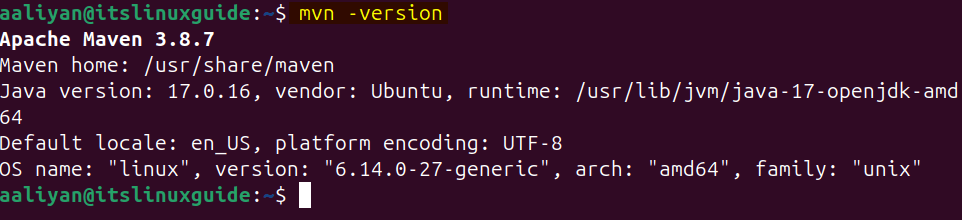
2: Through Maven Tar File
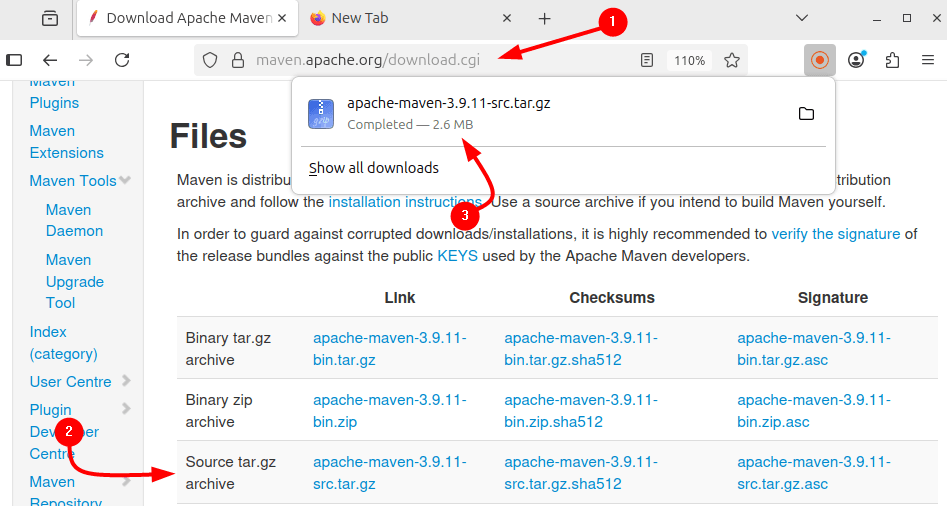
The second method to install Maven is to use its binary file, which is precompiled and an official release provided by Apache Maven. To download the binary file for Maven, visit its official download page:
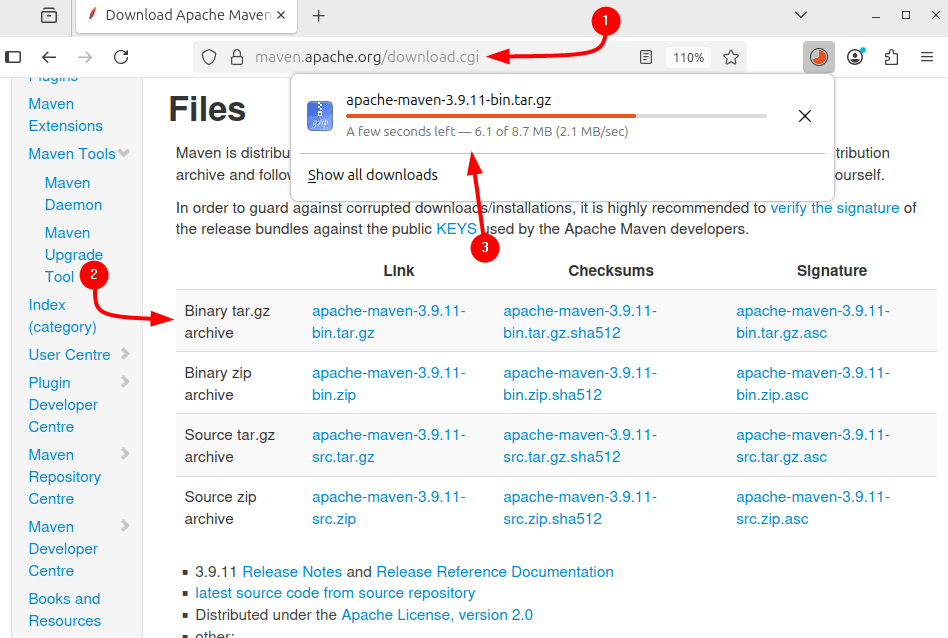
Alternatively, use the download link for the file and download it via terminal by using the command below:
wget https://dlcdn.apache.org/maven/maven-3/3.9.11/binaries/apache-maven-3.9.11-bin.tar.gz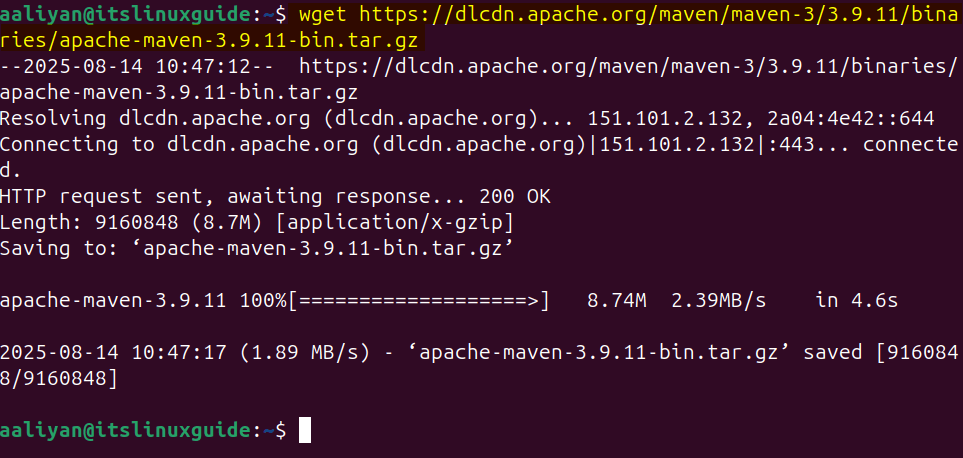
Next, extract the tar file via the tar utility:
sudo tar xzf apache-maven-3.9.11-bin.tar.gz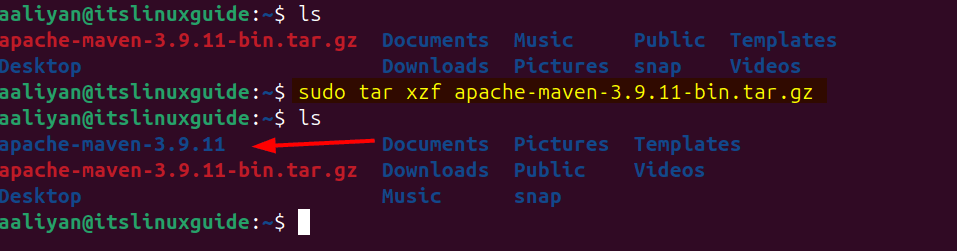
Now, move the extracted file to the operation software directory (opt), which is primarily used to manually download and install software on Linux:
sudo mv apache-maven-3.9.11 /opt/maven
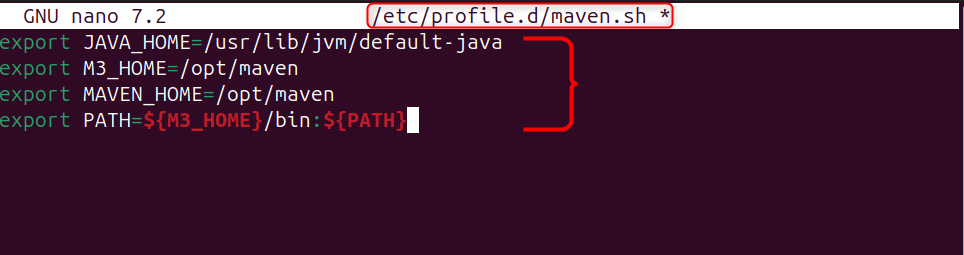
Next, create a bash file to add the path for the Maven and Java home environment variables:
sudo nano /etc/profile.d/maven.sh
Use the lines of code below for the path declaration, and after that, save the file:
export JAVA_HOME=/usr/lib/jvm/java-17-openjdk-amd64
export M3_HOME=/opt/maven
export MAVEN_HOME=/opt/maven
export PATH=${M3_HOME}/bin:${PATH}
Next, make this script file executable using +x and chmod command:
sudo chmod +x /etc/profile.d/maven.sh
Now apply the changes instantly without logging out and back in, in the current shell using the source command:
source /etc/profile.d/maven.sh
To give Maven multiple access points, or in simpler terms, to make it accessible from anywhere in the system, create a symbolic link by executing:
sudo ln -s /opt/apache-maven-3.6.3 /opt/maven
Now verify its installation by checking its version:
mvn -version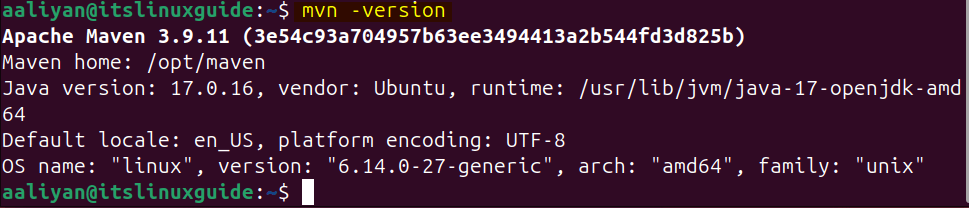
Here, I have installed version 3.9.11, but Maven has already released its 4.x version, which is still in development. To download the 4.0.0-tc-4 version of Maven, visit its download page:
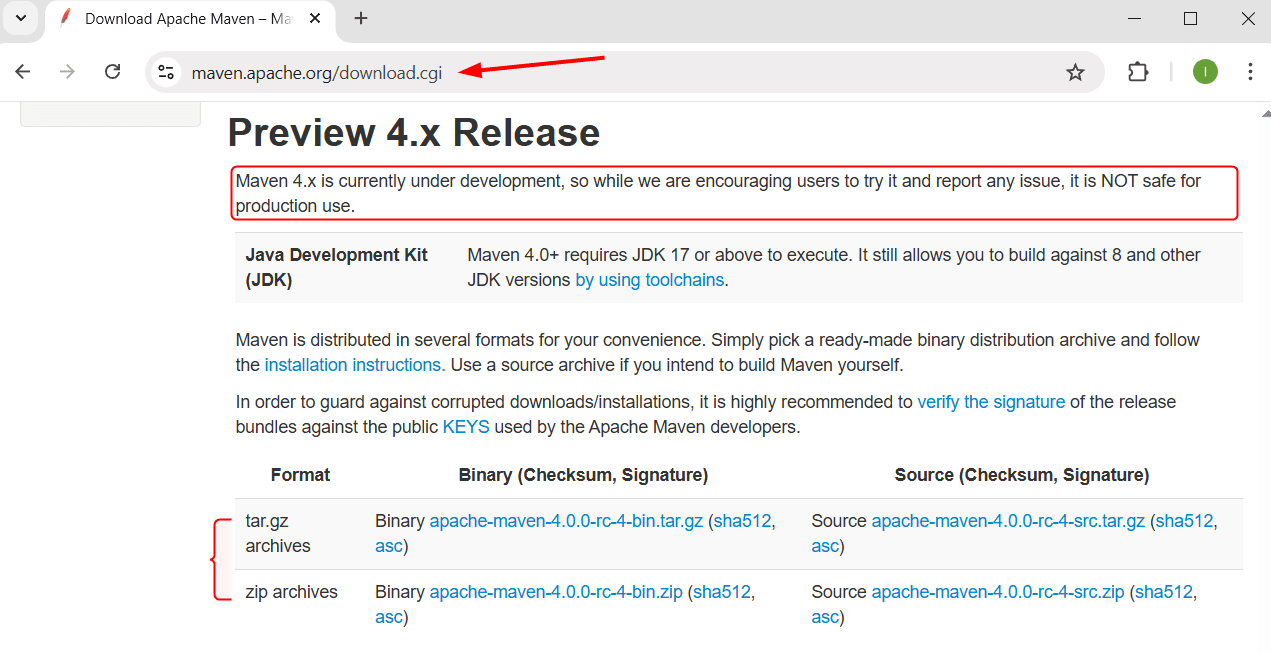
The process for its installation is the same:
mvn -version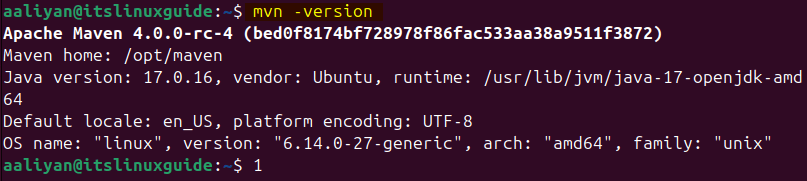
Note: It is important to note here that once the version command is executed, there might be an error of the JAVA_HOME environment variable is not defined correctly, as in the image below:

To find the correct path for OpenJDK installation on Linux/Ubuntu, use the below command:
readlink -f $(which java) | sed "s:/bin/java::"
Paste the path of the JAVA_HOME environment variable in the bash file for Maven and save it:

3: Through Maven Source File
The third and final method to install Maven on Ubuntu is via its source file, but this is only recommended for developers who want to modify or change its code. To download the source file, visit the Apache Maven download page:
Or use the below command to download it via terminal:
wget https://dlcdn.apache.org/maven/maven-3/3.9.11/source/apache-maven-3.9.11-src.tar.gz
Next, extract the Maven source file via the tar utility:
sudo tar xzf apache-maven-3.9.11-src.tar.gz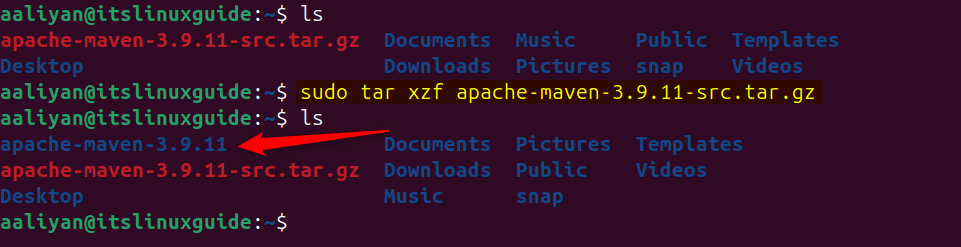
Now, navigate to the Maven extracted directory and create a directory named ‘target’. Afterwards, assign it permissions by executing the below command:
sudo mkdir -p target
sudo chown -R $USER:$USER ~/apache-maven-3.9.11
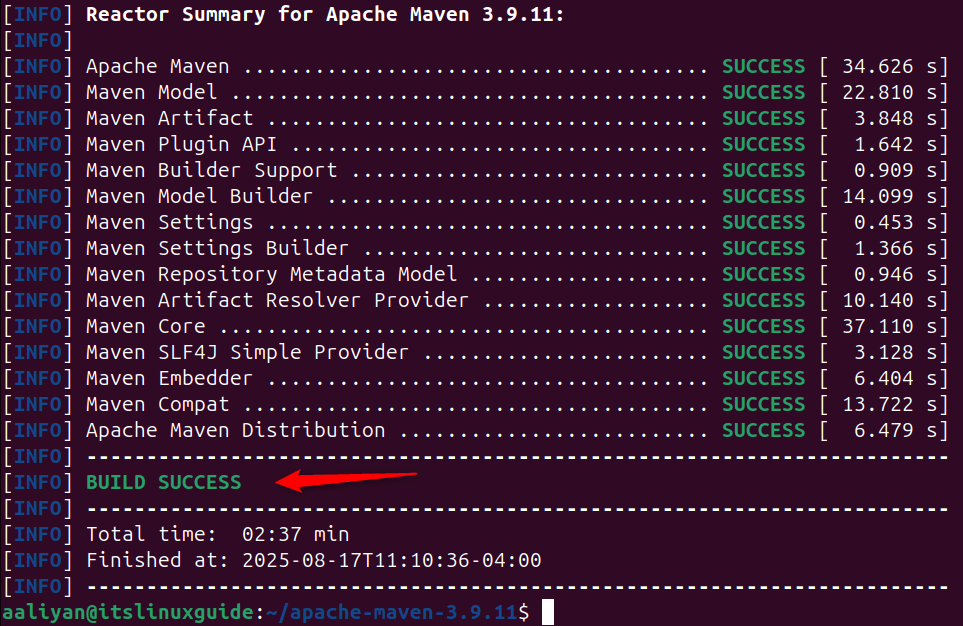
Next, build the source code of Maven by executing the command below:
mvn clean install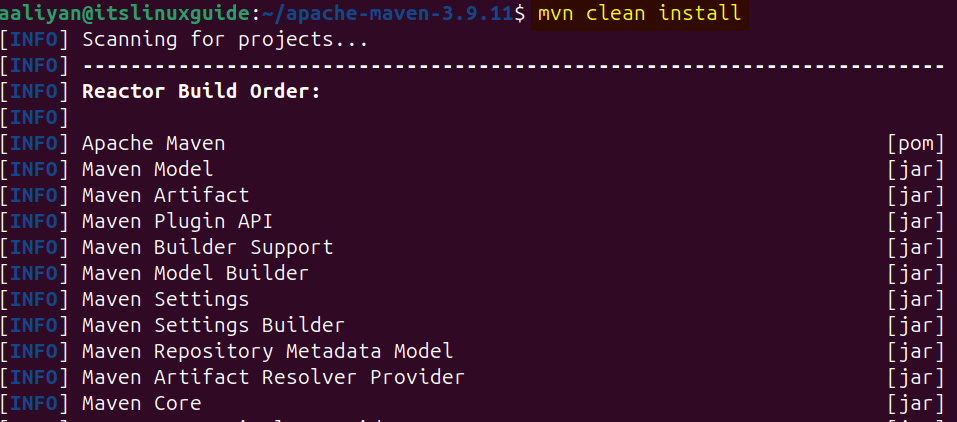
Once the build process is completed, there will be a message of build success, as in the image below:
Note: To use the source file, the binary file might need to be installed, as there is a possibility of getting the error of mvn command not found.
Conclusion
There are three ways to install Maven on Ubuntu discussed in this guide: using the apt package manager, using the Apache Maven binary, and source file. The source file method is for developers who want to modify its code to their needs.