
Joplin is an open-source note-taking application that features rich-text editing, markdown formatting, task management, and attachment support. Furthermore, it supports multiple sync targets like Dropbox, OneDrive, Nextcloud, WebDAV, and Joplin Server. For Linux/Ubuntu, it offers CLI support for automation, full control over data (Markdown + SQLite), and privacy through end-to-end encryption even on third-party cloud providers.
5 Ways to Install Joplin on Ubuntu
One of the prominent features of Joplin is its customization and extensibility, as it integrates well with Plugins and themes. This ultimately makes it feasible for automation tasks as well. There are 5 ways to install Joplin, which this guide will discuss:
1: Through the Joplin AppImage File
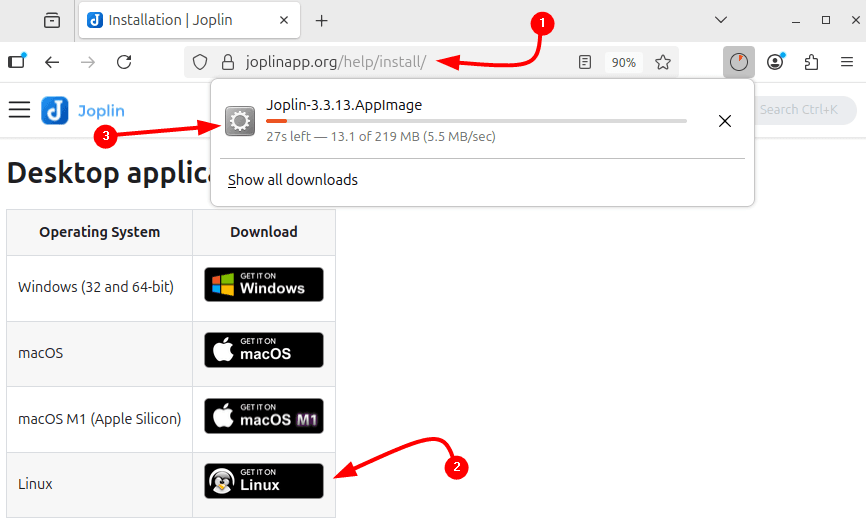
The AppImage is a sort of plug-and-play version of an application, as it doesn’t require installation. So, in this case, download Joplin’s AppImage file from its official site. However, there are two ways to run Joplin via its AppImage file, which will be discussed:
Next, change its permissions for AppImage to make it runnable by all users and make it executable so that it is treated as a program:
sudo chmod a+x Joplin-3.3.13.AppImage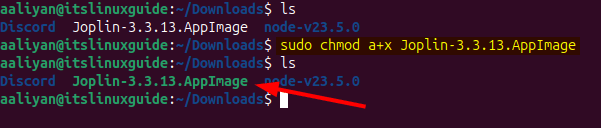
Now run the Joplin AppImage file on Ubuntu with the no-sandbox flag, as it disables the Chromium sandbox entirely:
./Joplin-3.3.13.AppImage --no-sandbox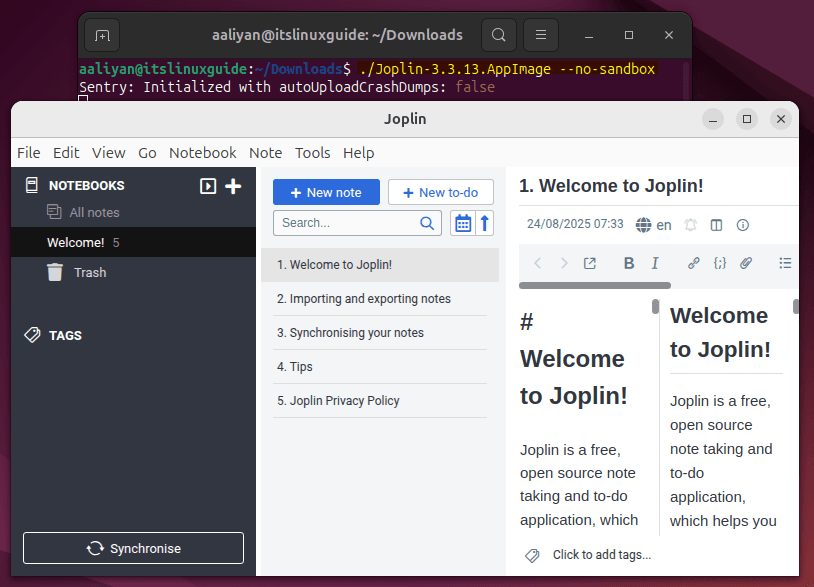
Note: On executing the Joplin AppImage file, there might be an error of the fuse library, so in that case, either use the extract AppImage file method or install the fuse library via the apt package manager:
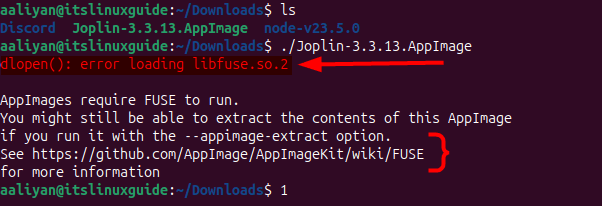
In the apt package installer, the fuse 2 library is not available, but instead of that, it installs libfuse2t64, so execute the following command below:
sudo apt install libfuse2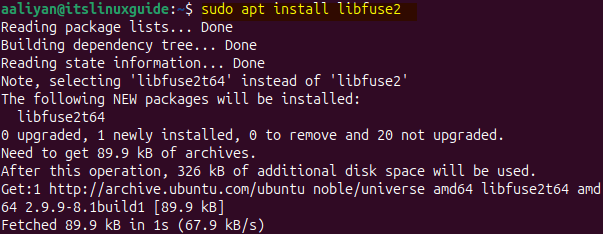
Through the AppImage Extract Method
Another method for installing Joplin on Ubuntu via its AppImage is to extract it, which can be useful in debugging/manually fixing the errors. Also, it is feasible when its desktop launcher is to be created or fuse library is not available:
./Joplin-3.3.13.AppImage --appimage-extract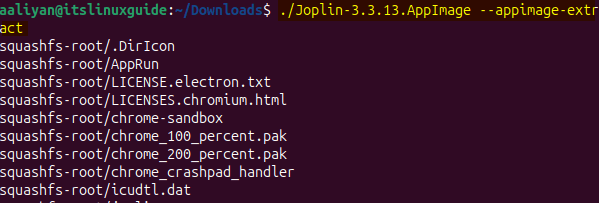
Once the file is extracted, navigate to the squashfs-root folder:
cd squashfs-root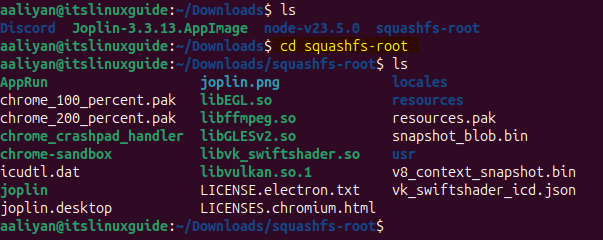
Now, first change the ownership of the folder to root, and then set the permissions for each type of user. This can be changed based on the user’s preference:
sudo chown root:root chrome-sandbox
sudo chmod 4755 chrome-sandbox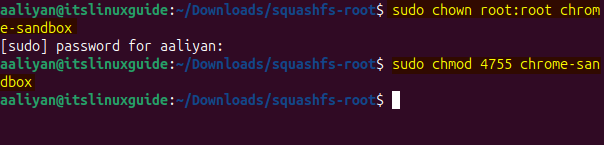
Lastly, execute the AppRun file to launch Joplin on Ubuntu:
./AppRun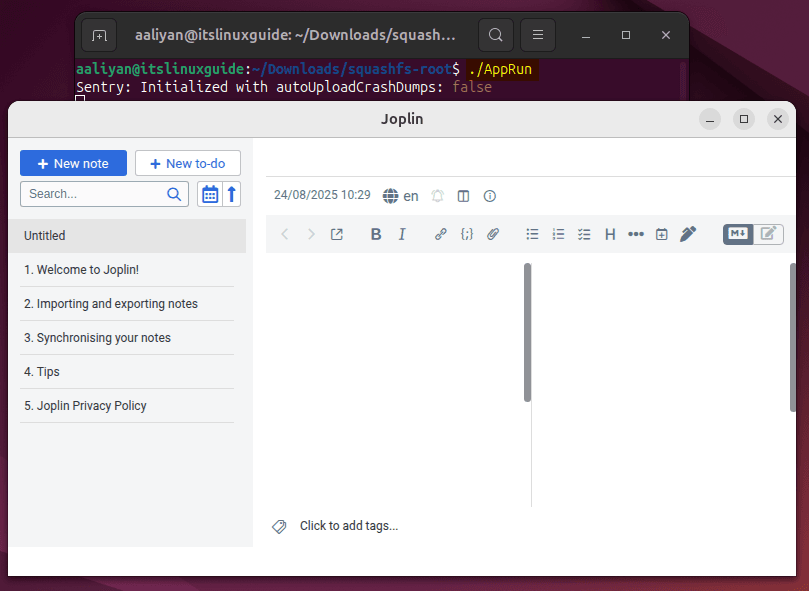
2: Through Joplin Bash File
Joplin comes with an install and update bash script that just makes its installation a one-command operation, so in that case, execute the following command:
wget -O - https://raw.githubusercontent.com/laurent22/joplin/dev/Joplin_install_and_update.sh | bash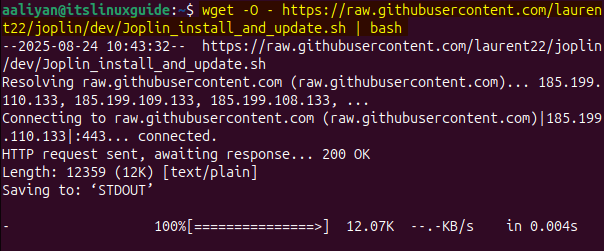
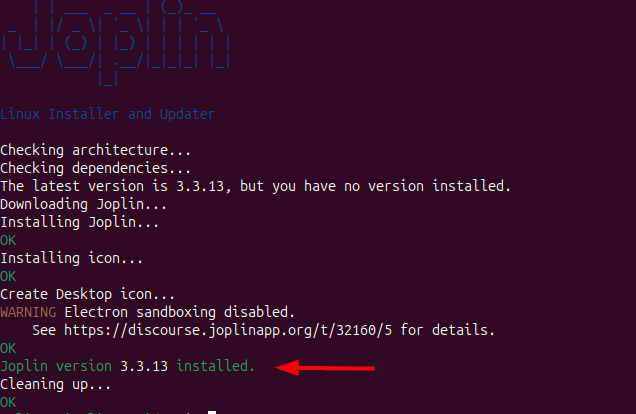
Once the installation is completed, there will be a message of successful installation at the end, as in the image below:
To Launch Joplin on Ubuntu installed via its bash script, search for it in the application menu:

3: Through Snap Store
The third-party app installers, like Snap for Linux operating systems, play a significant role when it comes to sandboxing and security. Moreover, apps come with all required libraries inside the package, in contrast to the apt package installer. To install Joplin via the snap package manager, use the following command:
sudo snap install joplin-desktop
Joplin comes with both the terminal and GUI versions, and here I have installed its GUI version, so in that case, execute the command below to launch the desktop version:
joplin-desktop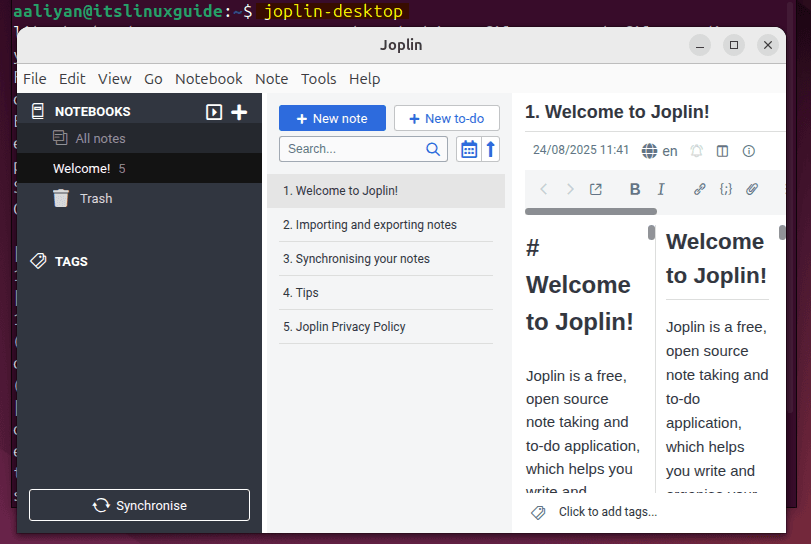
4: Through Flathub Repository
Flathub is another third-party package installer just like Snap so to install Joplin on Ubuntu, execute the below command:
flatpak install flathub net.cozic.joplin_desktop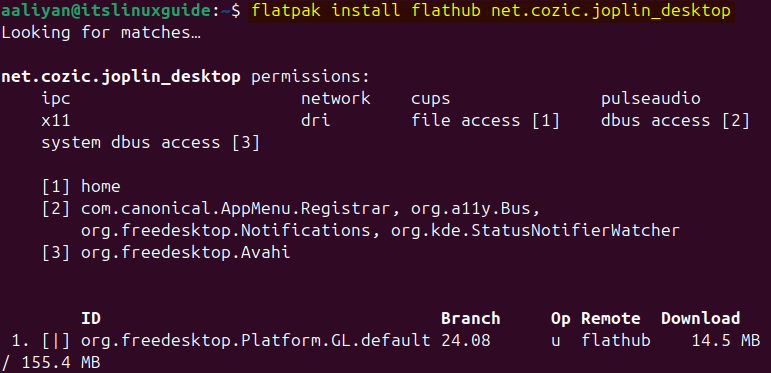
Similarly, run Joplin using the following command installed via Flathub repository:
flatpak run net.cozic.joplin_desktop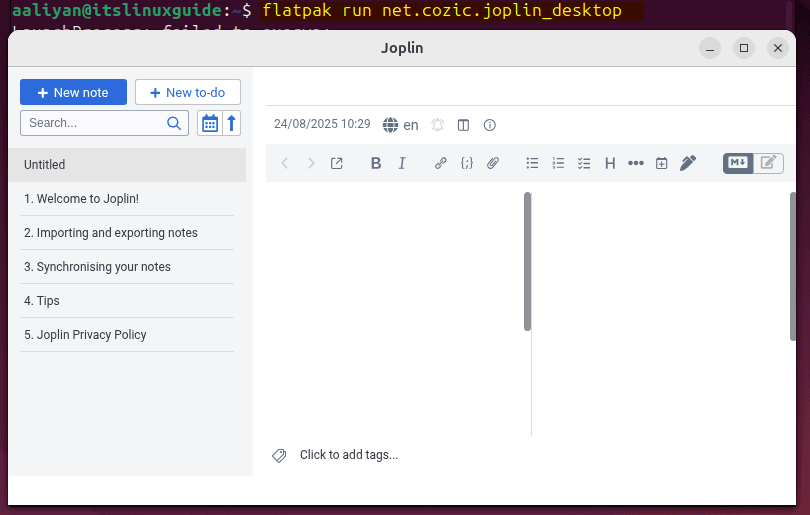
5: Through Ubuntu App Center
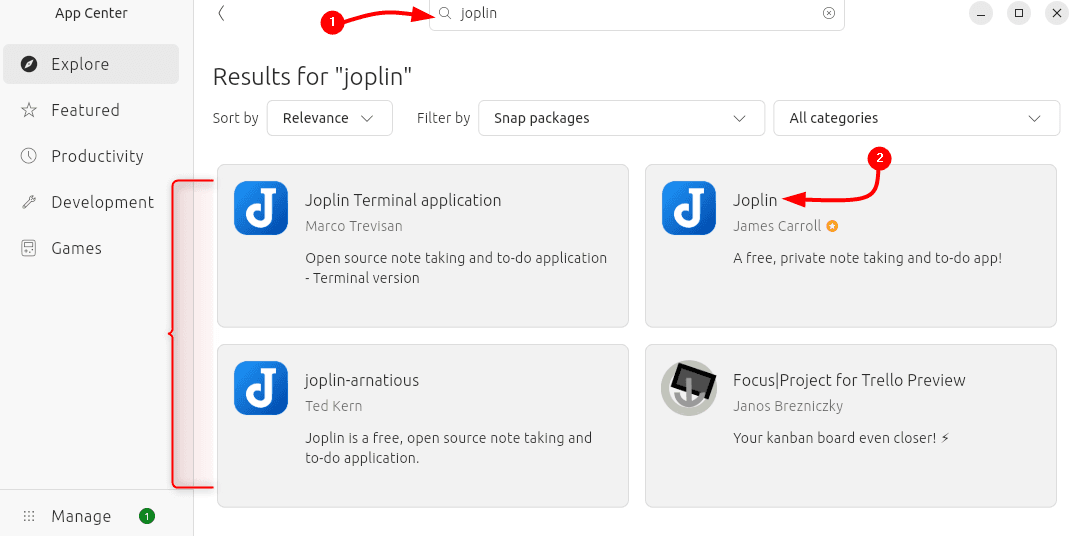
Ubuntu’s App Center is just like a Google Play Store, which is primarily a GUI version of the Snap package installer. However, there are also some Debian-based packages available in the App Center. To install Joplin, first search for it; there will be three options select Joplin by James Carroll.
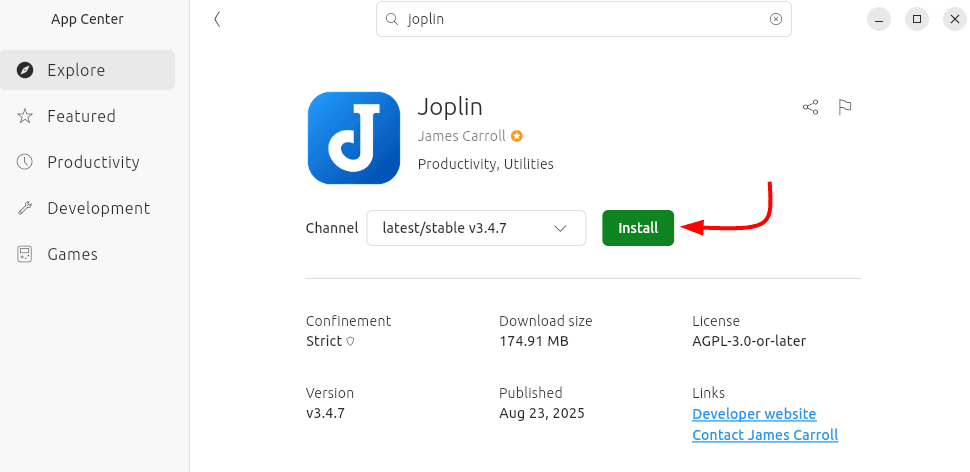
Now click on the install:
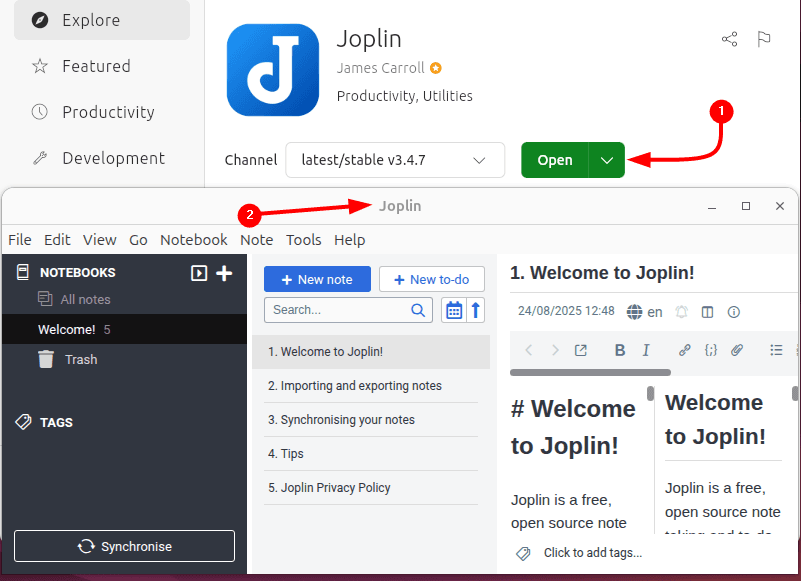
To Launch Joplin on Ubuntu, either click on the open icon in the app menu or search for it in the apps menu:
Conclusion
Joplin is a note-taking application that comes with flexible installation options, and not only that, it provides command-line integration as well. There are five ways to install it on Ubuntu, which include the Joplin AppImage file, the Bash script, the Ubuntu App Center, and via third-party app installers like Snap and Flatpak. All of these methods were discussed in this guide.