
ImageMagick is an image editing tool that holds all the basic-level editing features and is suitable for Linux distributions like Debian. The key feature that still makes it a choice for most users these days is that it can be used for automating image processing tasks by using the command line interface. Furthermore, the ImageMagick tool is an open-source tool that allows modification in its source code, paving the way to mold the tool as per the needs.
4 Ways to Install ImageMagick on Debian
ImageMagick no doubt comes with beginner-level editing features, but on the other hand, it is lightweight and requires less resource usage. Most of its features include resizing, converting formats, and applying simple transformations to images, like applying effects.
Method 1: Through Default Package Manager
The first method to install ImageMagick is using is default package repository, which holds the files of nearly all the apps compatible with Linux operating systems:
sudo apt install imagemagick -y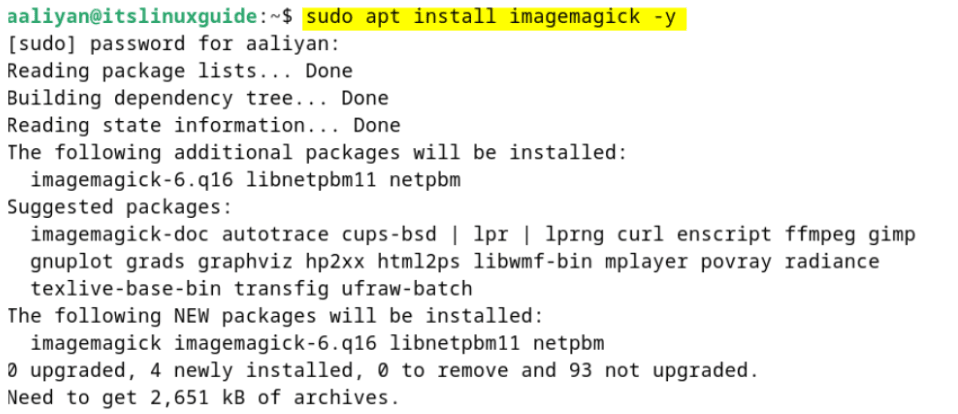
The drawback of using this method is that apt has the older version of this image editing tool, which can be verified by using the following command:
identify -version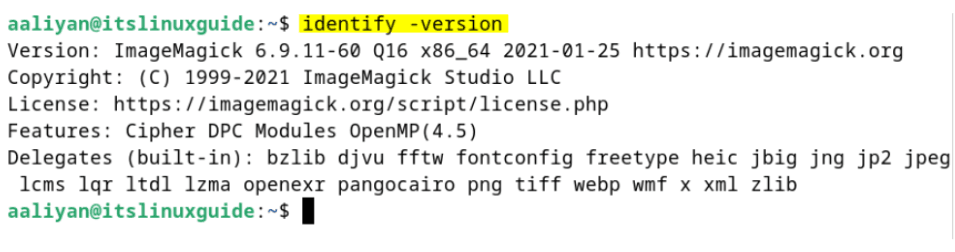
Note: On Debian, there is a possibility that it is pre-installed; in that case, check the list of apps already installed.
Method 2: Through AppImage
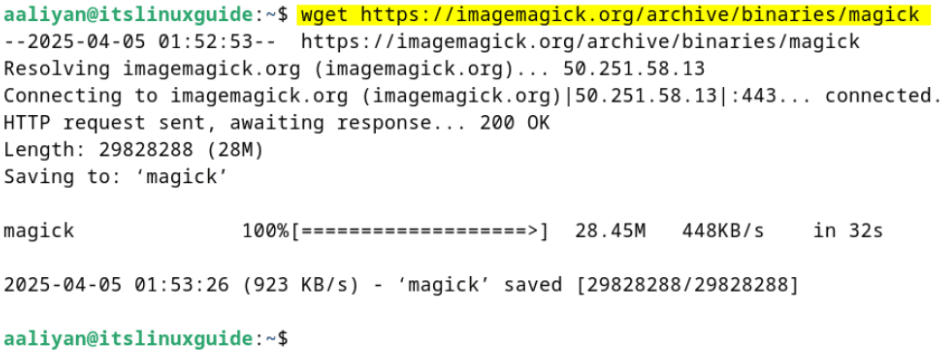
Nearly all the applications for Linux operating systems come with pre-installed versions, which are usually named AppImage. In the case of ImageMagick, the AppImage can be either downloaded via its archive or by executing the command below:
wget https://imagemagick.org/archive/binaries/magick
Once the file is downloaded, give the owner of the file permissions to execute it, and once the permission is changed, the color for the file will turn green:
chmod u+x magick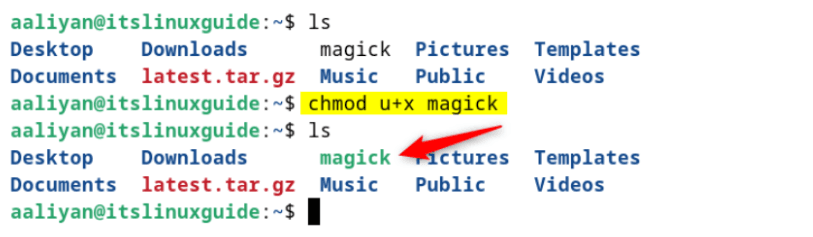
Now, verify the permission by executing the help command:
./magick -help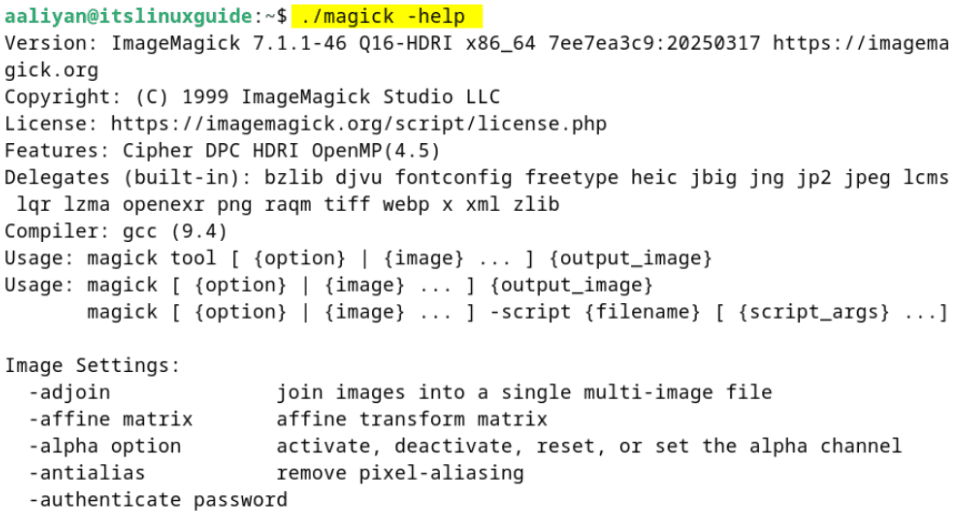
To use ImageMagick via its AppImage file, use the following command syntax:
sudo ./magick [commnad] <input-image-name output-image-name>Method 3: Through Tar File
The third method to install ImageMagick is through its tar file; this way, one can get the latest version of it. Installing it using the compressed file is a three-step process:
Step 1: Download and Extract the Tar File
Just like the AppImage file, there are two ways to download the tar file: one is by manually downloading it from the archives page, as in the image below:

On the other hand, use the following command in the terminal to download the tar file:
wget https://imagemagick.org/archive/ImageMagick-7.1.1-23.tar.gz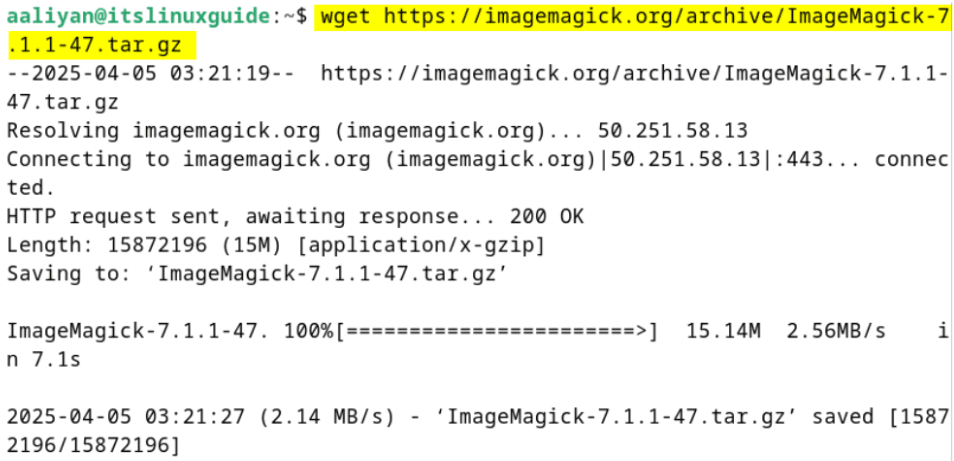
Now, use the tar utility to decompress the ImageMagick file by executing:
tar xvzf ImageMagick-7.1.1-23.tar.gz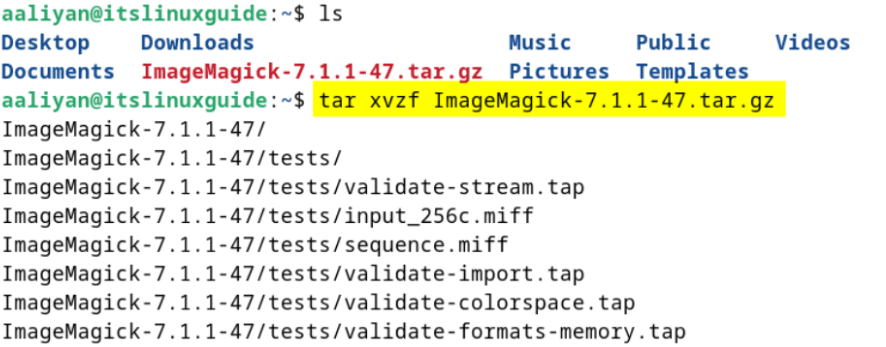
Step 2: Configure and Build the Application
The next step is to run the configuration file to check the availability of dependencies required to run the application on Debian. For that, navigate to the extracted directory and execute the following command:
./configure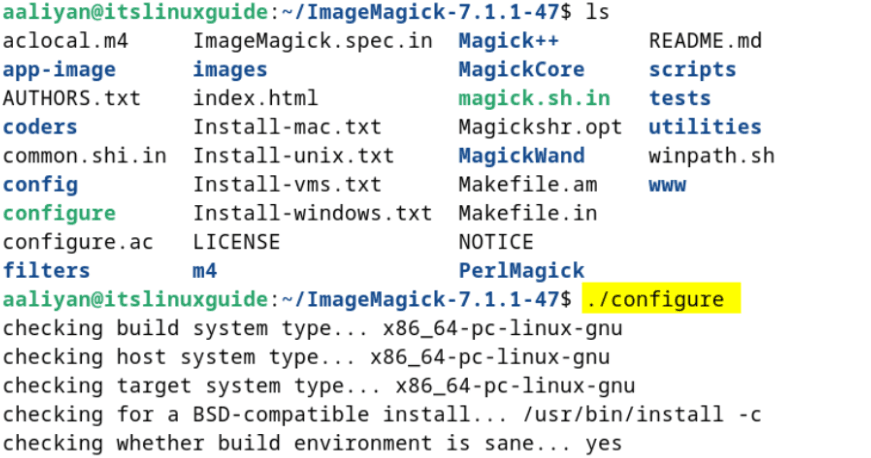
The next thing is to create a setup file using the make utility by executing:
make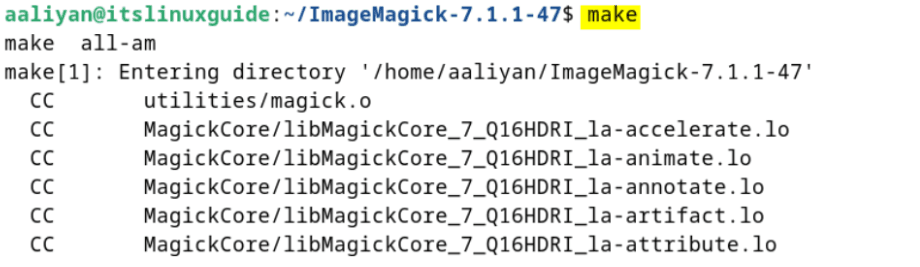
Step 3: Install ImageMagick
Now install ImageMagick via the Makefile created in the previous step by executing:
sudo make installStep 4: Run the Dynamic Linker and Verify the Installation
ImageMagick might need to access some libraries that are linked to the operating system, so in that case, use the dynamic linker to avoid any access issues:
sudo ldconfig /usr/local/lib
The last thing is to verify the installation, which can be done by checking the version:
magick -version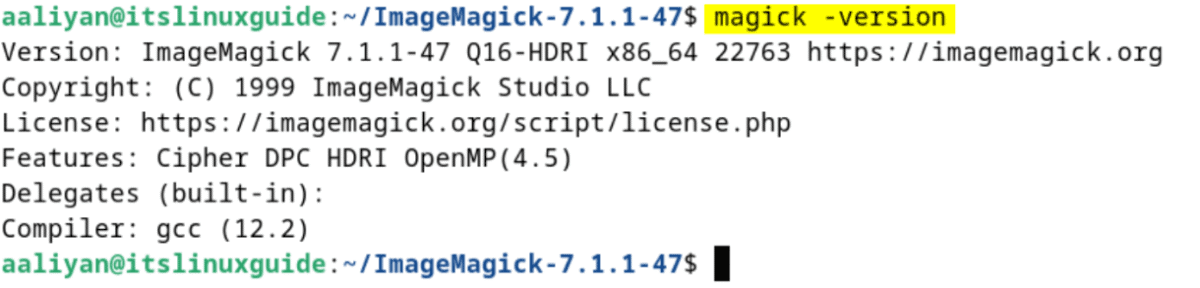
Method 4: Through the git Repository
The fourth and the last method for installing this image editing tool is using the Git repository, which often does not come pre-installed, so first use the command below for installing git:
sudo apt install gitNow clone the ImageMagick repository from GitHub by using the command below, as a result, this will create a directory for it:
git clone https://github.com/ImageMagick/ImageMagick.git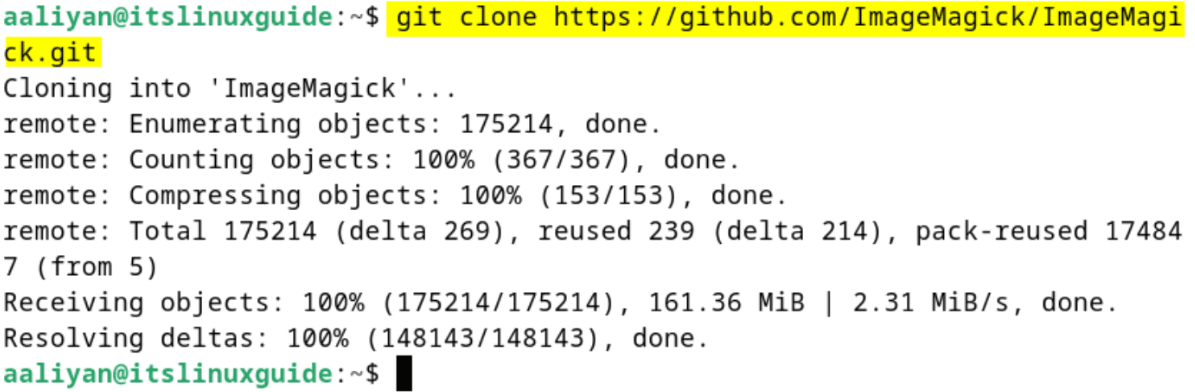
Before running the configuration file for this tool, there are some libraries that should be installed first, and for that, use:
sudo apt install libjpeg-dev libpng-dev libgif-dev libfreetype6-dev libxml2-dev libltdl-dev libtiff-dev liblcms2-dev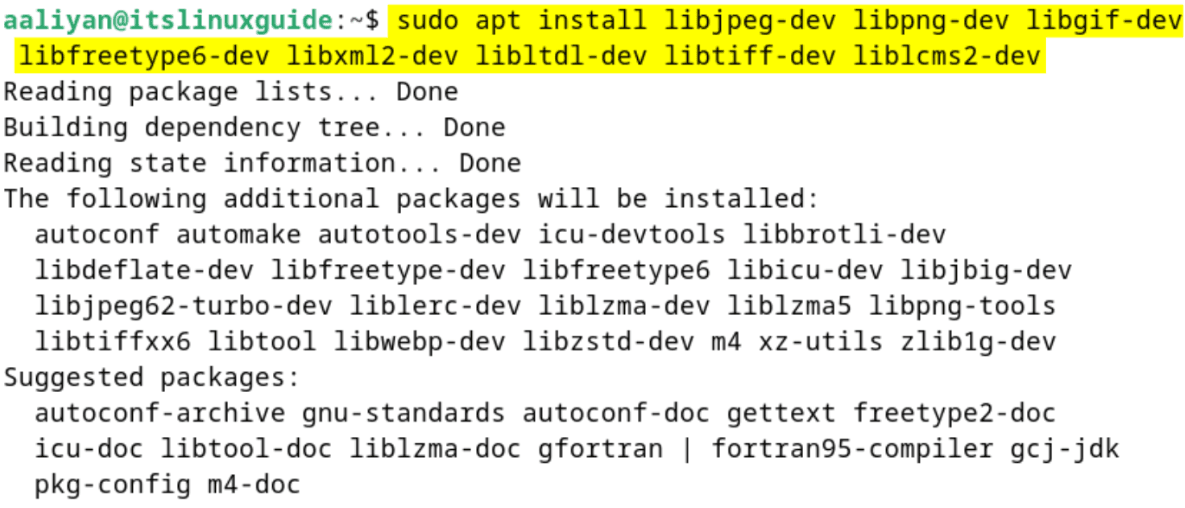
Now, run the configuration file by navigating to the cloned directory from GitHub:
./configure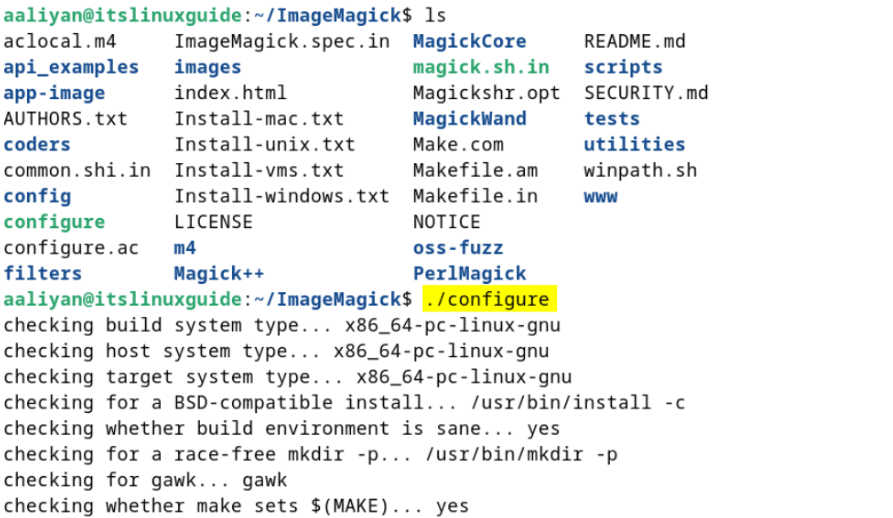
Furthermore, the build options can be customized by simply adding the module flag, which will include all the necessary modules in the build process:
./configure --with-modules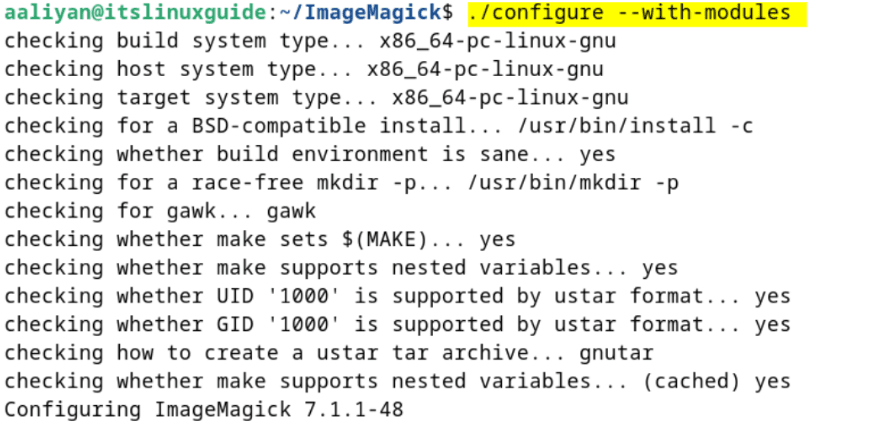
The next step is the same as the previous method, that is, creating a Makefile and then installing ImageMagick on Debian via the Makefile:
sudo make
sudo make install
sudo ldconfig /usr/local/lib
magick -version
Note: GitHub currently has the latest version of ImageMagick, so the only difference between the last two methods is the difference of version. Furthermore, if the error: display: delegate library support not built-in ” (X11) @ error/display.c/DisplayImageCommand/1907 is faced, then use the below command while building the files:
./configure --with-x11How to Use ImageMagick on Debian
ImageMagick can be used via the command line and its GUI; however, it is primarily preferred for automating tasks by executing commands. So here are some of the basic editing tasks that can be done using this application:
1: Converting an image format from PNG to JPG using ImageMagick on Debian
To change or convert an image format, simply use the magick command along with the desired image format, as in the syntax below:
magick [orignal-image-file] [orignal-image-file-with-desired-format]To clarify the concept further, I used the syntax provided above to convert an image from JPG format to PNG format.
magick Image1.jpg image2.png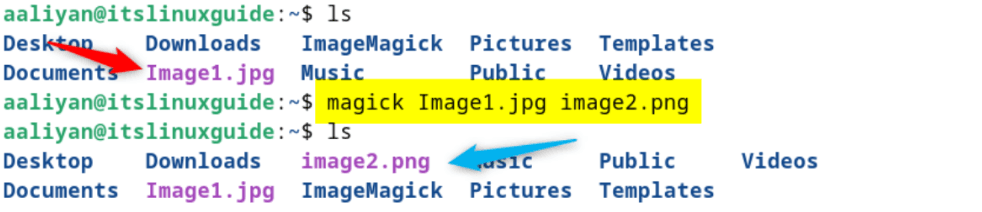
Furthermore, to simply open an image on Debian via the ImageMagick command line, use the display along with the image name or the directory path if the image is not in the current directory:
display Image1.jpg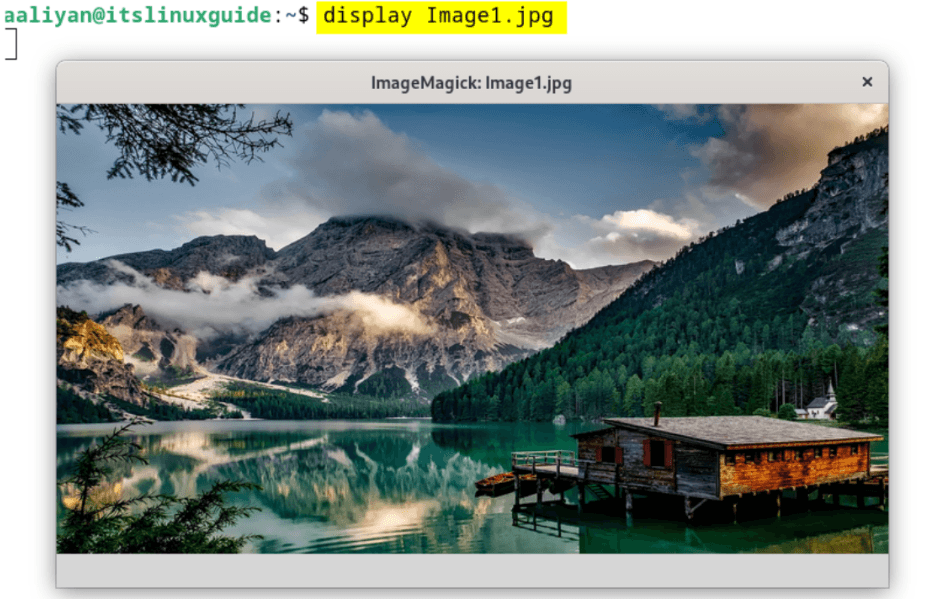
2: Rotating an Image in Debian using ImageMagick
On Debian, to rotate an image with ImageMagick, use the rotate flag followed by the desired rotation angle, as in the command below:
magick Image1.jpg -rotate "[rotation-angle]" output.jpg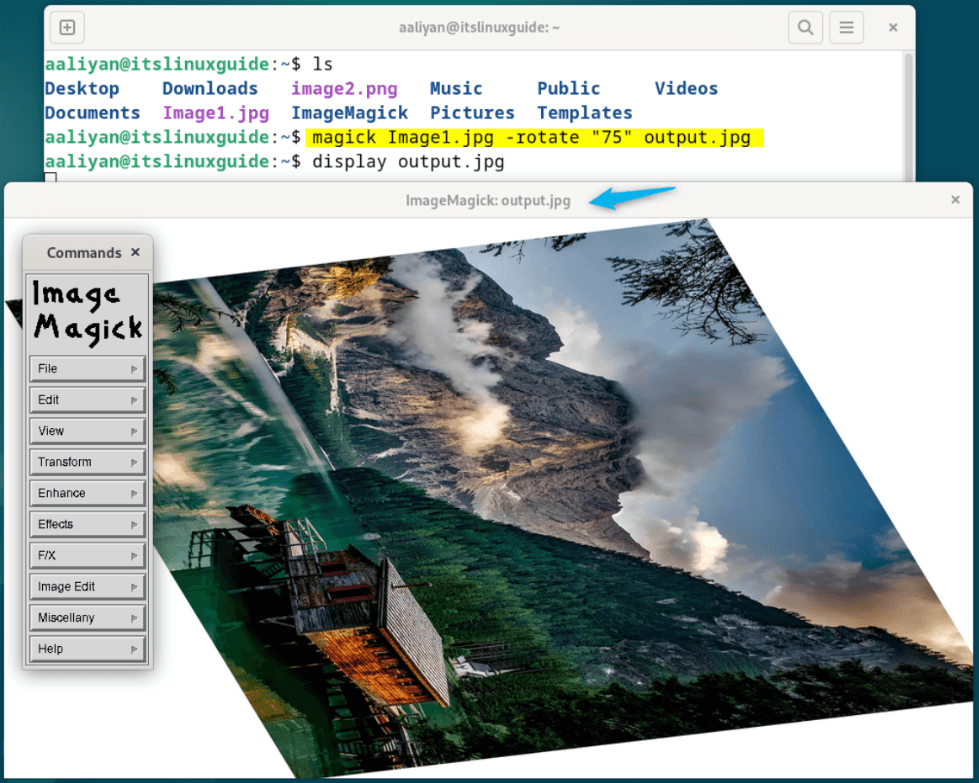
3: Blurring an Image in Debian using ImageMagick
To make an image blurry, use the blur flag and set the radius and standard deviation for the Gaussian blur filter.
-blur {radius}x{sigma}To clarify the concept further, I used the above syntax where 5 means the blur filter radius. This tells ImageMagick to automatically choose a suitable radius based on the standard deviation value (10).
magick Image1.jpg -blur 5x10 output.jpg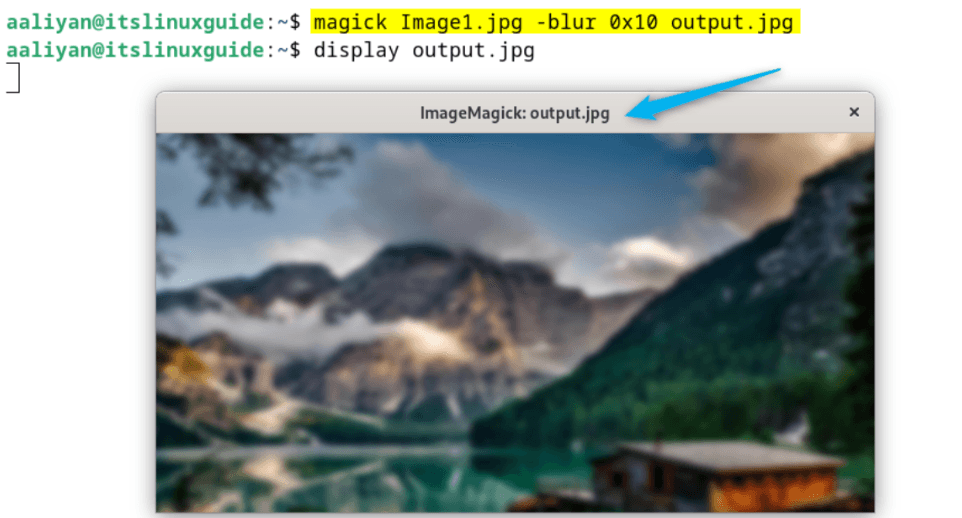
4: Cropping an Image in Debian using ImageMagick
To crop an image with ImageMagick, use the crop flag and provide the image’s full size along with the length and width to be removed:
convert [image-file-name] -crop [image-size]+[crop-length]+[crop-width] [output-image-file-name]Here, from the image size 2880 by 1800, I have cropped 500 from its length and width:
magick Image1.jpg -crop 2200x1414+500+500 output.jpg
5: Resizing an Image in Debian using ImageMagick
To reduce an image’s size without cropping or losing quality, use the resize flag followed by the desired resize percentage, as shown in the syntax below.
convert [input-image-file] -resize [resize-percentage] [output-image-file]For example, I have resized the image to 70percent using the above syntax:
magick Image1.jpg -resize 70% output.jpg
An alternative method for resizing an image is to set the exact desired dimensions:
convert <image-file-name> -resize <image-size-to-be-reduced>\> <output-image-file-name>Here, using the above format, I have reduced the size of the image:
magick Image1.jpg -resize 700x450\> output.jpg
Note: On Debian, to access ImageMagick’s graphical interface by open an image and click anywhere on it; this will bring up the GUI, where all available options can be explored.

Conclusion
ImageMagick is a free image editing tool that can be installed on Debian in four different ways: via the default package manager, through its AppImage file, or from its source code downloaded either from GitHub or the official website. It can be used through either the command-line interface or the graphical interface.