
Cloud storage has become way more popular as compared to physical storage mediums because of ease of access and Real-time synchronization. There are various cloud storage solutions available based on the use and Google Drive comes on top under free online storage system. This is because it provides 15 GB of free storage, which very few storage solutions provide for domestic use. On Ubuntu, you can use and access your Google Drive by mounting it in the file system or using any third party application.
3- Ways to Install Google Drive on Ubuntu
Other than storing the data, Google Drive come will Google Docs, Sheets, Forms, Drawing and Google keep which can really help in creating different types of documents. To get Google Drive on Ubuntu, there are three ways that this guide will elaborate:
1: Through Ubuntu Online Accounts
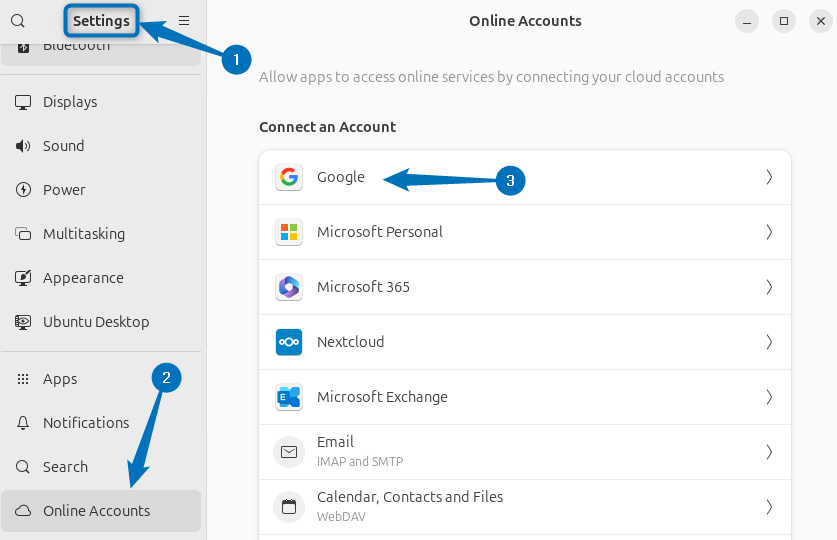
The first method for installing Google Drive on Ubuntu is by logging into your Google account from its settings tab. By default, Ubuntu and other Debian based Linux systems come with the Online Accounts option in the Settings App. So in the Online Accounts option you will see Google option click on it:
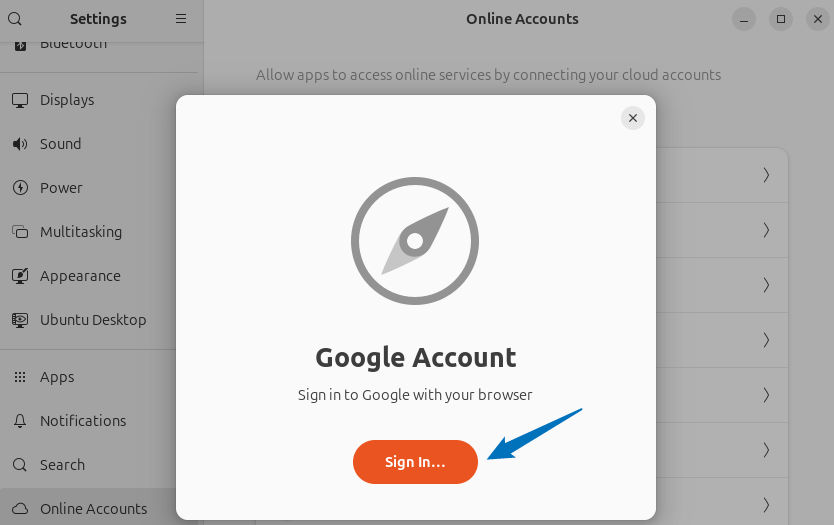
Now a pop-up will appear asking for singing in to the Google account, proceed by clicking on the Sign In account:
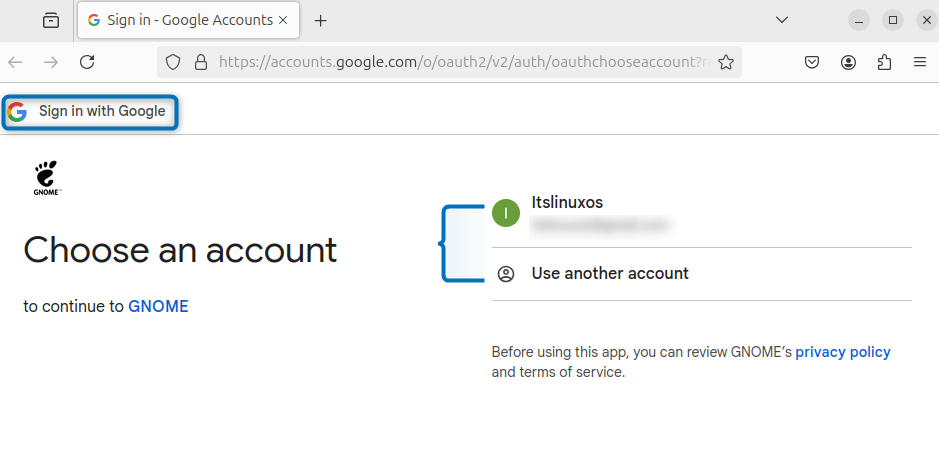
Next, your browser will open asking you to choose either from an already logged in account or use another account, so choose based on your preference:
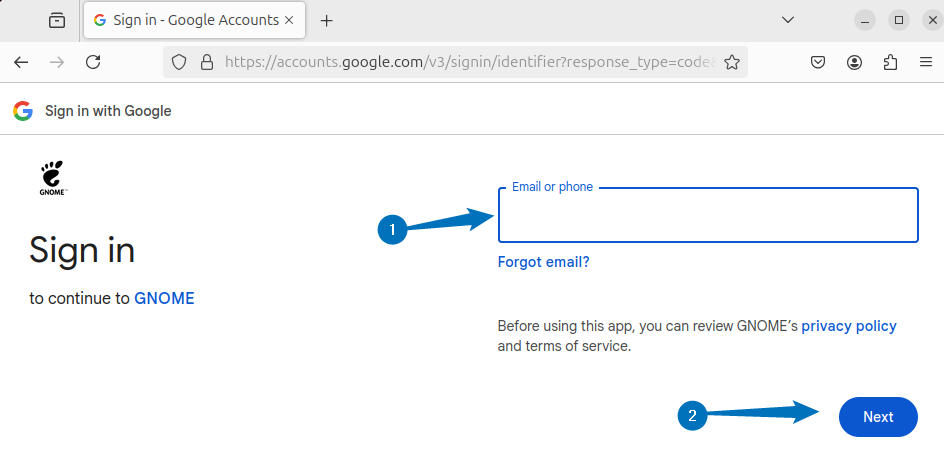
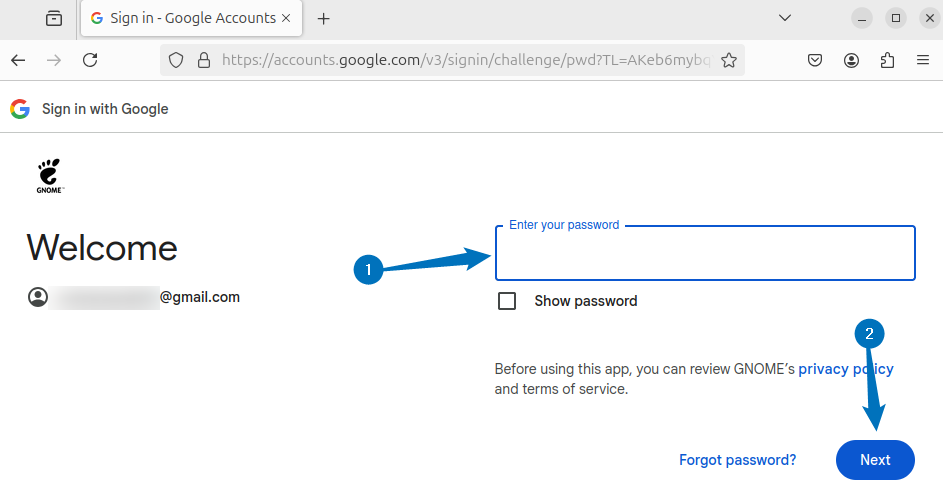
In case you choose to use another account, then first enter the email for the respective Google account:
Now enter the pass code for the email and click on Next to proceed:
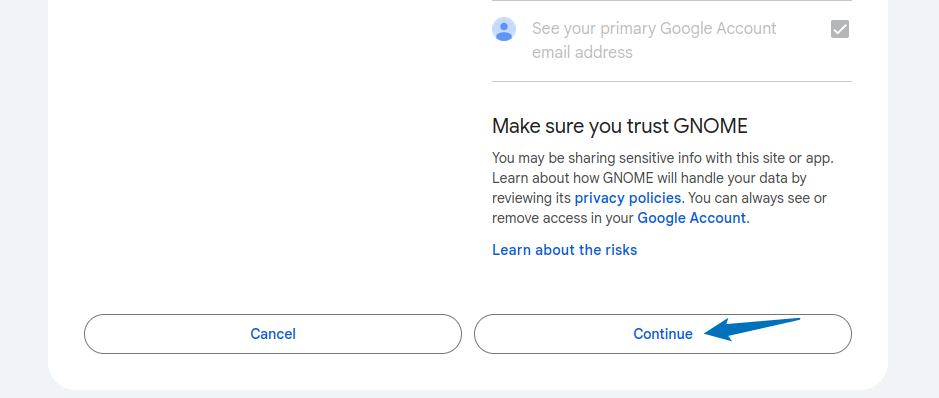
Next, GNOME will ask for permission to access your Google Drive associated with given email, here you can only select the Google Drive files:

Once done with permissions, click on the Continue to proceed further:
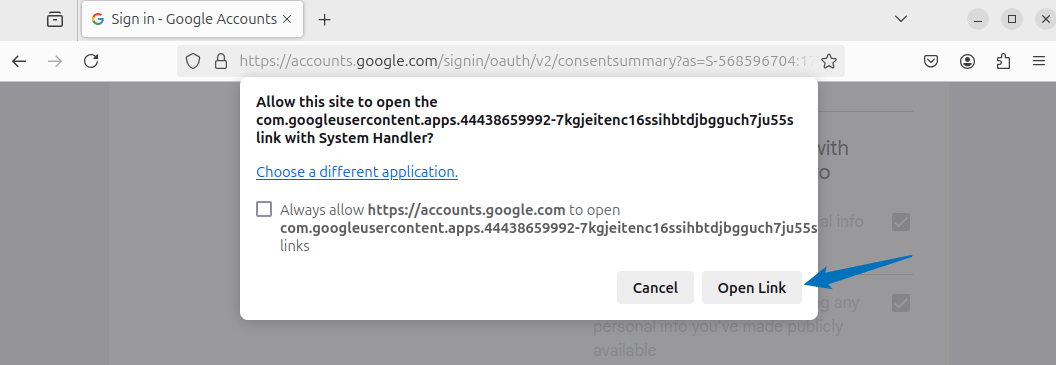
Next, the browser will ask to open the settings for the Google Drive on Ubuntu, so click on Open Link to proceed:
Here, you can turn off or on multiple options for Google and once done, close this tab:
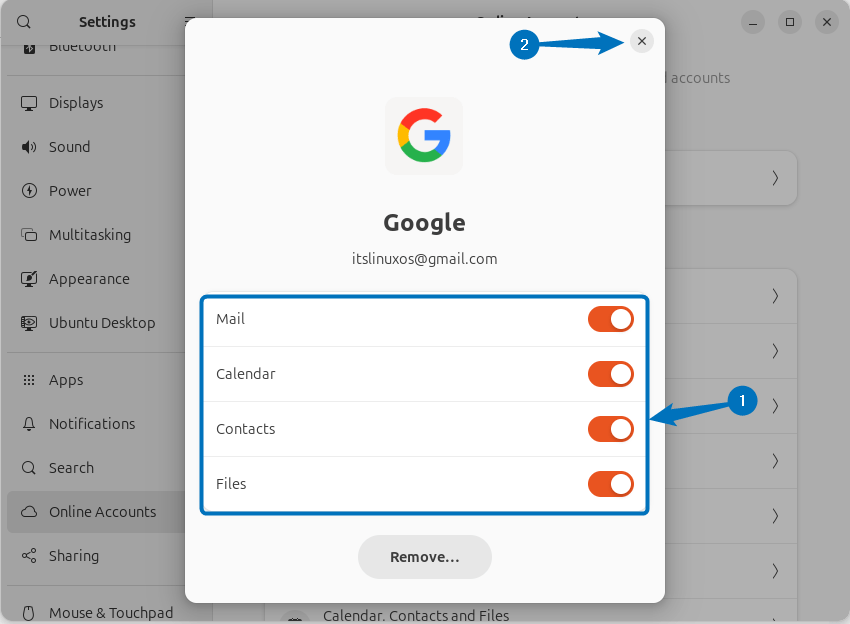
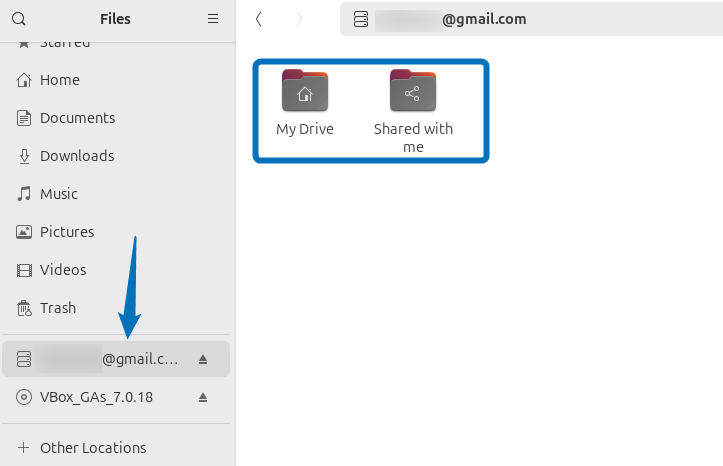
Now, verify the installation of Google Drive on Ubuntu by opening the file manager, here on the left pane you will see a drive having name set as your email address is mounted. When you click on it, you will see two folders, one for your drive and the other for files shared with you by others:
2: Through insync Application
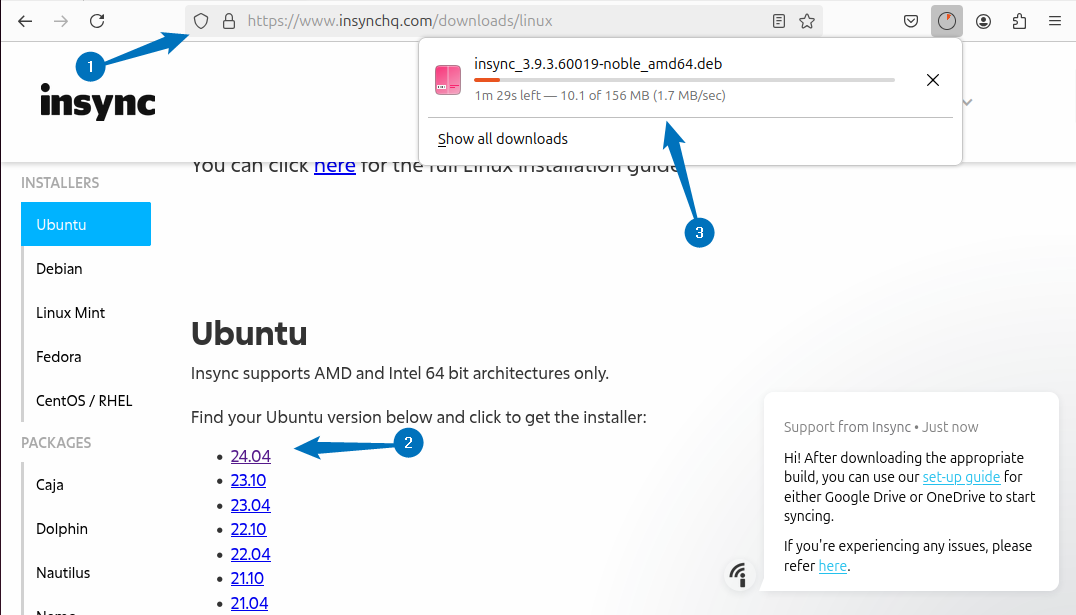
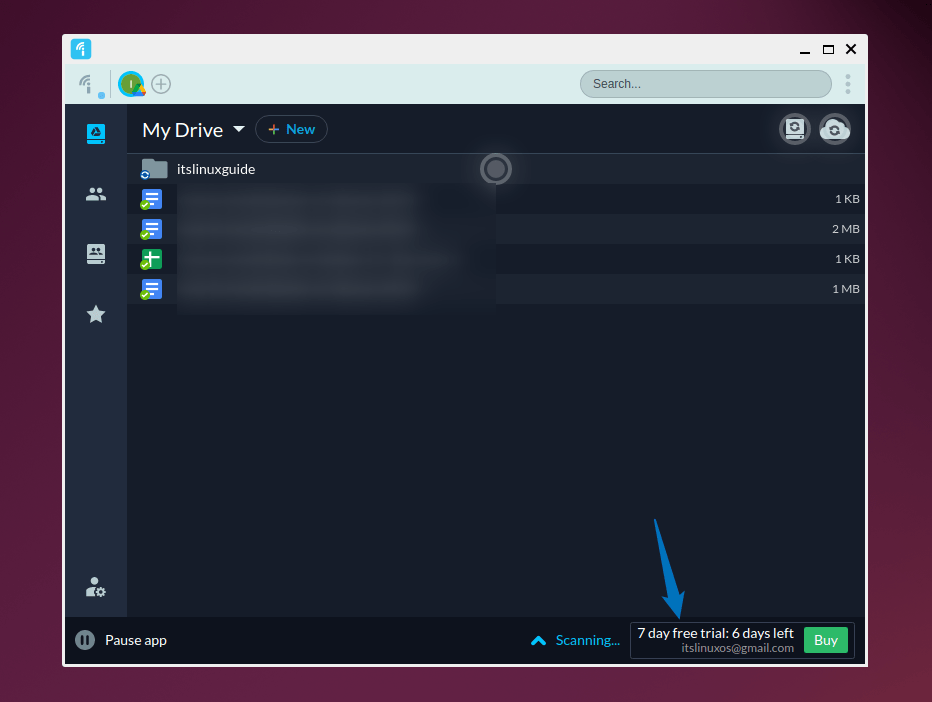
Another way to install Google Drive is using a bridging application named as insync, this app comes with paid versions, but initially you can try it for free in the first seven days. The insync application is not only limited to Google Drive, but it also can be used for OneDrive and Dropbox. To use this app you need to install it on Ubuntu using its deb file which you can find in its official site download section:
Alternatively, you can download it from terminal by using the insync deb file download link as in the command below:
wget https://cdn.insynchq.com/builds/linux/3.9.3.60019/insync_3.9.3.60019-noble_amd64.deb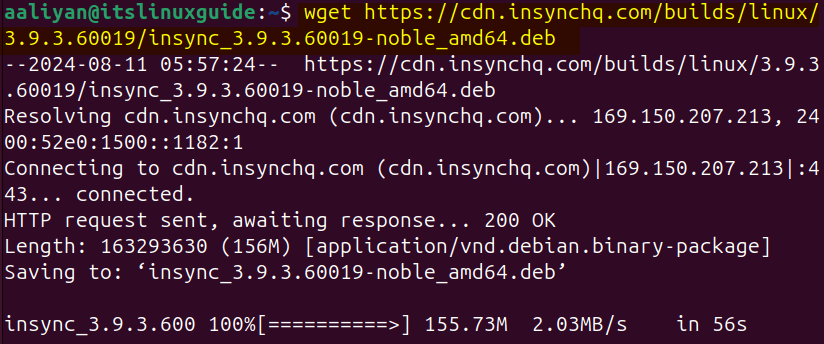
Now, use the apt package manager to install insync application:
sudo apt install ./insync_3.9.3.60019-noble_amd64.deb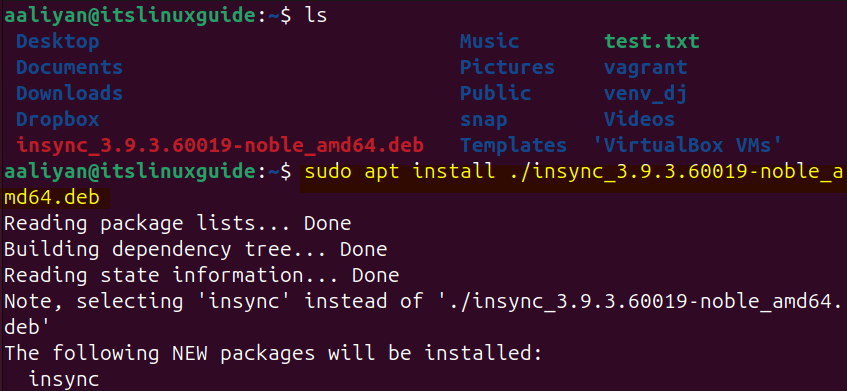
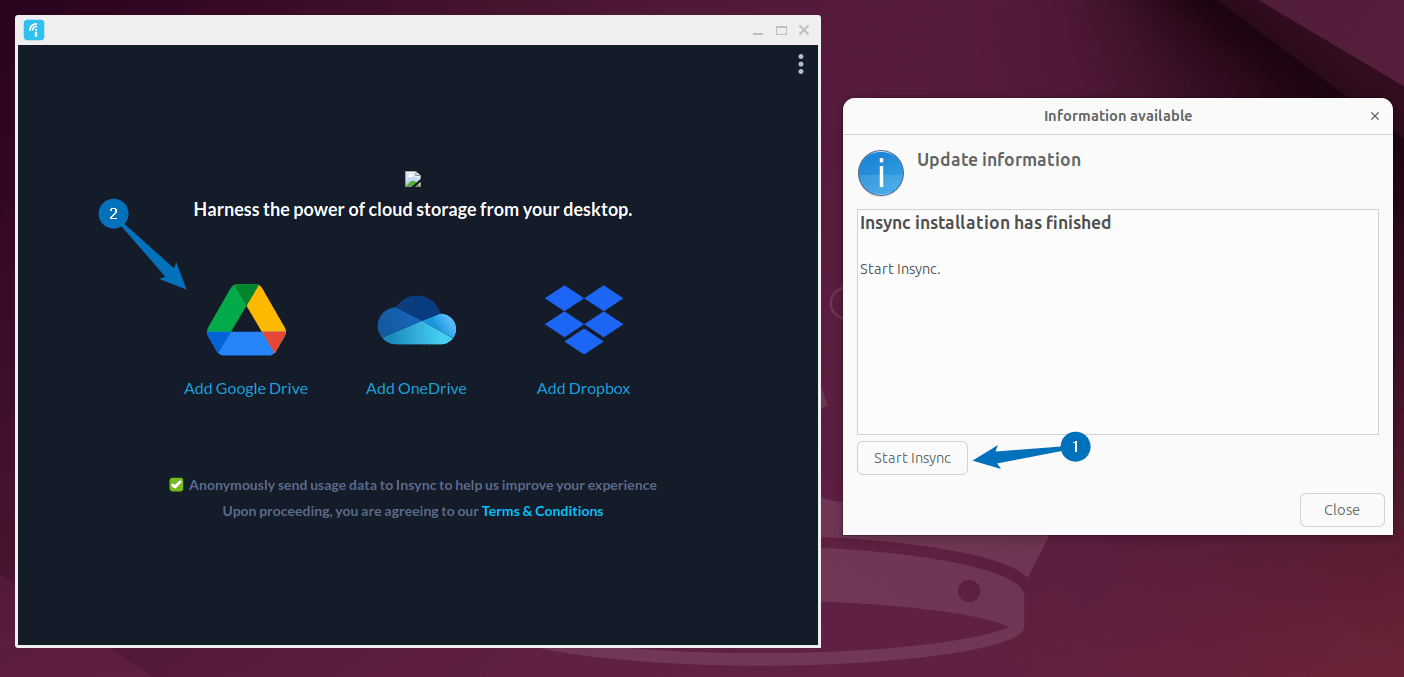
Once the installation is finished click on Start Insync option and on the startup the app will ask about the cloud storage, here click on Google Drive:
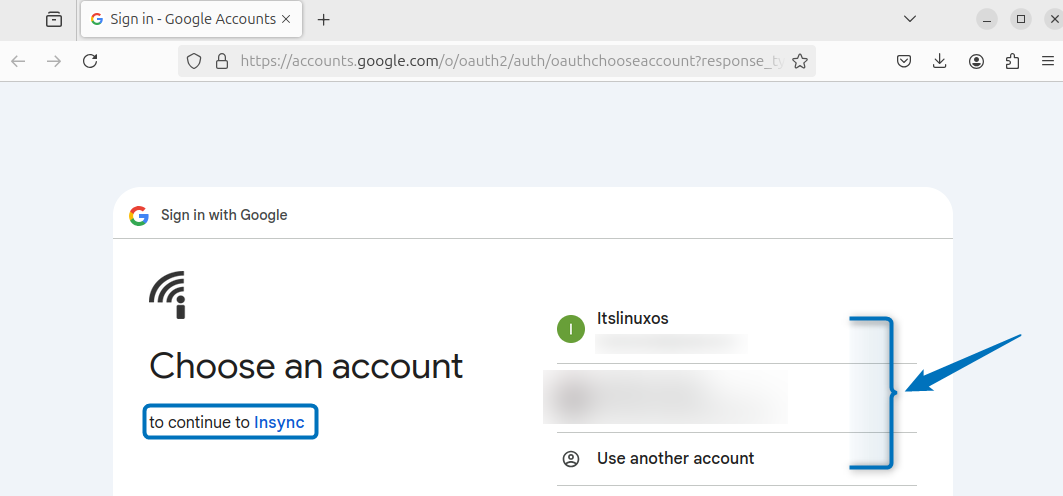
Next, the browser will open asking you to either use an already signed in account or use any other account for which you want to sync Google Drive:
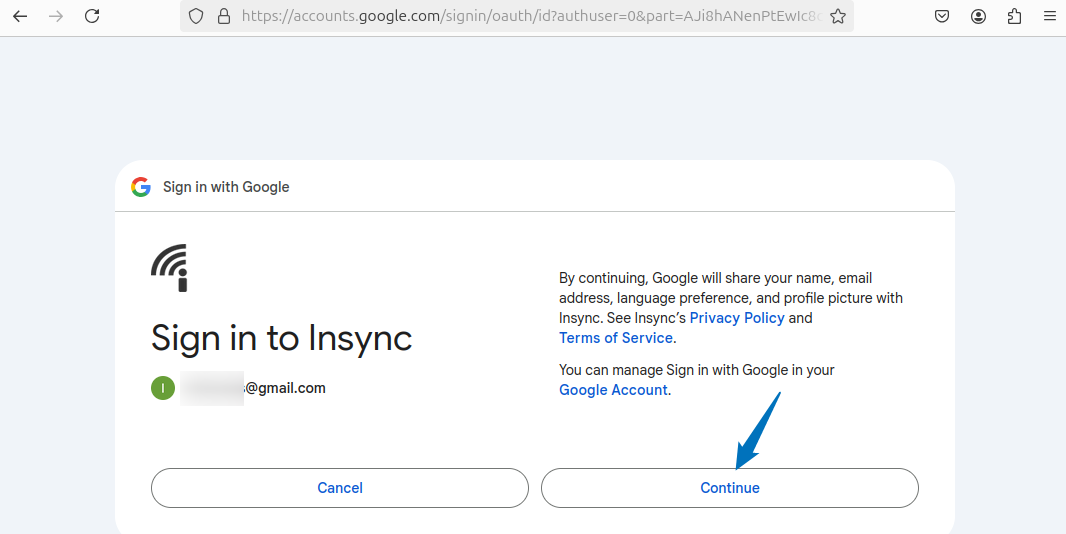
Once done with entering the Google account details, click on Continue to proceed:
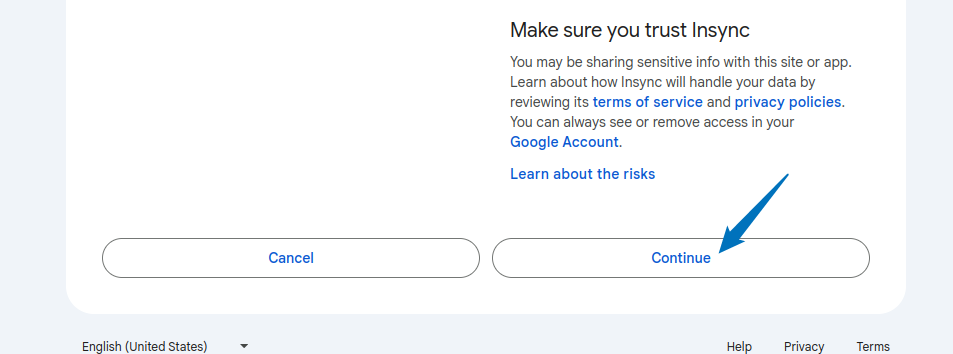
Now you need to give permissions to insync app to fetch the data for your Google Drive, you can also allow permissions for either Google Drive files or for Google configuration files:

Once done click on Continue to save the permission changes:
Next, close the bowser and then launch the insyc app on Ubuntu and start the account setup for Google Drive:
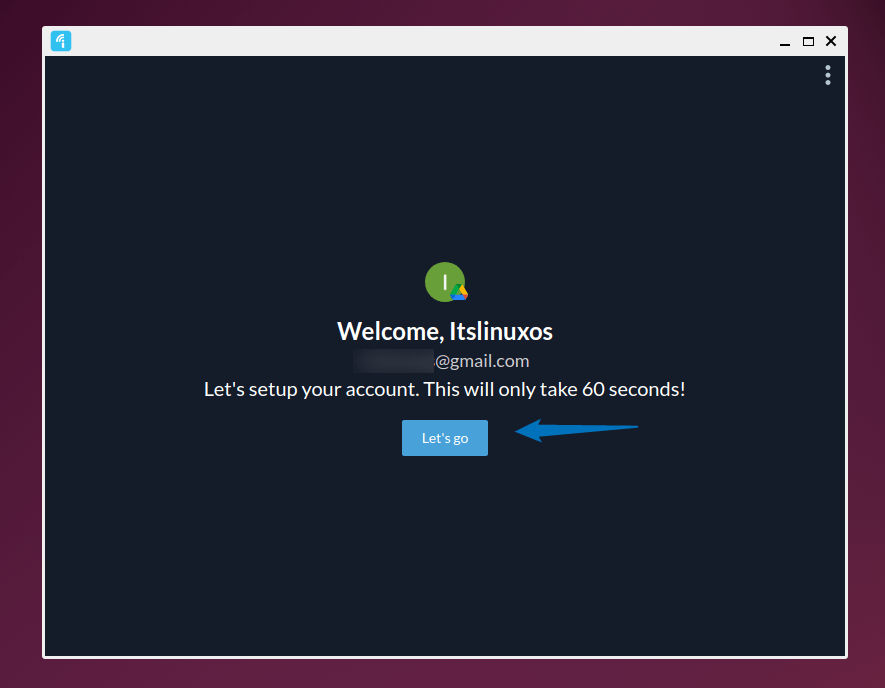
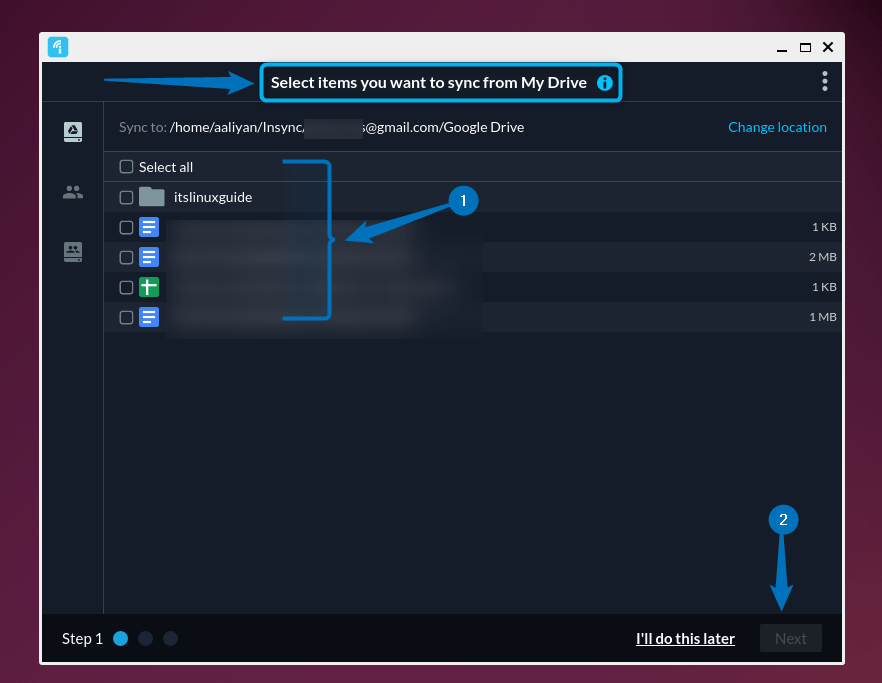
On the first step of configuration, the app will ask about selecting the file that you want to be added in Google Drive:
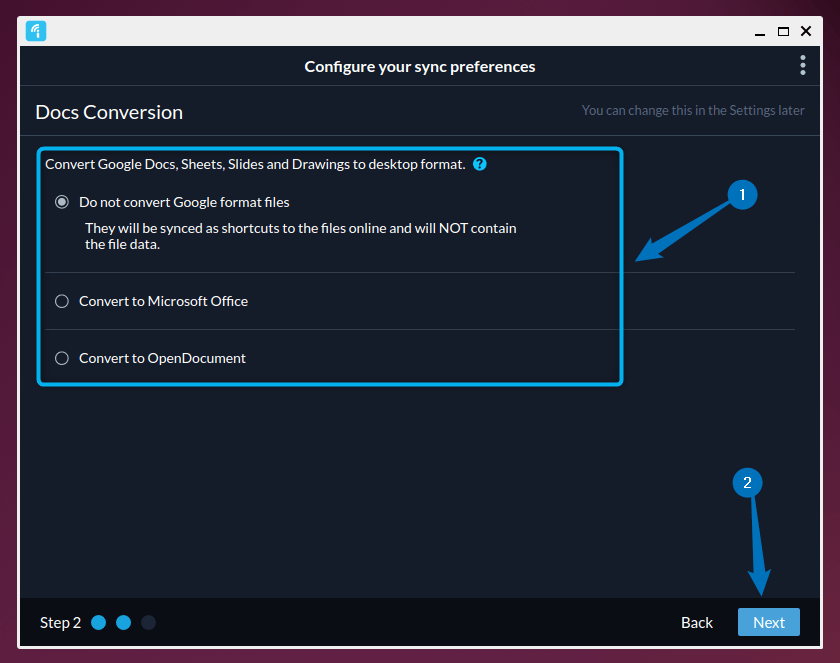
If your data contains document files, then in the next step it will ask whether to convert those files to either Google Docs, Microsoft Office and to OpenDocument format:
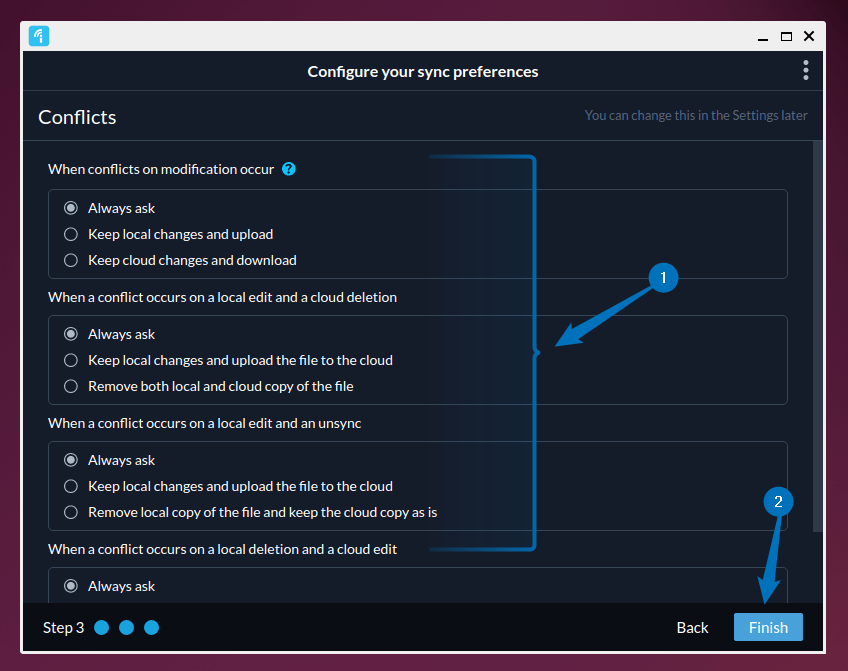
In the last and the third configuration step it will ask about appropriate response on various conflicts that can arise, so here it is recommended that set Always ask option for each type of conflict:
Now you are all set and the ready to use Google Drive on Ubuntu via insync application:
3: Through Google Drive Ocamlfuse
Another method that you can use for installing Google Drive is by mounting the drive to Ubuntu file system using the Google Drive Ocamlfuse tool. This is primarily a mounting tool that uses the Filesystem in Userspace framework to create a virtual filesystem with the help of Google Drive API.
This method is quite lengthy, to use this tool you first need to install it and for that use the below command that adds its PPA repository:
sudo add-apt-repository ppa:alessandro-strada/ppa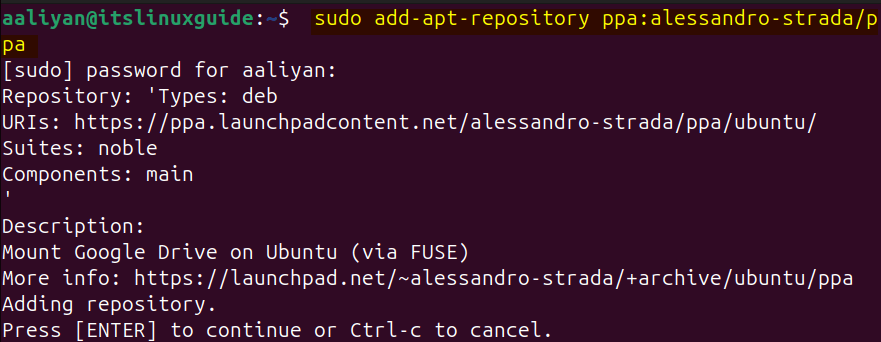
Next, run the apt package update command so successfully add the insync repository:
sudo apt update
Now install Google Drive Ocamlfuse in Ubuntu via apt package manager by executing the below command:
sudo apt install google-drive-ocamlfuse -y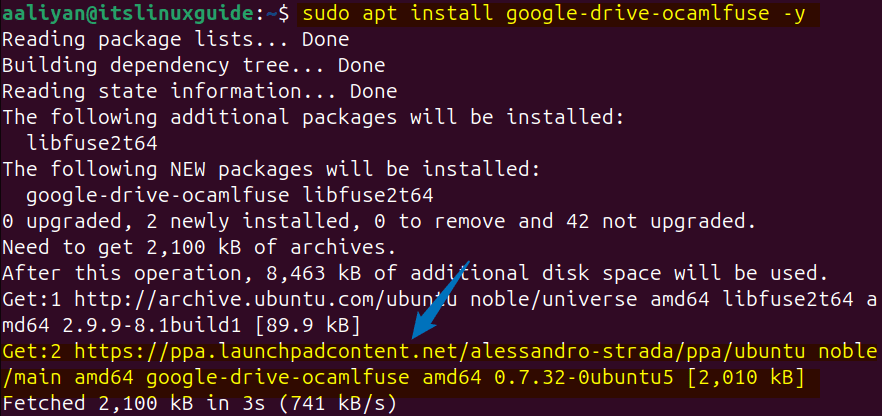
Next, create a directory for Google Drive, which will be mounted once your drive data is synced with Ubuntu:
mkdir -v ~/[desired-directory-name]
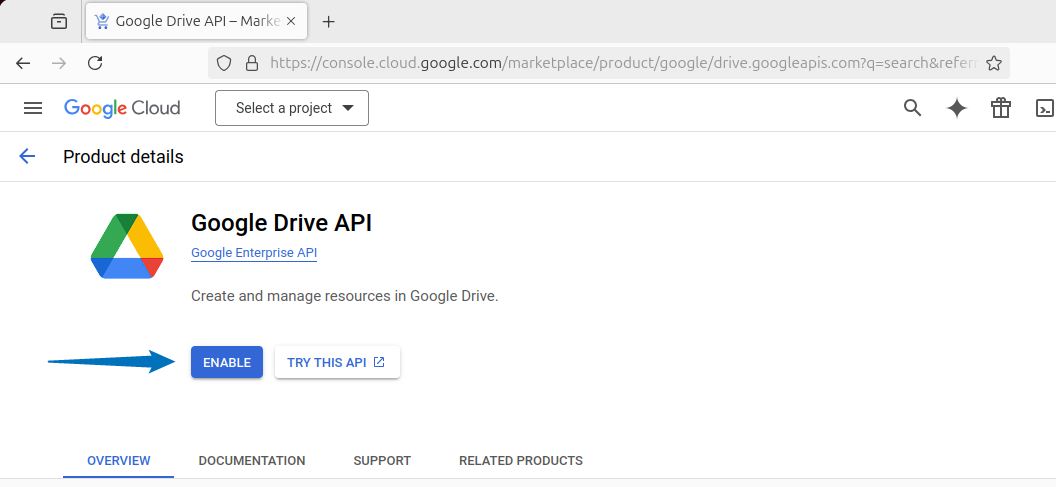
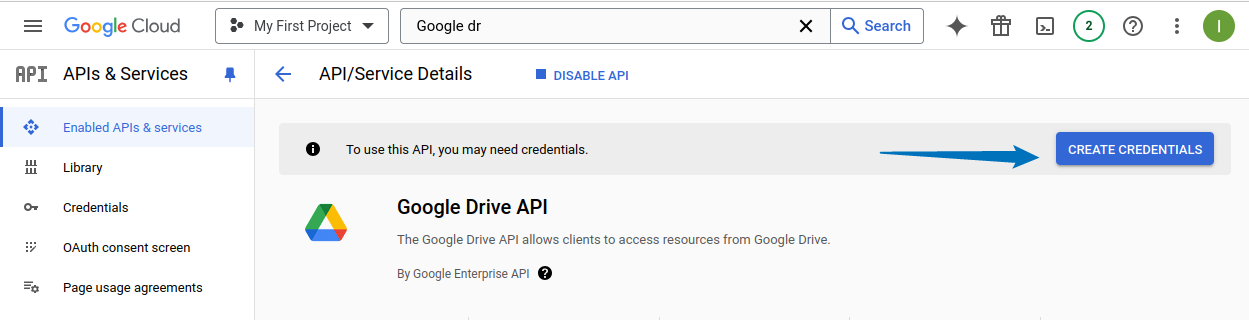
To get the Google Drive API you need to an account in Google Cloud first and search for Google Drive API in the search bar. Next click on the Google Drive API and from there click on Enable option as in below image:
When you will click on Enable you will be redirected to a new page and from there click on the CREATE CREDENTIALS option. This is because you need ID and secret number for mounting the Google Drive on Ubuntu:
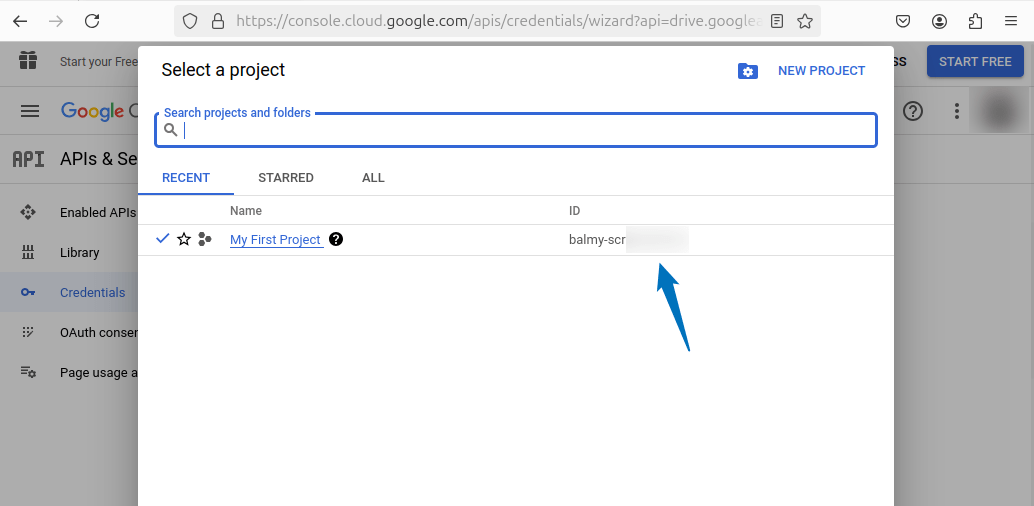
Now here first look for your project ID which you can find when you click on your project name, copy the project ID:
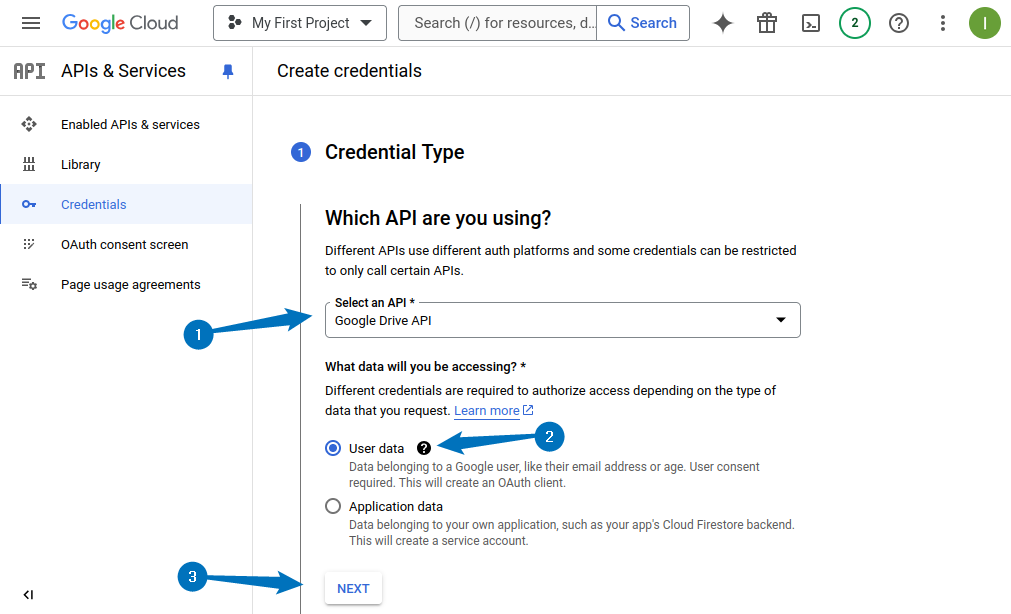
Now select the Google Drive API and then select User data, after that proceed to next step:
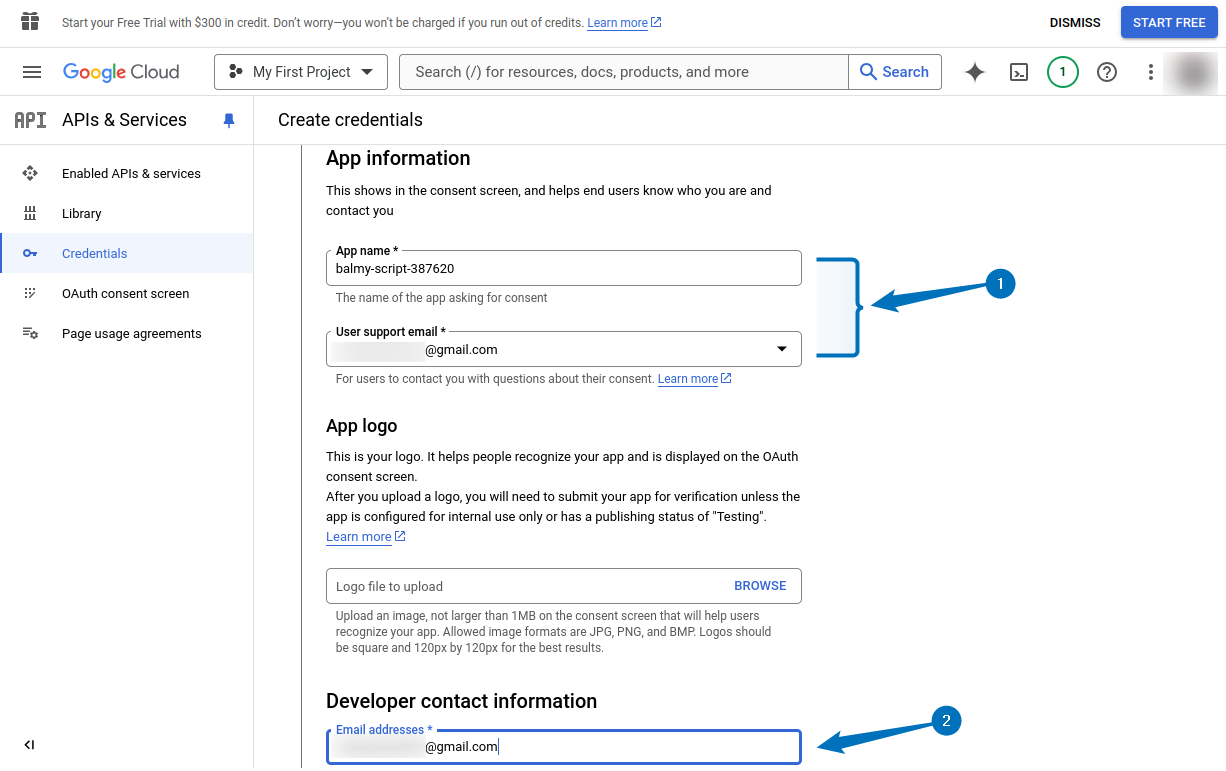
Now add the same project ID in the blank of App name and afterwards use the same Email ID for both the user support and developer. Here in case you use a custom name for the app, you will get an error from the Google:
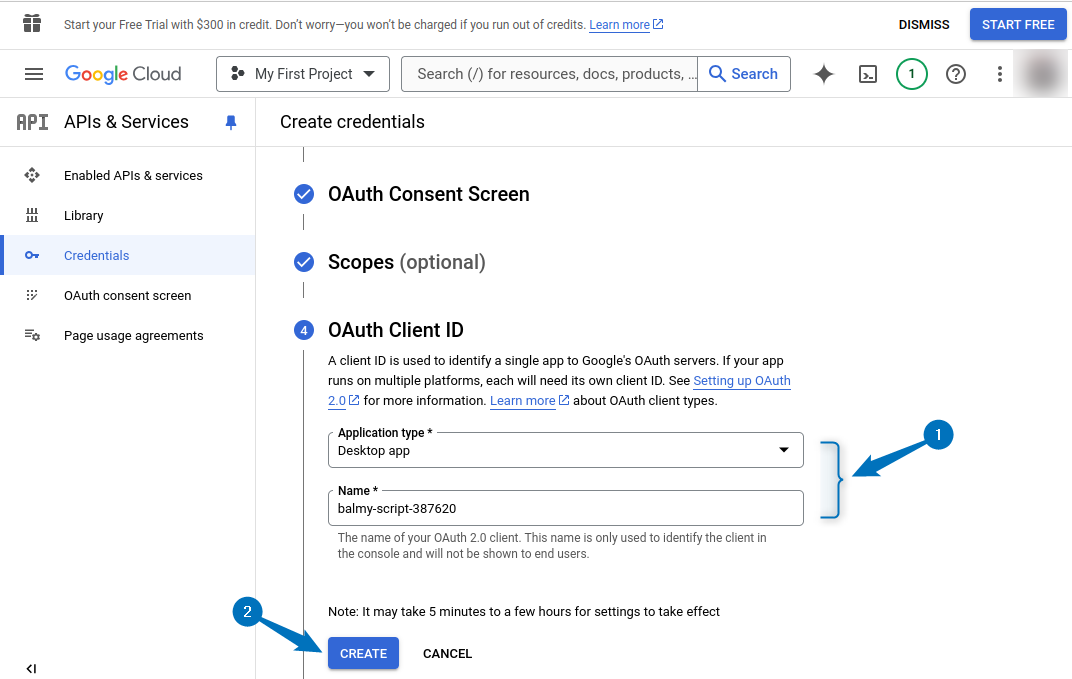
Next set the type of application as Desktop Type and again name the application with the project ID:
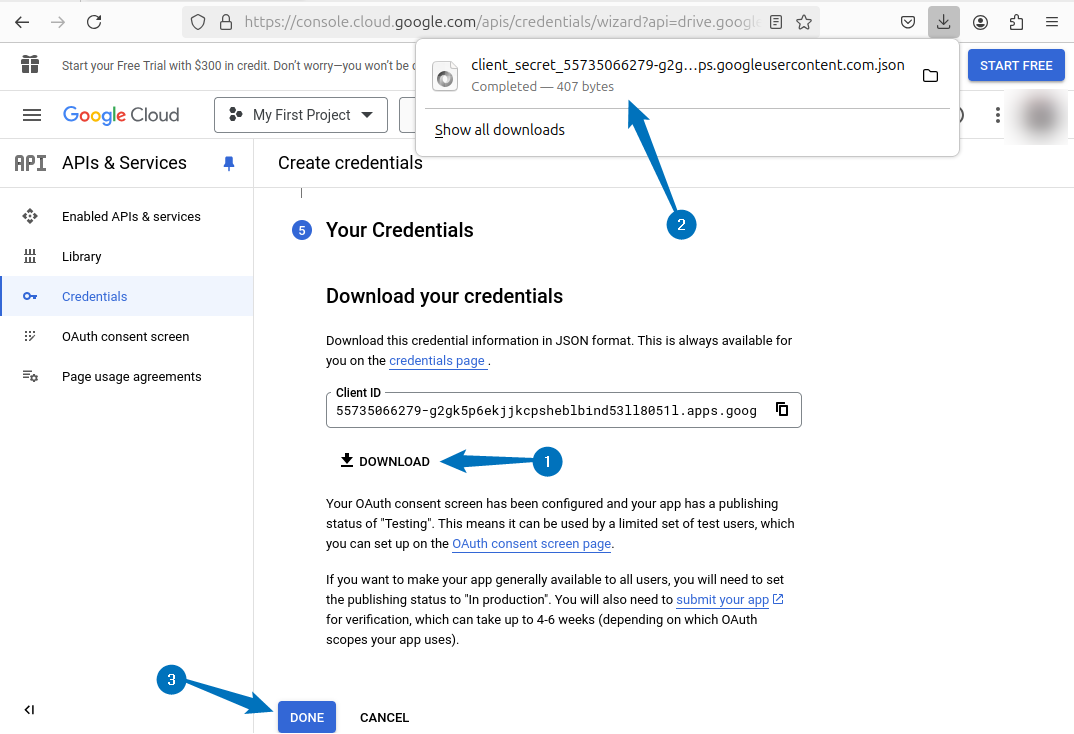
Now the API for Google Drive will be displayed, however you need its ID and secret number and for that click on the download option. Once the download is completed, click on the Done option:
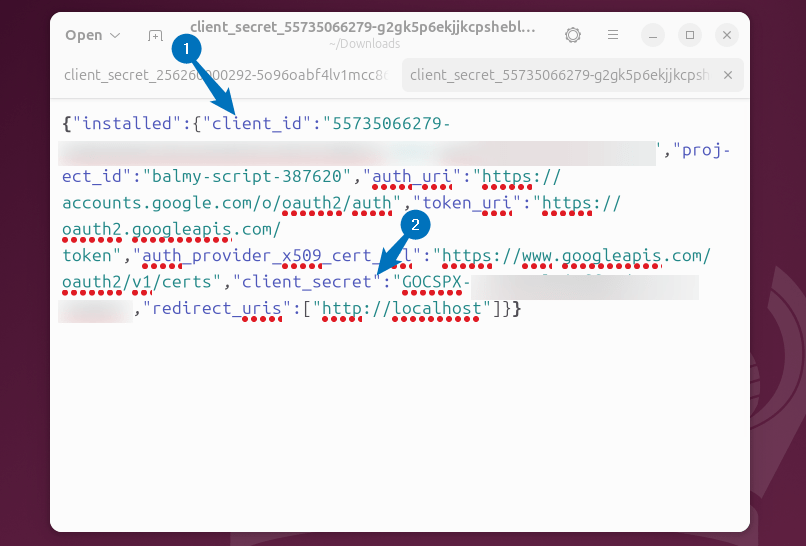
Now open the downloaded file and copy the client ID and client secret code for the Google Drive app:
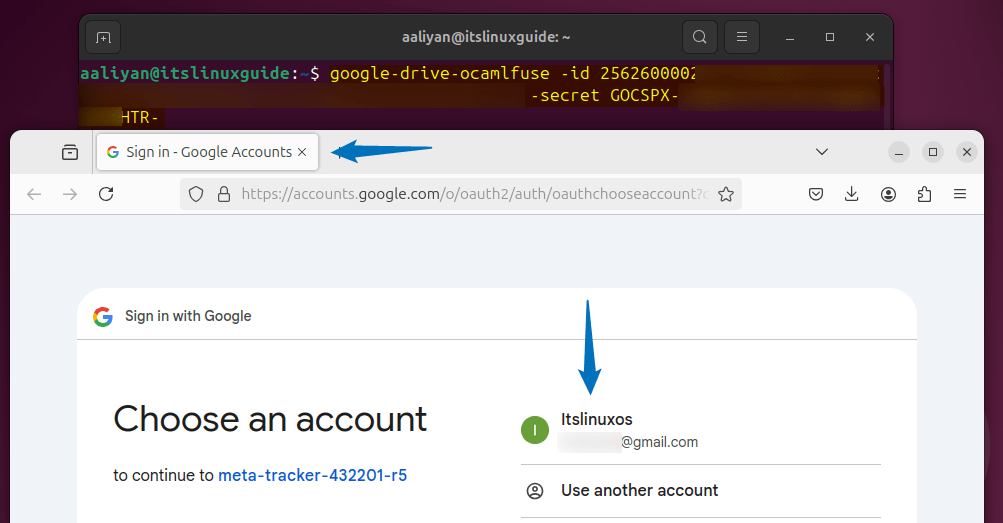
Next, use the below command syntax to add Google Drive in Ubuntu:
google-drive-ocamlfuse -id YOUR_CLIENT_ID -secret YOUR_CLIENT_SECRETNow just like the other methods, your browser will open asking you to add the Google account whose drive you want access on Ubuntu:
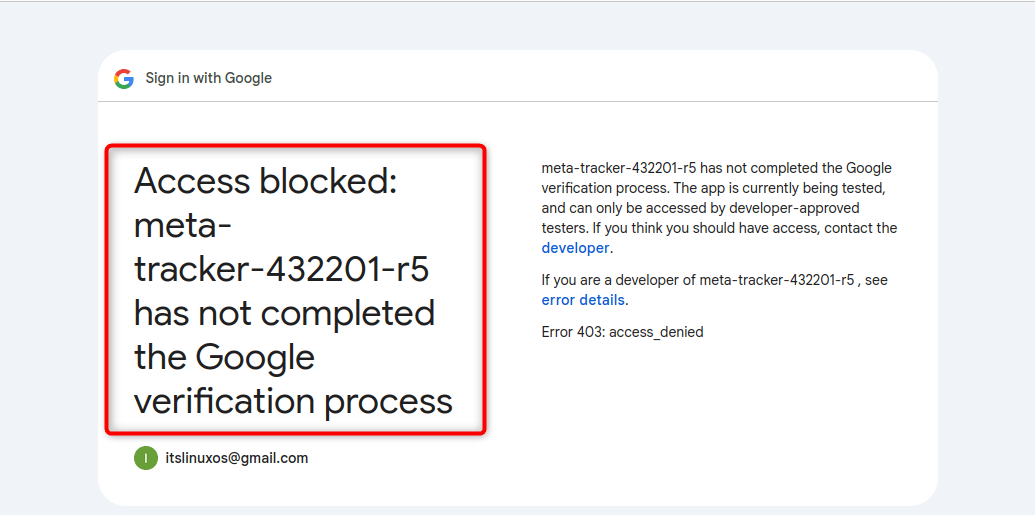
Now upon adding the account you might face the error of access blocked as in the image below, this is mainly because the app is in development:
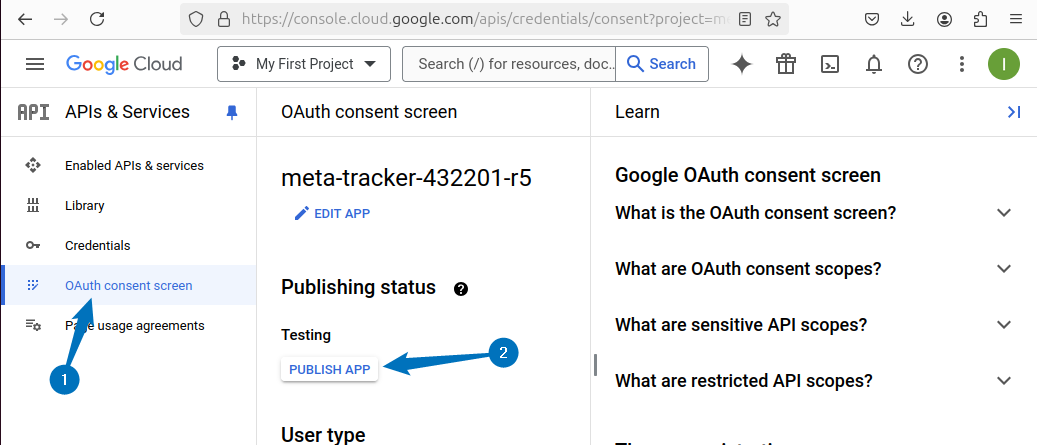
Now to resolve this issue you need to open your Google Cloud go to the OAuth consent screen option and from under the publishing status click on the Publish App:
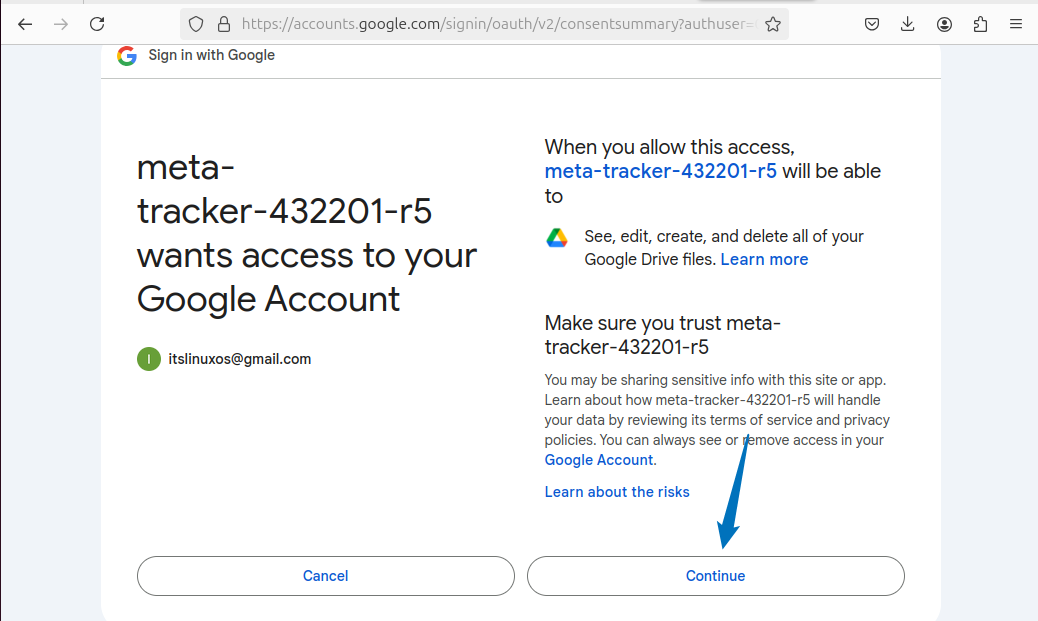
Now again add the account and give its access to the Google Drive app you developed via its API:
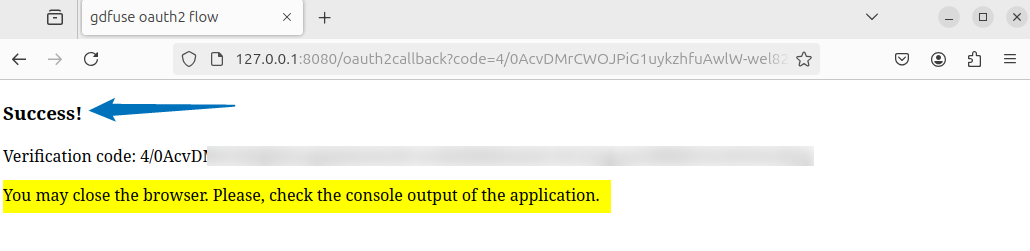
Once the process is completed, you will be redirected to a new page showing the status of successfully validated the app:
Also on the terminal, you will get the same successful validation message:

Now mount the Google Drive on Ubuntu using the same directory you created earlier by using the below syntax:
google-drive-ocamlfuse ~/[drive-directory-name]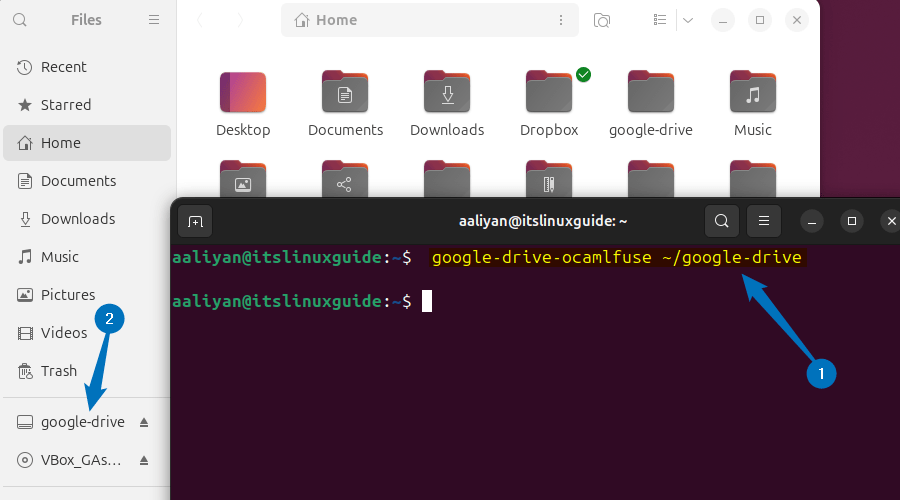
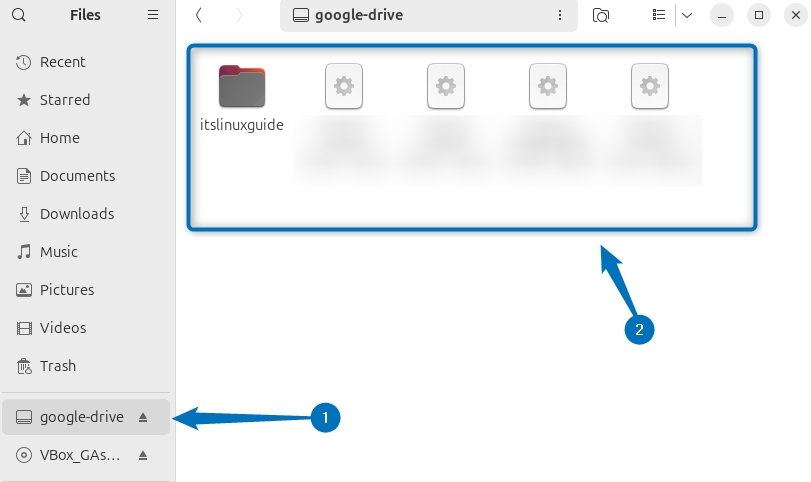
Now, when you will click on the Google Drive mounted directory, all of your drive data will be shown:
Conclusion
This guide discussed three methods for install Google Drive on Ubuntu, these methods include using Ubuntu online account options, insync application and Google Drive Ocamlfuse. The easy and best method for getting Google Drive is by simply signing in to google account on Ubuntu, which is the first method: