
Editing media files is becoming a common practice these days because listening and watching makes it easy to understand instead of reading. FFMPEG is an open source command line tool that provides all the basic utilities for editing audio and video files. The prime benefit of FFMPEG is that it is free, as most of the editing software are paid. On Ubuntu there are several ways to install FFMPEG like using its source file or Ubuntu App Center
4- Ways to install FFMPEG on Ubuntu
FFMPEG is not limited to format conversion or basic functionalities like trimming and cutting. However, it also provides the option for compressing and decompressing video/audio data, subtitle handling and task automation by using the Python language. There are four ways to install FFMPEG on Ubuntu and this guide will not only discuss them but will also elaborate on some of its basic usage:
1: Through Ubuntu Default Package Installer
The first method to install FFMPEG is using Ubuntu default package installer, normally most of the applications can be installed via apt. The major downside for using its apt is that it don’t have the updated version of application, same in the case of FFMPEG:
sudo apt-get install ffmpeg -y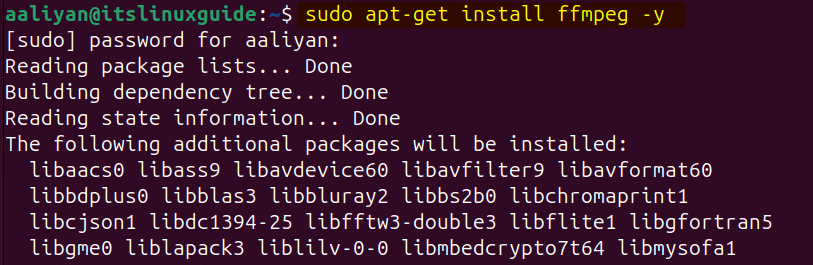
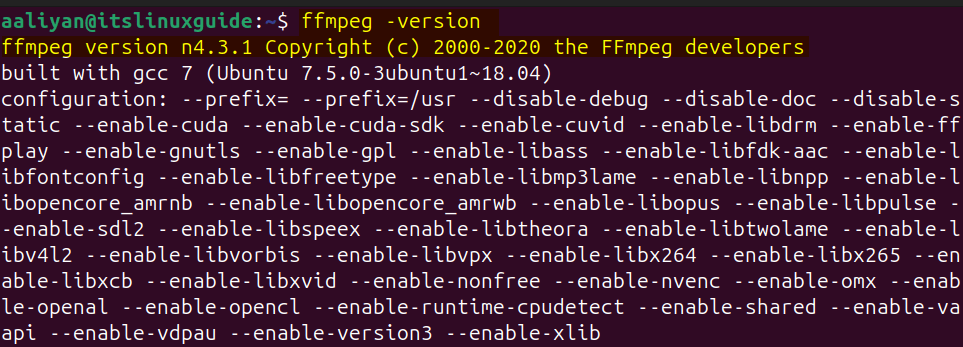
When the installation is completed you can check its version which in case of apt will be 6.1.1, to check the version execute:
ffmpeg -version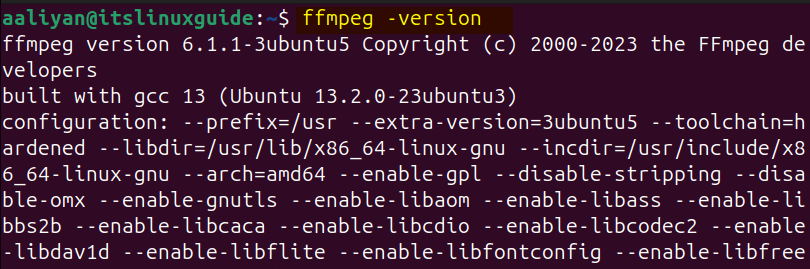
2: Through the FFMPEG Source File
The next method for installing FFMPEG is using its source file that is recommended in case you need to get the latest version. For the source file, you can go to FFMPEG download section:
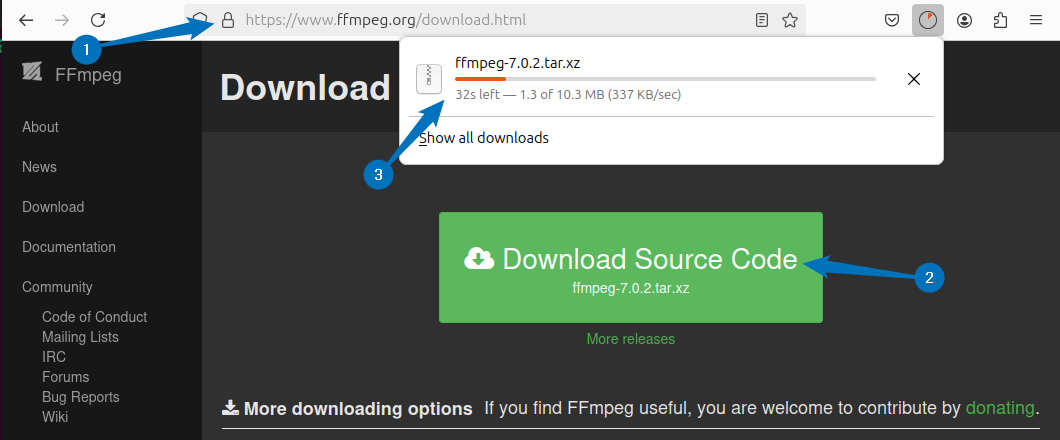
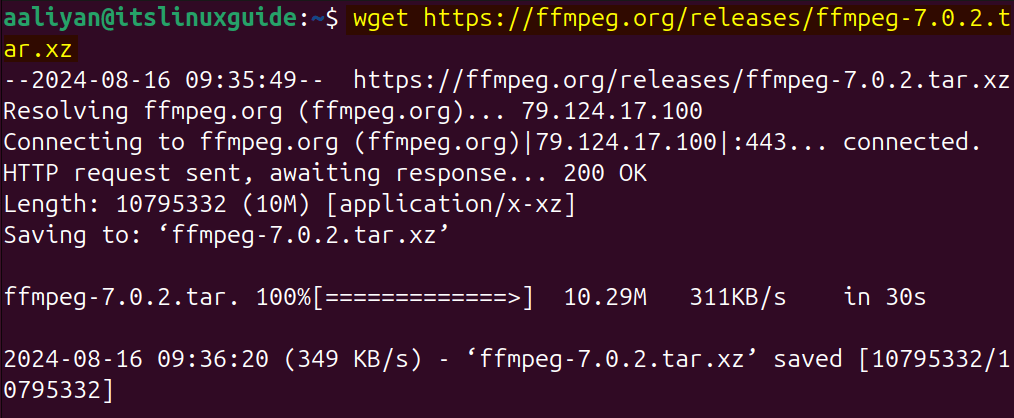
Alternatively, you can use the download link for the file and use the terminal instead, as in the command below:
wget https://ffmpeg.org/releases/ffmpeg-7.0.2.tar.xz
Next, extract the downloaded file using tar utility as in the command below:
sudo tar -xf ffmpeg-7.0.1.tar.xz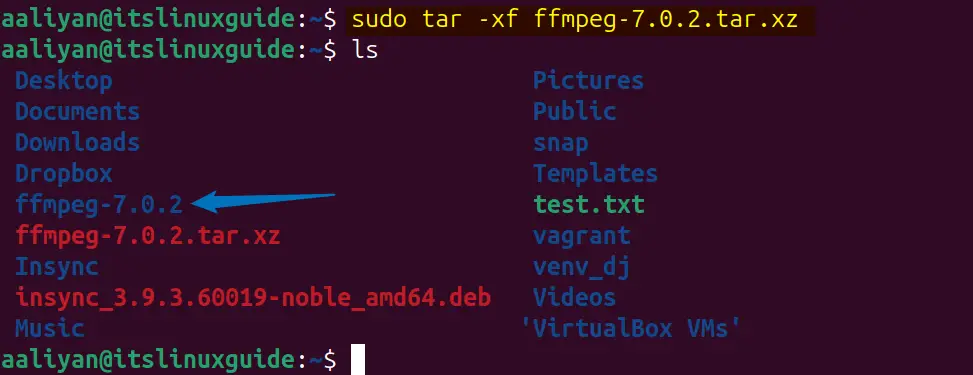
Once the file is extracted, go to the extracted file directory and from there execute the configuration file that will verify the availability of all the necessary files and libraries for FFMPEG installation:
cd ffmpeg-7.0.2
./configure
Here, you might run into nasm/ yasm not found or too old error, in that case you have to install it via apt package manager:

So to resolve the nasm/yasm error while configuring the installation file for FFMPEG execute the below command:
sudo apt-get install yasm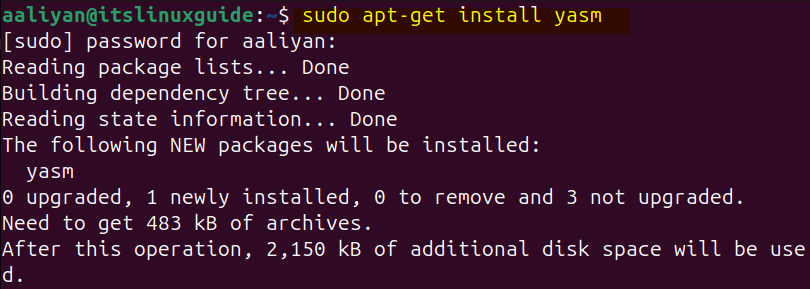
Now again execute the FFMPEG configuration file:
./configure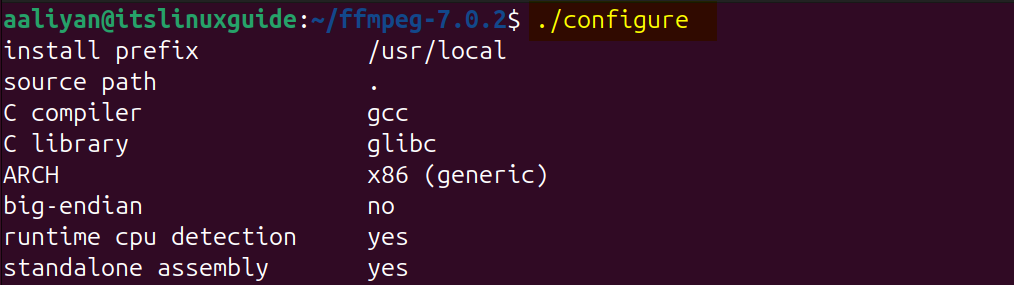
Once the configuration is done successfully now you to compile the set of instructions to create a setup file for FFMPEG often known as make file:
sudo make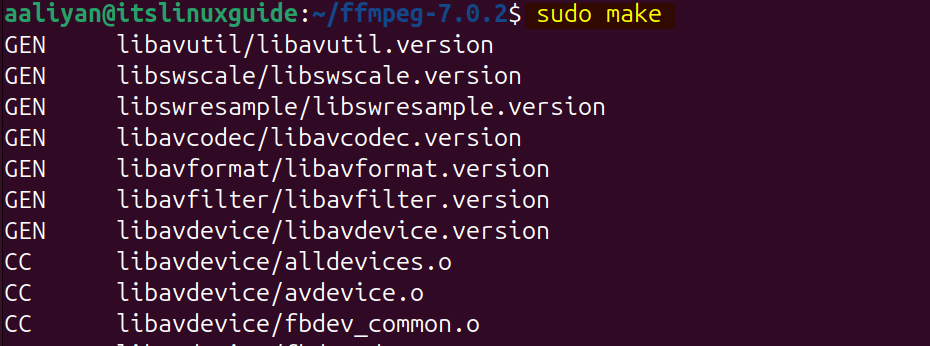
After the make file is created, then install FFMPEG using this setup file by executing the below command:
sudo make install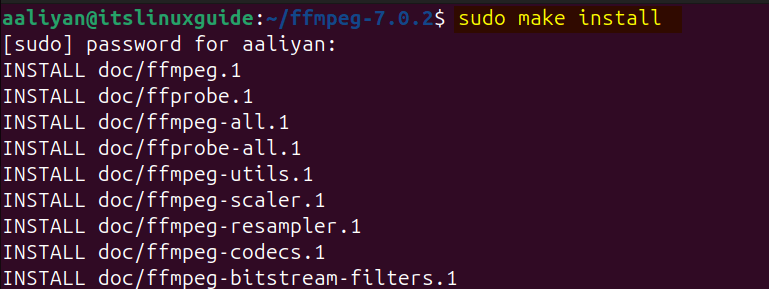
To verify the installation of FFMPEG via its source file, you can check its version by using the following command:
ffmpeg -version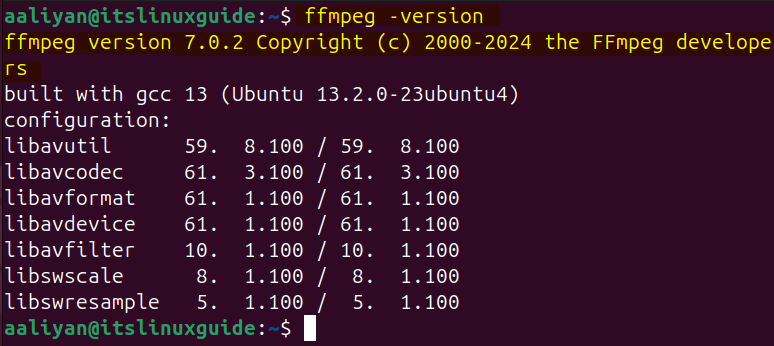
3: Through Snap Package Manager
For installing application on Linux systems, using the third party package installers can also be a better option as you may get more improved version of the app. To install FFMPEG via snap execute:
sudo snap install ffmpeg
Here, when you list the snap installed app, you will see FFMPEG once its installation is completed:
sudo snap list
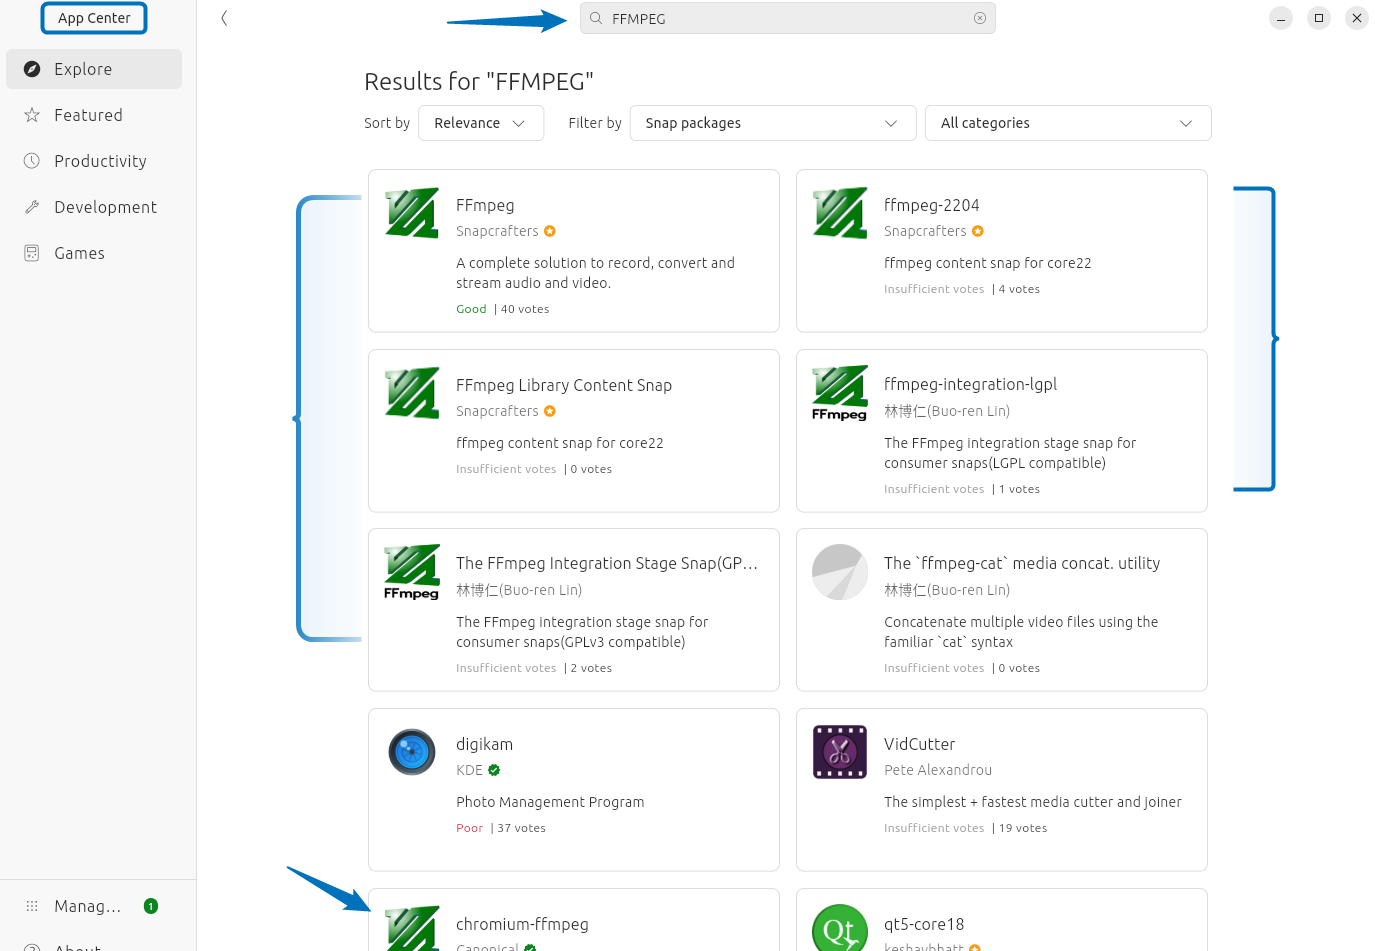
4: Through Ubuntu App Center
FFMPEG is no doubt a command line tool, yet it can be installed using the App Center which is a GUI method. Here in the App Center when you will search for FFMPEG you will find several options, but you have to install the first one:
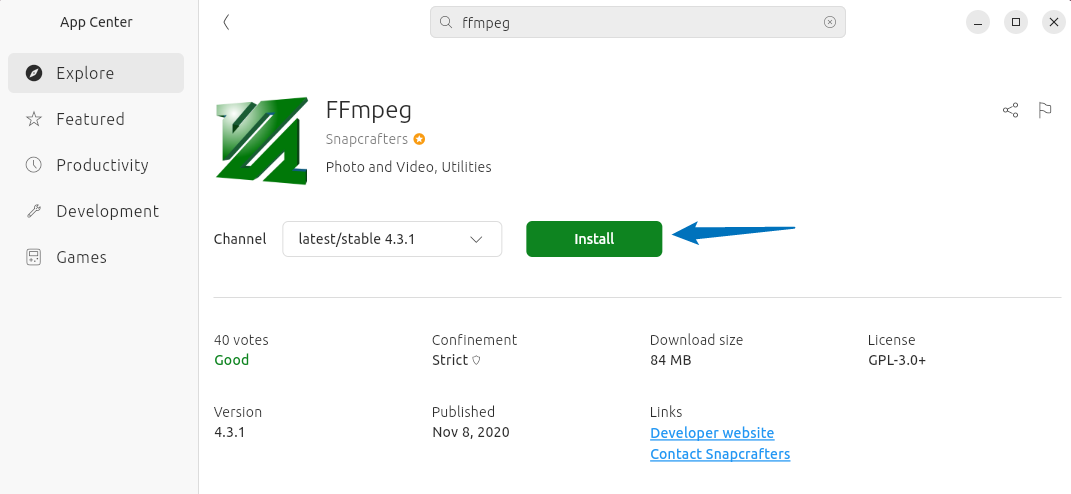
Click on the Install button to initiate the installation:
Further, you can check the version once the installation is completed:
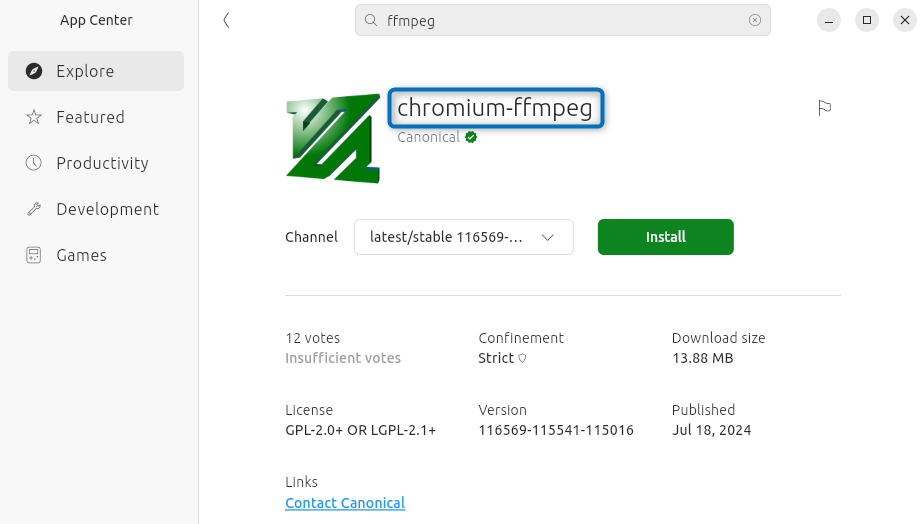
If you are looking for FFMPEG Chrome extension then you need to install chromium-ffmpeg from the App Center:
How to Use FFMPEG on Ubuntu
FFMPEG is a command line tool for editing media files, and next I have explained some of the pretty basic stuff for using this tool. So if you are new to this tool then it is recommended to at least go through these basics:
1: Converting Files Format using FFMPEG
One of the basics tasks for using the FFMPEG can be the format conversion, though there are a number of different online converters, but they might take a lot of time. To convert the format of a video and audio file using FFMPEG, use the below syntax:
ffmpeg -i [original-file-name] [original-file-name-plus-desired-format] -hide_bannerHere, I have converted a video from mp4 to mkv format:
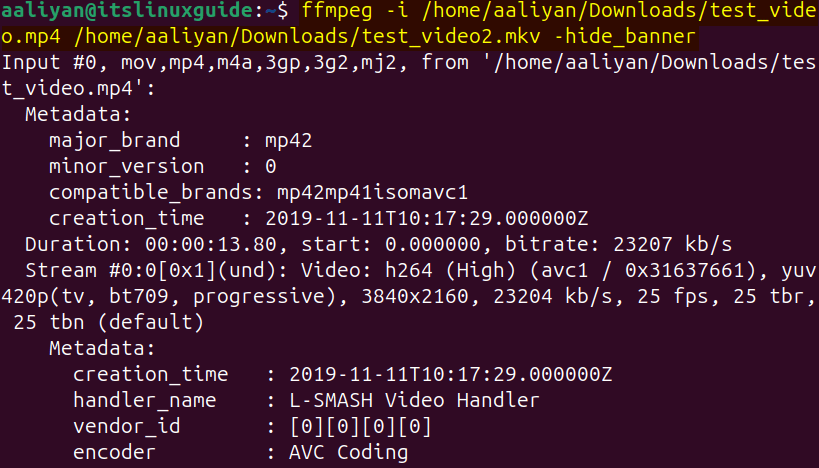
Next, if you list the directory contents, you will see another video file with the desired format:
ls
2: Trimming Audio/Video Files on Ubuntu Using FFMPEG
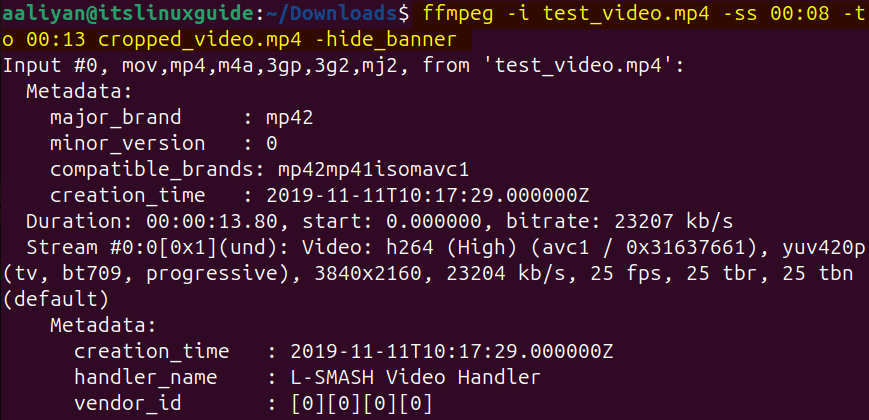
Another basic task in media files editing is its trimming or cutting, now there are a number of different options for it. The basic one is that you can mention the audio/video start time and end time for the duration which you need to trim or cut, for that use the below syntax:
ffmpeg -i [input-video/audio-name] -ss [start-time] -to [end-time] [output-audio/video-name]Here, -ss is for the start time and -to flag is for the end time and for demonstration I have trimmed the 5-second section of the video:
Now once the trimming is done you can see either by watching the trimmed part or by simply checking the trimmed part duration by using the below command:
ffprobe -i [file-name] -show_entries format=duration -hide_banner
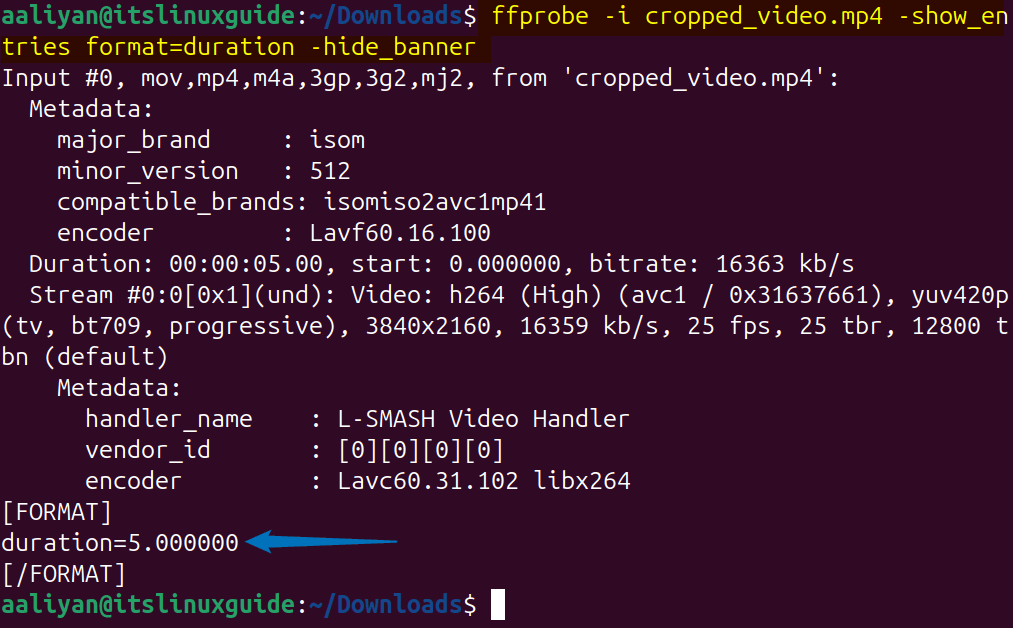
If you have a long video or audio, then you must know the format of mentioning the duration is HH:MM:SS for both the start time and the end time.
3: Displaying File information using FFMPEG on Ubuntu
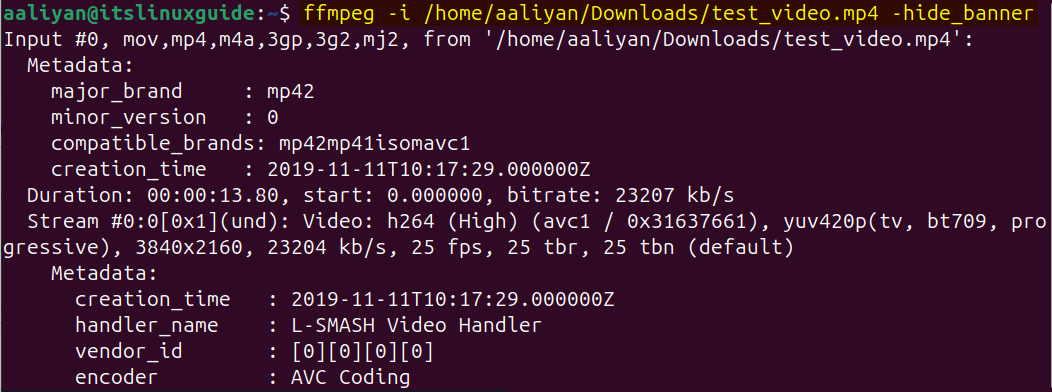
To see any media file information on Ubuntu, you need to install GStreamer plugin, but using the FFMPEG you can also display the media file information. So in that case use the below syntax:
ffmpeg -i [file-name] -hide_banner
4: Compressing Media File using FFMPEG on Ubuntu
The next important thing you should know is compressing the media files, in case of video you can decrease the buffer size, bit rate or frame rate. To compress a video file using FFMPEG by bitrate and buffer size, use the below syntax:
ffmpeg -i [video-file-name]-b:v [bit-rate] -bufsize [buffer-size] [compressed-video-output-file-name]
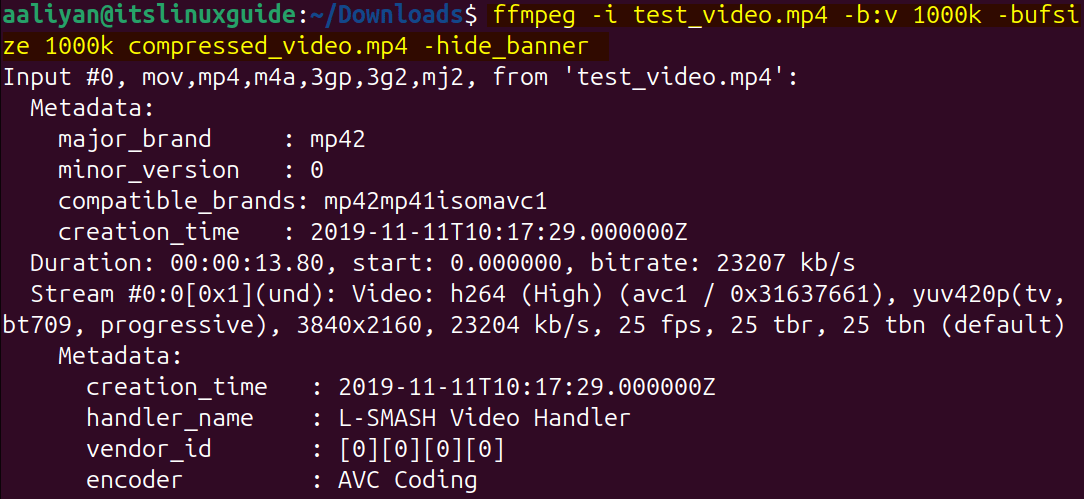
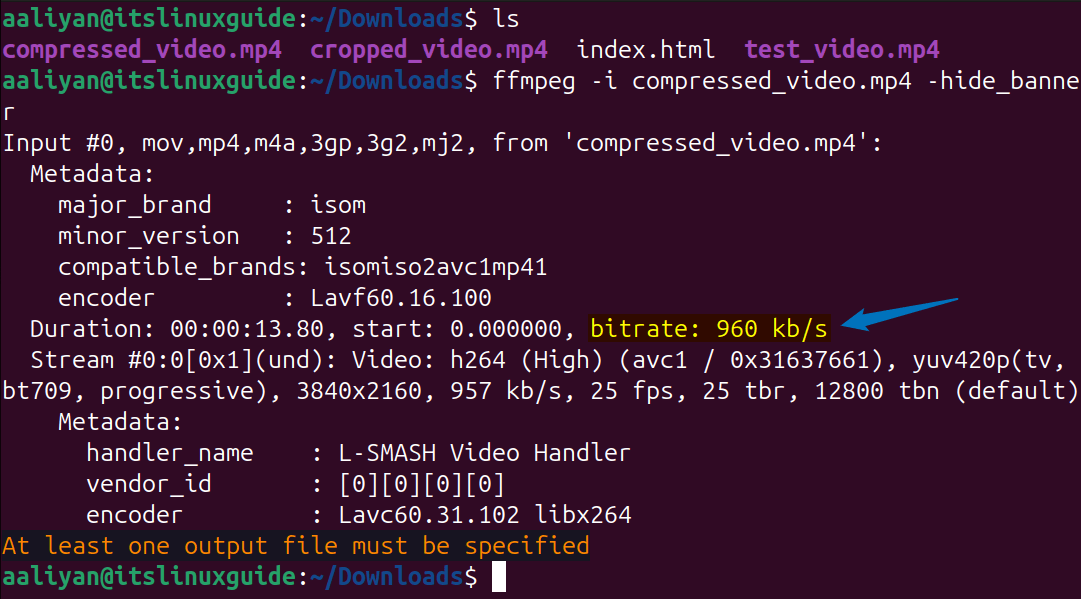
ffmpeg -i [compressed-video-name] -hide_bannerHere in the previous command I reduced the bit rate to 1000 so now when I check the details of the compressed video you can see that it is reduced to 960:
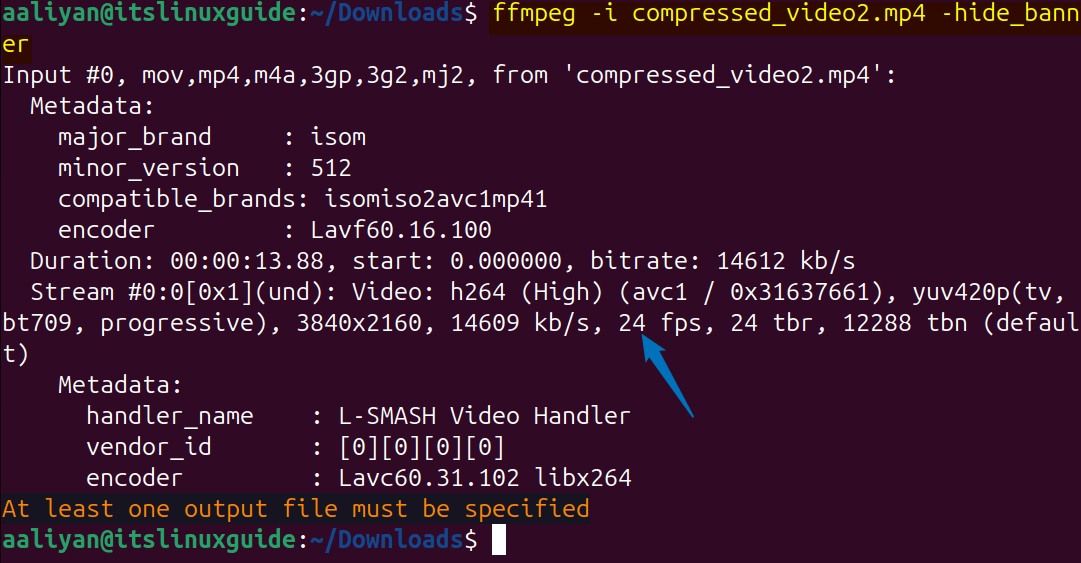
Further to reduce the frame rate for video compression using FFMPEG here is the below syntax for it:
ffmpeg -i video_input.mp4 -r 24 video_output.mp4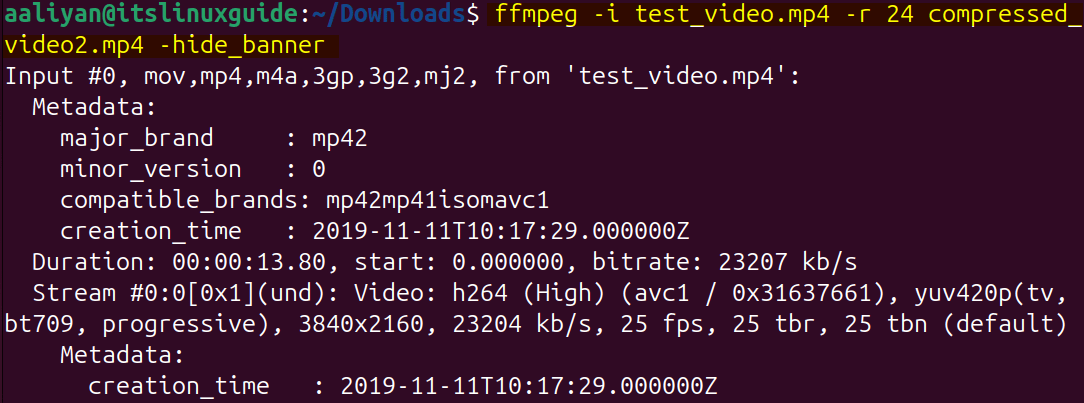
I have reduced the frame rate to 24 which you can see in the image below that shows the details of the compressed video:
Furthermore, to compress the audio file, you can reduce their bit rate by using the following syntax:
ffmpeg -i audio_input.mp3 -ab [desired-bit-rate] audio_output.mp3ffmpeg -i audio_input.mp3 -b:a [desired-bit-rate] audio_output.mp3
5: Recording Screen on Ubuntu Using FFMPEG
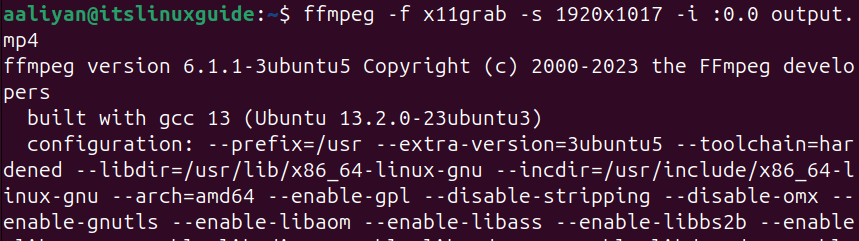
One of the important task these days while working or studying is the screen recording, which you can do using FFMPEG. To record the screen, you need to specify the resolution and display number in case you are using multiple displays. Here is the below syntax for the command to record your screen on Ubuntu
ffmpeg -f x11grab -s [your-screen-resoultion] -i :0.0 output.mp4
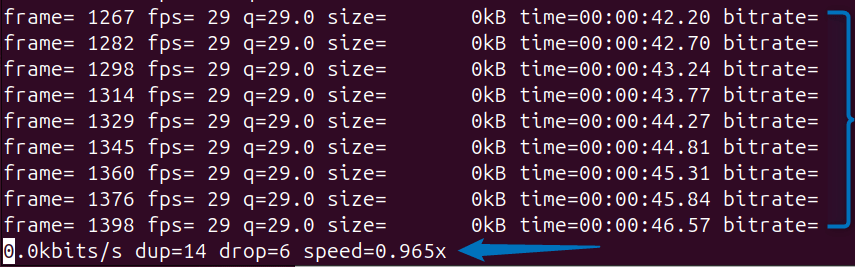
Once the screen recording is started it will keep on updating the timestamp, so when you are done with recording either press q or press ctrl+c to stop:
Next, when you list the directory contents, you will see screen recording file:
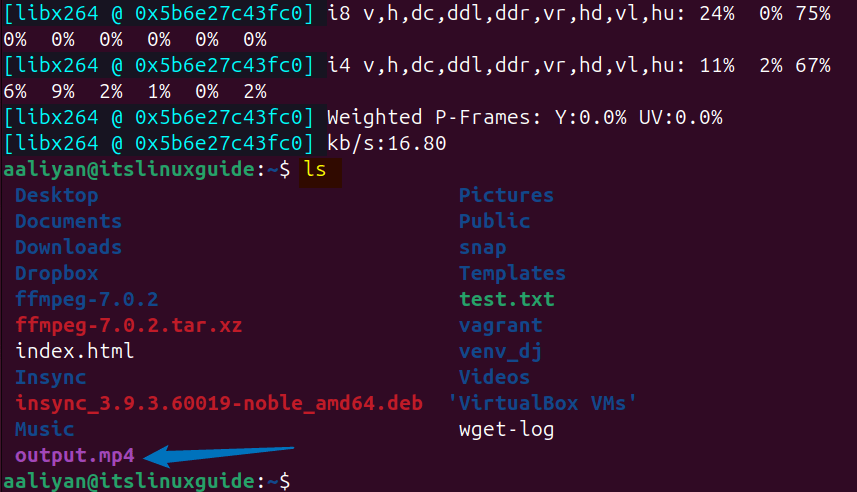
6: Record Audio on Ubuntu Using FFMPEG
Recording audio Using FFMPEG can serve various purposes like sending someone a voice message or doing a voiceover for a video. To record an audio on Ubuntu via FFMPEG, use the below syntax:
ffmpeg -f alsa -i default output.mp3 -hide_bannerWhen the recording is started, you will see a mic option on the top right side of the menu bar:
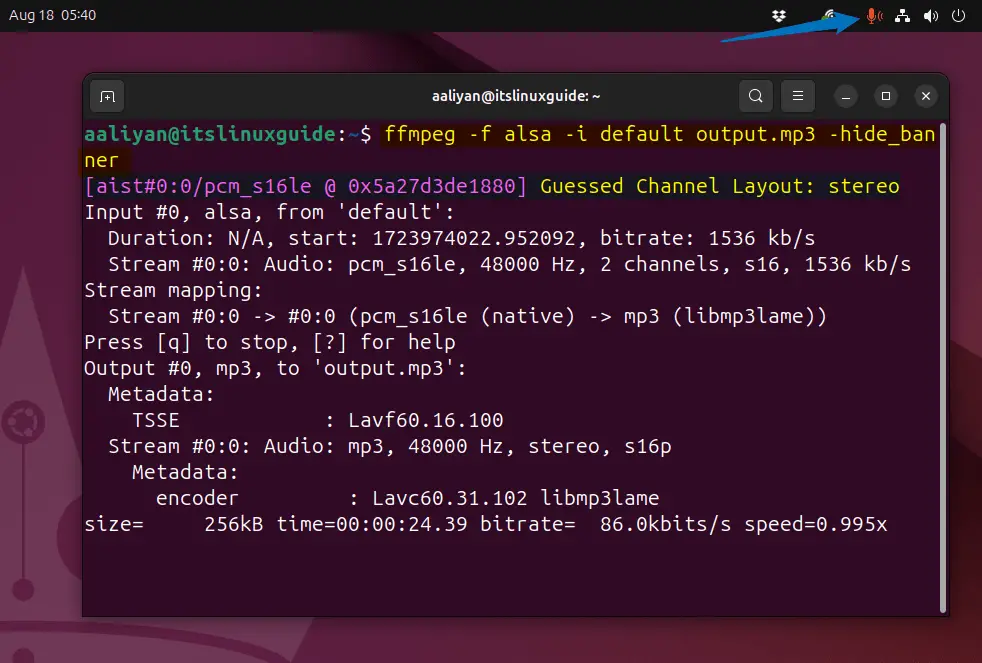
Same as the screen recording, you need to either press q or Ctrl+c to stop the audio recording:
Note: Further if you need help regarding the commands and options of FFMPEG then simply execute the below command for full help:
ffmpeg -h full
Conclusion
This guide discussed four ways to install FFMPEG on Ubuntu and these methods include using apt package manager, Ubuntu App centre, FFMPEG source file and snap package installer. Further, this guide also discussed some of the basic usage of FFMPEG on Ubuntu.
This included converting formats, trimming/cutting media files, screen/audio recording and displaying media file information. The recommended method for installing FFMPEG is using its source file because through it, you can get the latest version with fewer bugs and new features.