
To create either a website or a web application, you need to use a web framework though you can develop without any web framework, but it will be inefficient. There are several web frameworks available, one of the popular among them is the Django which is a Python based. On Ubuntu, Django can be a good fit as it comes with pre-installed Python packages and libraries.
3 Ways to install Django on Ubuntu
Django comes with Model-View-Template (MVT) architecture that encourages code reusability and maintainability. Further, it comes with an admin panel where you can manage the website, which you can use to create a content management system. There are three ways to install Django on Ubuntu, which will discussed along with creating and testing a Django based project:
1: Through Ubuntu Default Package Installer
The first method to install Django on Ubuntu is using its default package installer, and this method installs Django in the whole system. The drawback for this method is that you may encounter library or dependencies issues while working on multiple projects that require different version of Django. Since it is Python based framework, so use the below command for it:
sudo apt install python3-django -y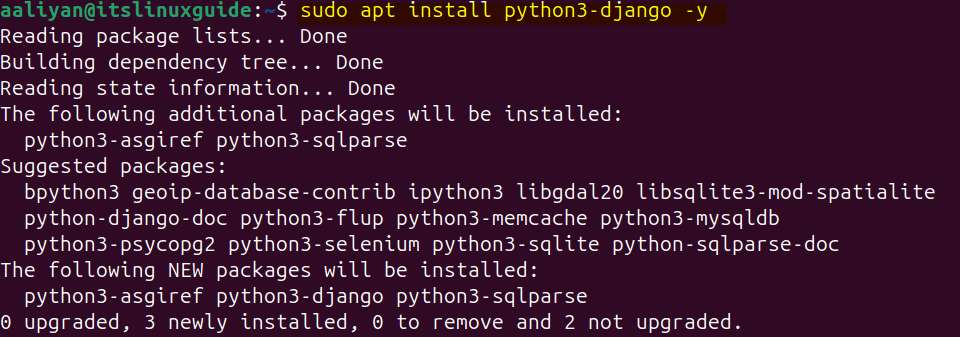
Once the installation is complete, you can check the Django version by executing the below command:
django-admin --version
2: Through Python Virtual Environment
The second for installing Django is by using the pip package manager that is primarily used to install Python based packages. This is the recommended way for Django installation as you can manage multiple projects on a single machine without having any dependences or library issues.
First, install the pip package manager by using the Python database as in the command below:
sudo apt install python3-pip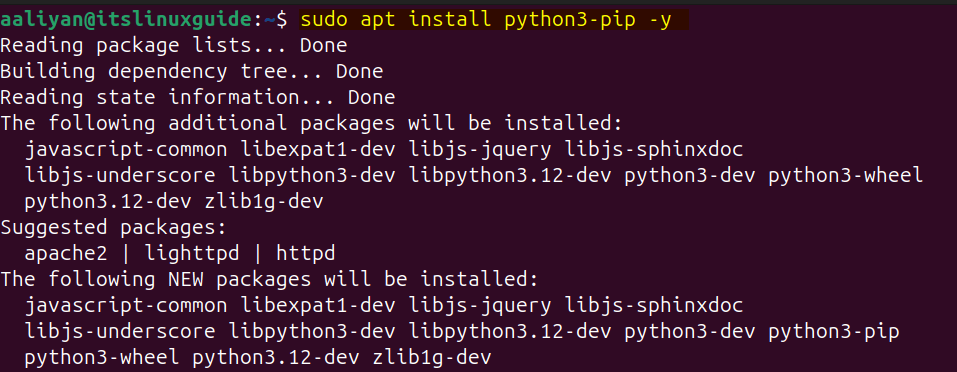
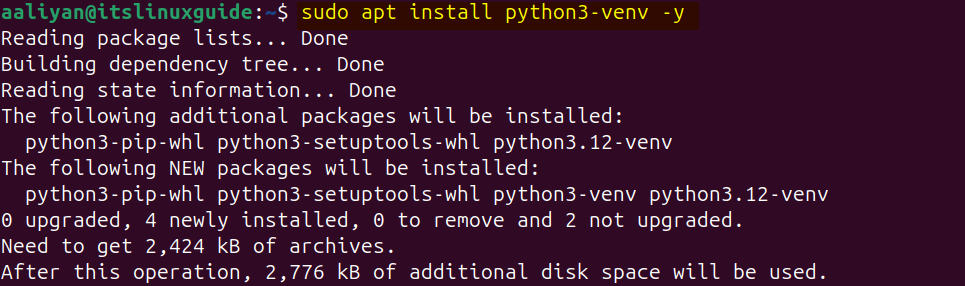
Now, since you will be creating Python virtual environment so in that case you need to install virtual environment tool by using the below command:
sudo apt install python3-venv
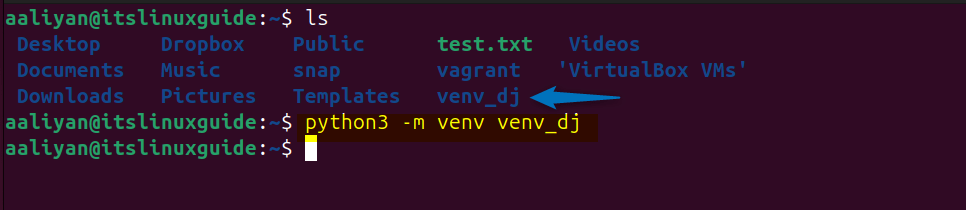
Now to organize the data and to avoid any errors it is necessary to create a separate directory for the respective project or at least create a separate directory for installation of Python based packages. So now use the mkdir command to create a directory with desired name and then switch to it:
mkdir [directory-name]
cd [newly-created-directory-name]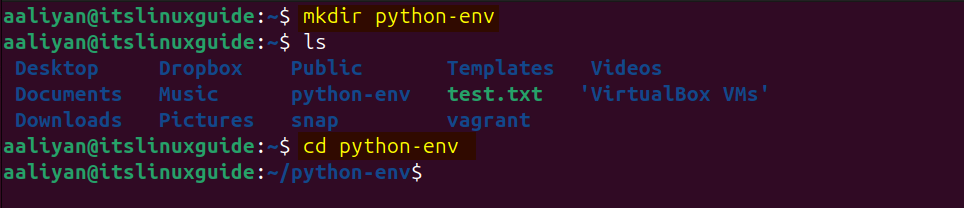
The next step is to create a virtual environment for Django using the venv command, here m flag is used to set the next input as module. Modules on Python are a set of definitions and statements that are related to any specific Python program, so to create a virtual environment execute:
python3 -m venv [virtual-environment-name]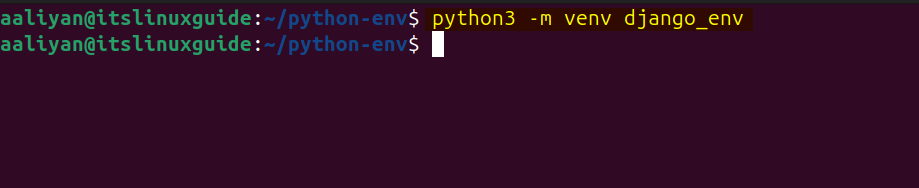
Now, activate the virtual environment by using the source command as in the syntax below:
source [virtual-environment-name]/bin/activate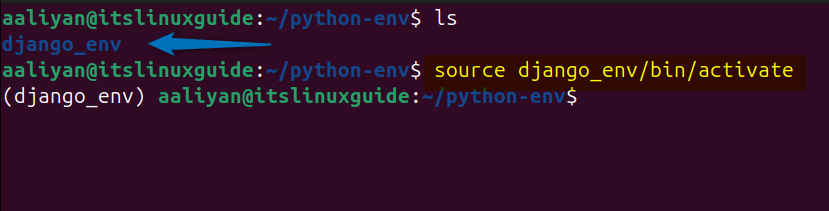
Next, install Django, a Python based framework using the pip package installer as in the command below:
pip3 install django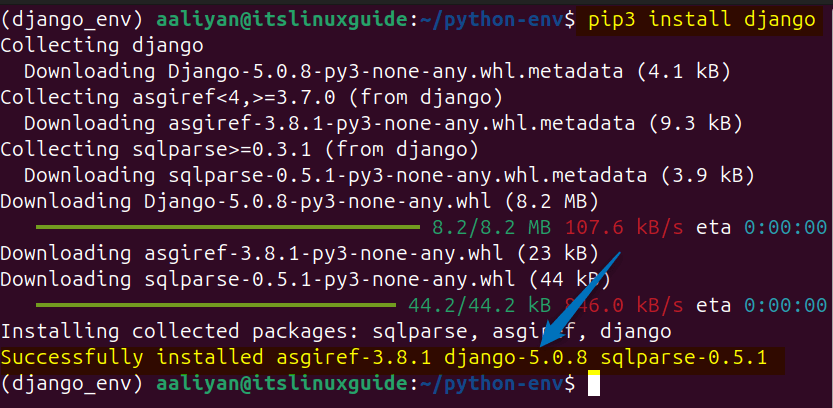
Once the installation of Django is completed, you can verify it by checking the version of Django:
python -m django --version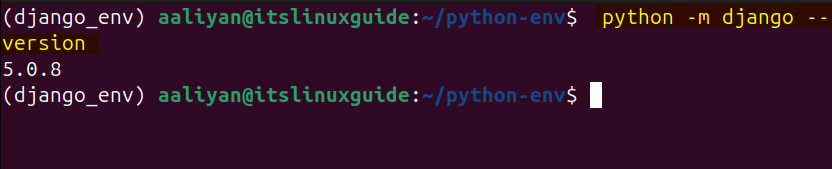
3: Through GitHub
The third and the last method for installing Django on Ubuntu is by cloning its git repository, in this case just like the previous method you need to create a separate directory for it and then create Django clone. To create and to navigate to the directory, use the below commands:
mkdir venv_dj
cd venv_dj

Next, create a clone of Django setup file from GitHub by using the below command:
git clone https://github.com/django/django.git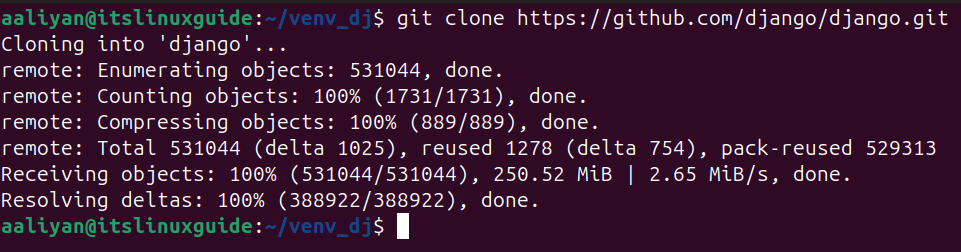
Once Django files are cloned, the next thing you need to do is to create a virtual environment using the same directory you have created previously where Django files are present by executing:
python3 -m venv [virtual-environment-name]
After creating the virtual environment, activate it by using the below command:
source [virtual-environment-name]/bin/activate

Now install Django using the editing mode, which can be fruitful in case you need resource optimization, rapid development and dependency management. However, there are some drawbacks that are associated with it as well which include security risks, dependency conflict and deployment challenges, to install Django execute:
python -m pip install -e django/
Once the installation is complete you will see a completion message at the end as in the image below:

How to Create Project with Django on Ubuntu
Django can be used for a wide range of applications, which include creating content management systems, e-commerce websites, social media platforms and more. So to began with creating a project first you need to create a project by stating the desired using the below command:
django-admin startproject [project-name]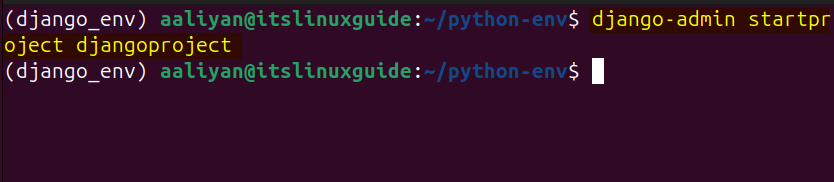
Once the project is started and its directory is created, then navigate to its folder:
cd [created-project-name]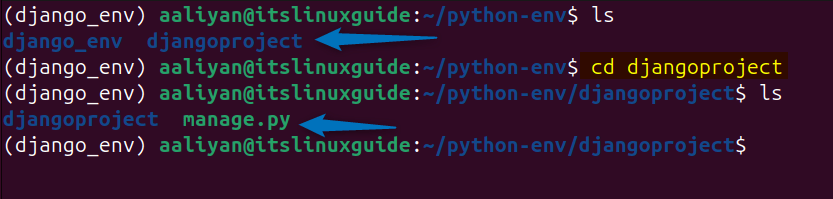
If you list the contents of the project directory, you will see a python file named as manage.py migrate it in case you have made any changes to the project settings or files. This applies the instructions in the migration files based on the database.
python3 manage.py migrate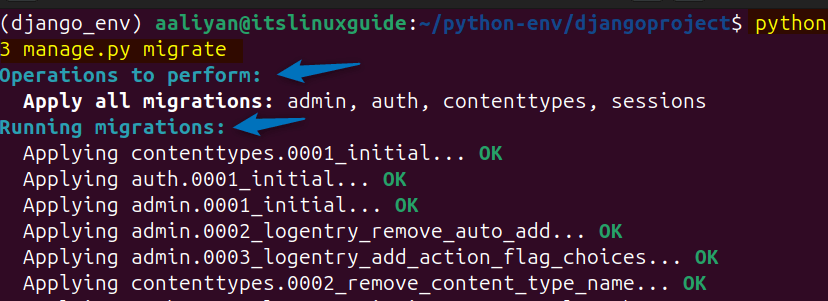
Next, you need to create a user with access to all administrative rights for managing this Django project using the Django admin panel. To create the superuser you need to give the email, name and set the password for access by executing the below command:
python manage.py createsuperuser
How to Test/Run Django Project on Ubuntu
The very first thing you need to do after creating a Django project is to test it whether it is working correctly. To access the web admin panel of Django, you need to create a Python settings file by using any of the below commands based your current scenario:
nano [project-name]/settings.py
Or
nano settings.py
In the settings file, all you need to do is to add the IP addresses of the hosts to whom you want to give access by adding the below code line:
ALLOWED_HOSTS = [“host-ip-address”]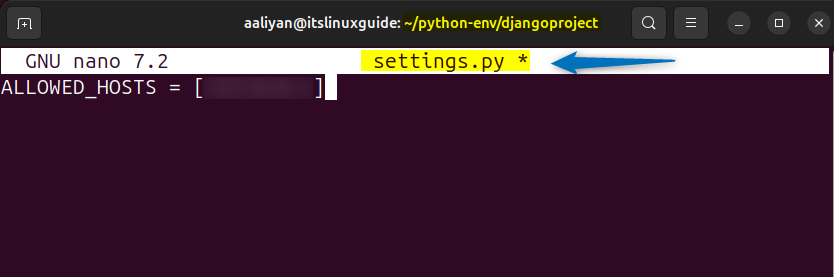
Once you have added the IP addresses, next you need to allow the communication on 8000 port through Ubuntu firewall by using the below command:
sudo ufw allow 8000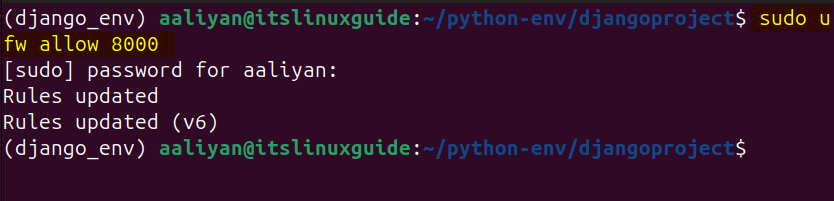
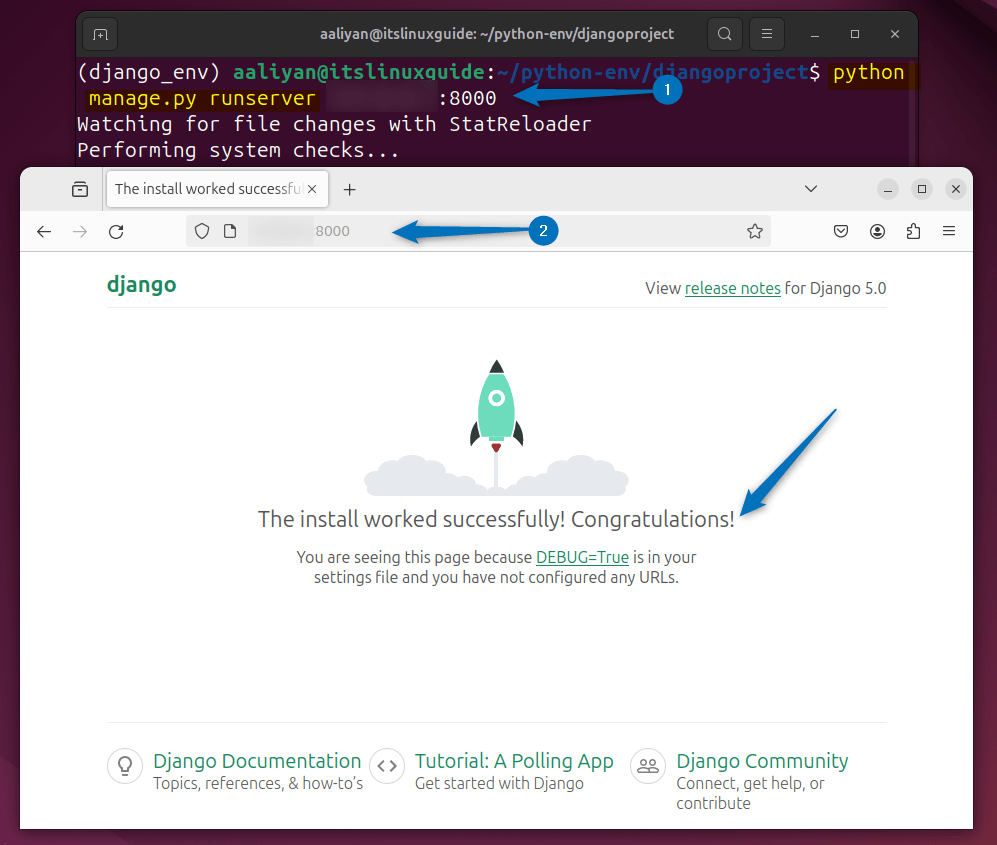
Now you need to start the Django server on the same host IP address which you added earlier by running the below command:
python manage.py runserver [host/system-ip-address]]:8000
When the server is up and running, use the host IP address along with the port 8000 in the web browser http://host-IP-address:8000, this will open the Django default page:
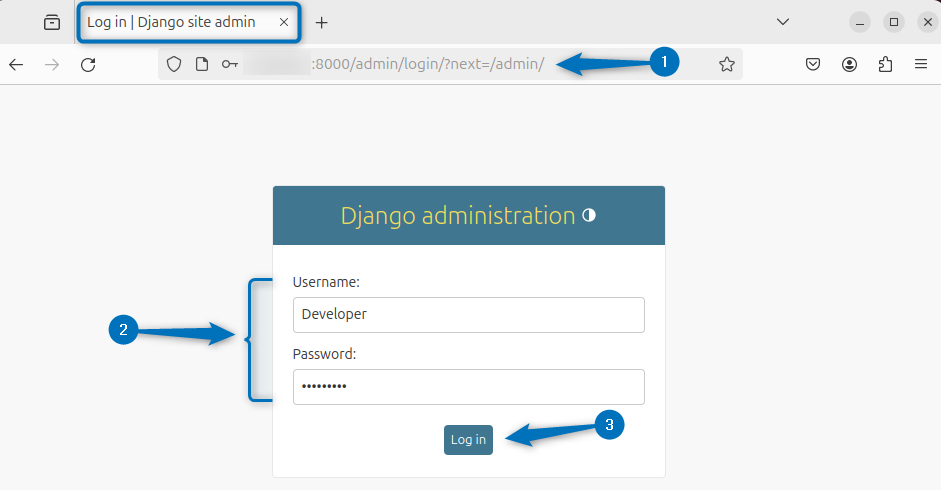
Further, to access the Django admin page on Ubuntu, use the following format in the browser URL:
http://<yourserver_ip_address>:8000/admin/Now, use those superuser credentials to login to Django admin account:
Since this is just a demo, so here in the account you cannot see many settings as compared to a real time application. Here you can add users and create groups for site administration:

Conclusion
This guide described two ways to install Django on Ubuntu, which include using apt package manager and pip package manager. For using the pip installer, creating a virtual environment first is necessary, as you will get the error of externally managed environment. Further, this guide explained how to create a Django project and how to test it along with accessing Django admin panel.