Darktable is an open source raw photo editor that allows the users to edit images without altering the source image file. Further this tool comes with non-destructive editing Workflow, image enhancement and correction along with selective editing with masking. So if you are either starting your journey as a photographero or looking for a reliable raw photo editor then you will need applications like Darktable.
On Ubuntu and other Linux distributions this application will have smoother integration as it is also open-source. To install Darktable on Ubuntu there are numerous methods like using its AppImage file, this blog will explain all of them.
4: Ways to install Darktable on Ubuntu
Darktable supports OpenCL for GPU acceleration, so this feature may require some additional configuration on Ubuntu based on the system graphics card and display drivers. There are four ways for installing Darktable on Ubuntu and to demonstrate each method Ubuntu 24.04 is used which the is recently released version:
1: Through AppImage File
The first and the easy way around to install Darktable on Ubuntu is using its App Image file which you can download from the Darktable install page. This is just a plug and play file as it does not require any prerequisites or any installation commands:
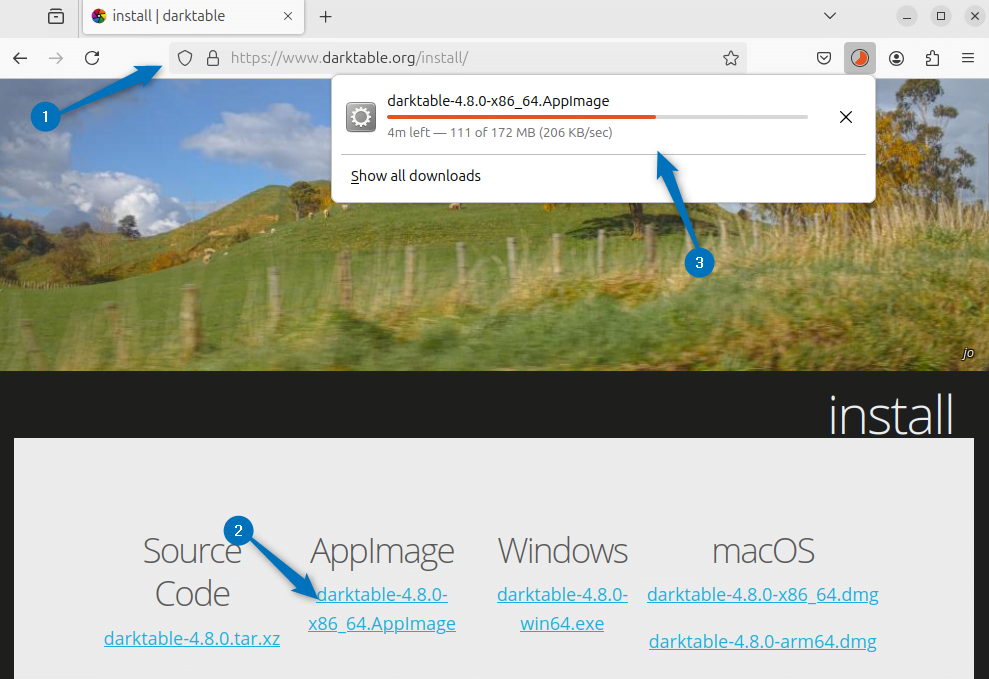
There is an alternate way to download the Darktable AppImage file that is by using the download link along with wget utility as in the command below:
sudo wget https://github.com/darktable-org/darktable/releases/download/release-4.8.0/darktable-4.8.0-x86_64.AppImage
Once the file downloaded, you need to make it executable and change its permissions using the chmod command as given below:
sudo chmod u+x darktable-4.8.0-x86_64.AppImageOnce the file is executable and the permissions are changed, the colour of the file change to green:
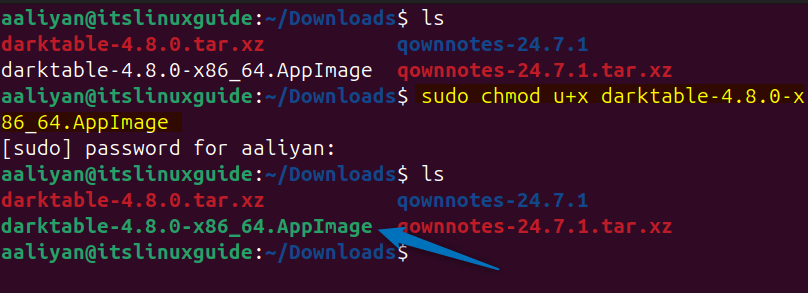
Next, to launch Darktable via AppImage file execute it using the command below:
sudo ./darktable-4.8.0-x86_64.AppImage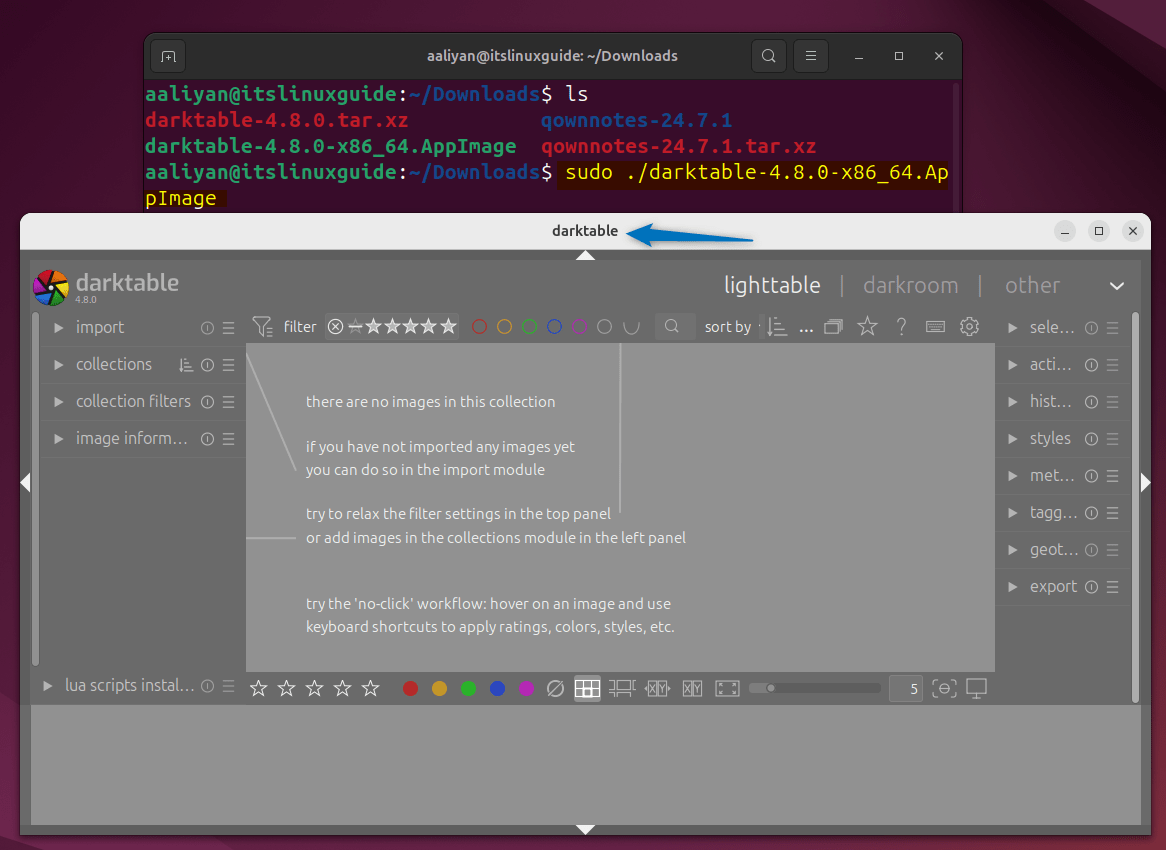
2: Through Snap Store
The next method to install Darktable raw photo editor is by using the Snap package installer, which comes pre-installed on Ubuntu. So to install Darktable via snap execute:
sudo snap install darktable
Next, to validate the installation instead of checking its version, you can list the snap installed apps on Ubuntu:
sudo snap list --installed
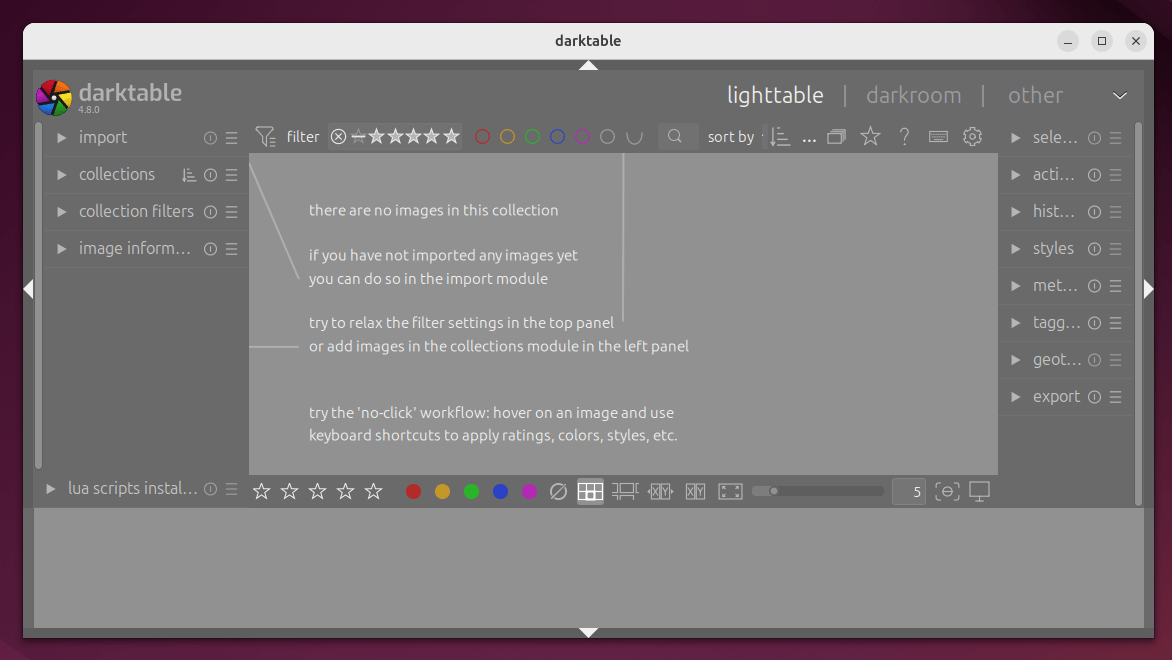
To launch the Darktable app use the app menu or run the darktable command in terminal:
3: Through Flatpak Package Manager
Another third party app installer that can be used to install Darktable is using the flathub repository, but you need to have it installed first. So, execute the below command for installing darktable via flatpak:
flatpak install flathub org.darktable.Darktable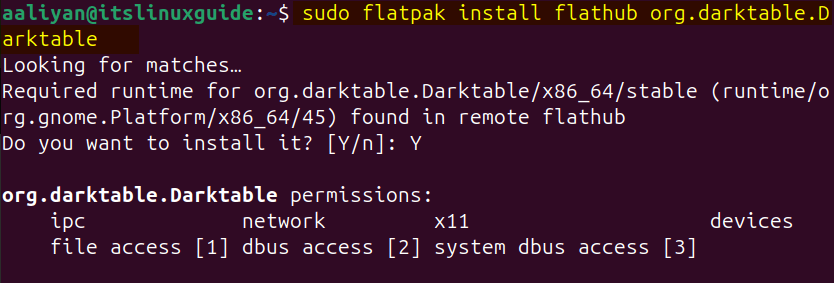
Now to launch darktable installed using the Flatpak run the following command:
flatpak run org.darktable.Darktable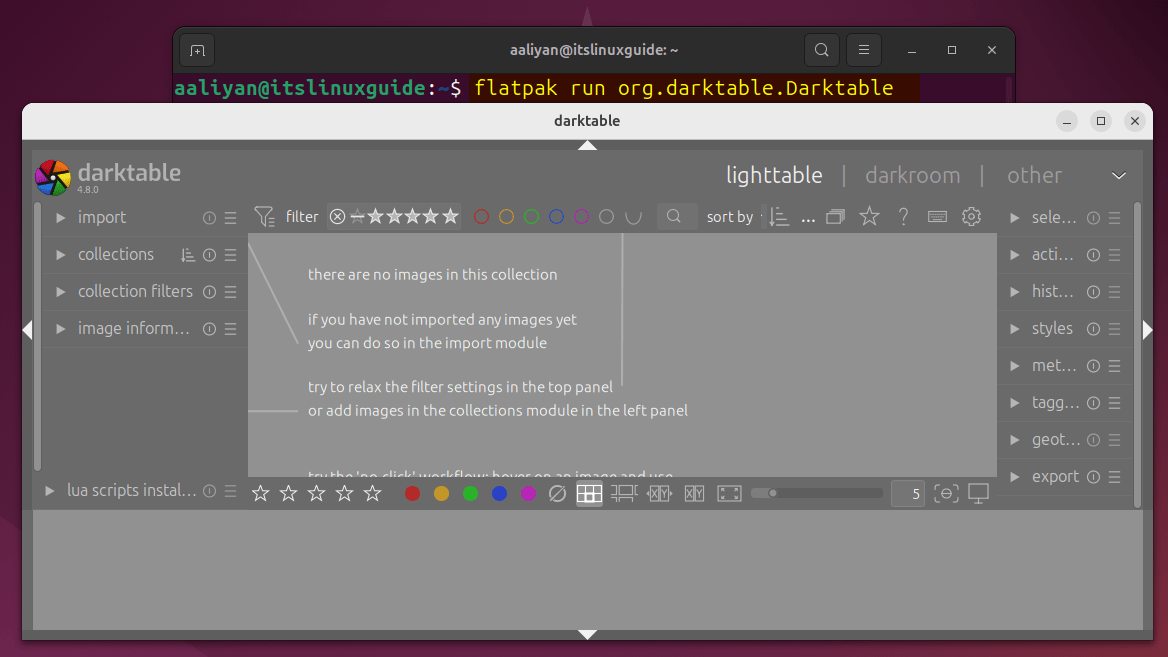
4: Through Ubuntu App Center
If you’re looking for a GUI method for installing Darktable on Ubuntu, then use its App Center, though it is the GUI version of Snap Store. Here you can select from multiple versions as well, simply search for it in App Center and click on Install:
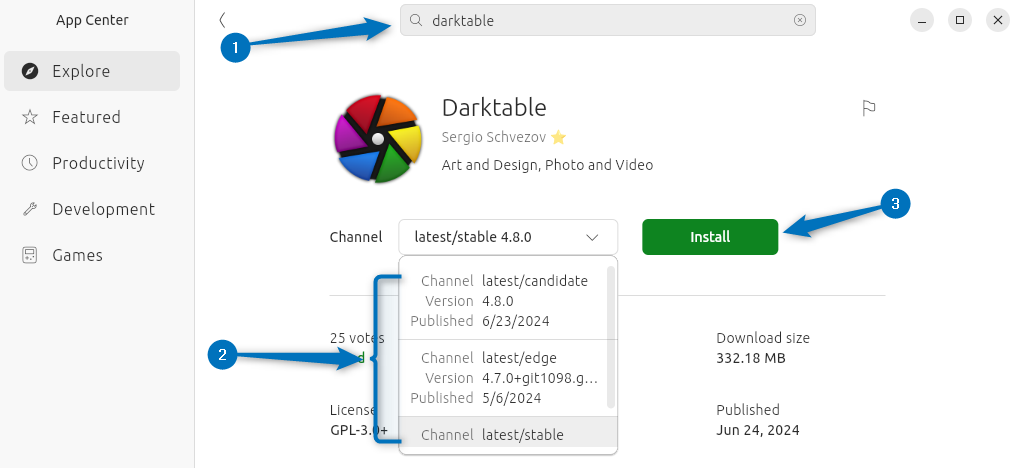
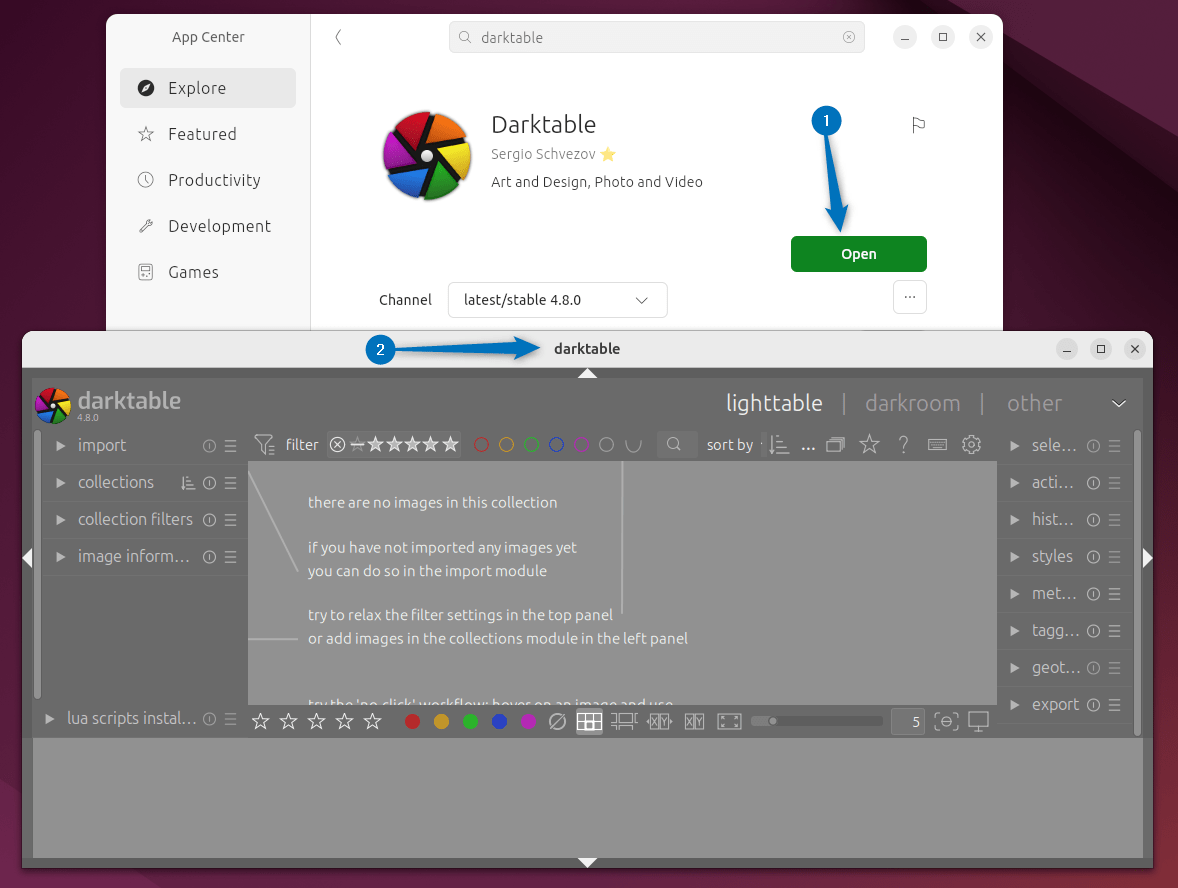
Once the installation is completed, launch the Darktable application either by clicking on Open or search for it in the app menu:
Note: There is one more method for installing Darktable on Ubuntu and that is using its source file which you can download from its download page. However, I tried this method and encountered several errors which make it quite difficult to opt. So it is better not to use the source file for Darktable installation on Ubuntu.
Conclusion
This guide explained four ways to install Darktable on Ubuntu, which include using the AppImage file, Snap app installer, Ubuntu App Center and Flatpak package manager. For user who prefer to use GUI for installation use the App Center and for the user who prefer command line it’s better to go for the AppImage file.
