
GitLab is an open-core DevOps platform that provides a complete end-to-end solution for software development, delivery, and lifecycle management. Ubuntu is one of the best systems for hosting GitLab because it provides an officially supported, stable, secure, and high-performance environment. Furthermore, its LTS reliability, strong package ecosystem, and security infrastructure make it ideal for self-managed enterprise GitLab deployments.
Installing GitLab On Ubuntu
GitLab on Debian-based Linux systems, such as Ubuntu, can be installed only via its bash script, which adds its repository to the apt package installer. There are two versions for GitLab: the enterprise and the community edition. Before installing GitLab, there are some prerequisites, like the installation of curl, OpenSSH, and a firewall are necessary:
sudo apt install openssh-server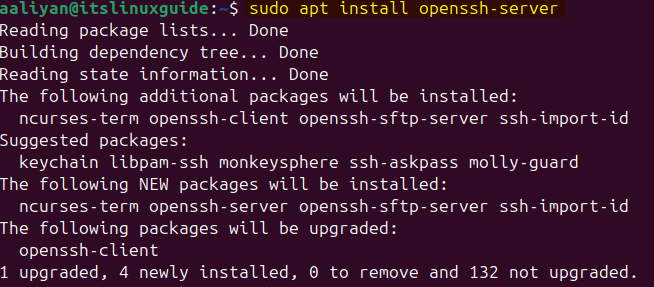
Download and execute the GitLab bash file using the Curl Utility by using the command below:
curl "https://packages.gitlab.com/install/repositories/gitlab/gitlab-ce/script.deb.sh" | sudo bash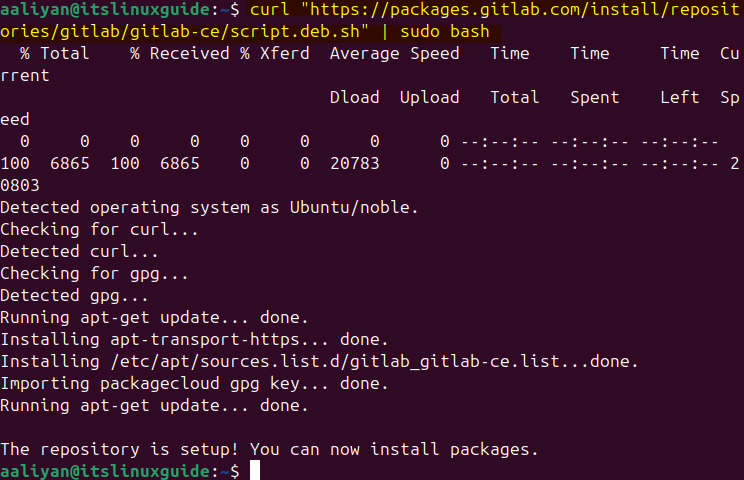
Now install GitLab on Ubuntu by using the apt package installer. After adding the repository, the apt packages list is updated automatically:
sudo apt install gitlab-ce -y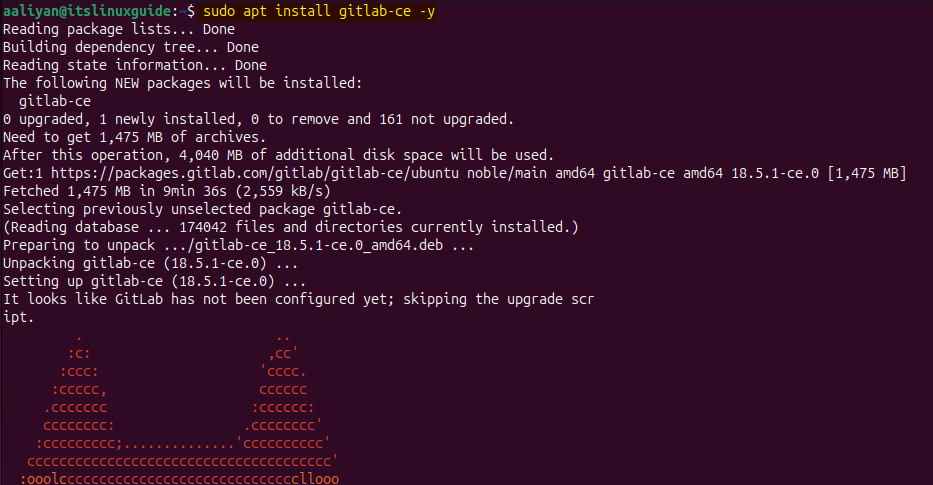
Alternatively, the custom GitLab URL can also be added while installing GitLab on Ubuntu simultaneously for accessing it from the browser:
sudo EXTERNAL_URL="https://gitlab.example.com" apt install gitlab-ceSetting up GitLab on Ubuntu
To run GitLab on Ubuntu, several configurations need to be done, like creating a username and password, allowing it through the firewall, adding an email, or creating a custom URL. Navigate to the GitLab directory in the etc folder and execute the following command:
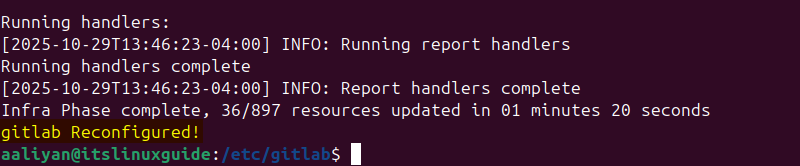
sudo gitlab-ctl reconfigure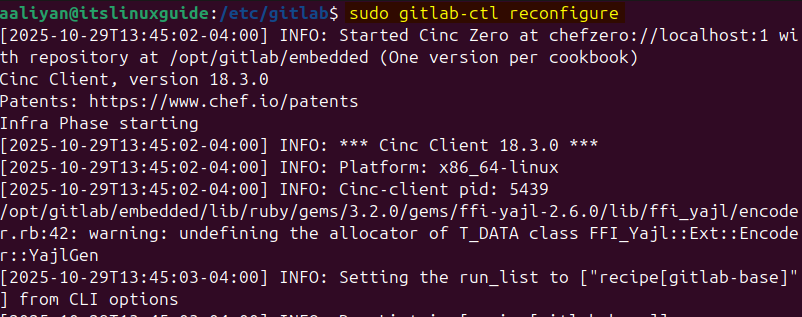
This will take some time, and once done, there will be a message of GitLab reconfigured as in the image below:
Alternatively, the domain for accessing GitLab via browser can also be added manually in its configuration file:
sudo nano gitlab.rb
Search for external_url in the GitLab configuration file and edit the line with the desired custom URL for logging into the GitLab account:
external_url 'https://gitlab.[custom _URL]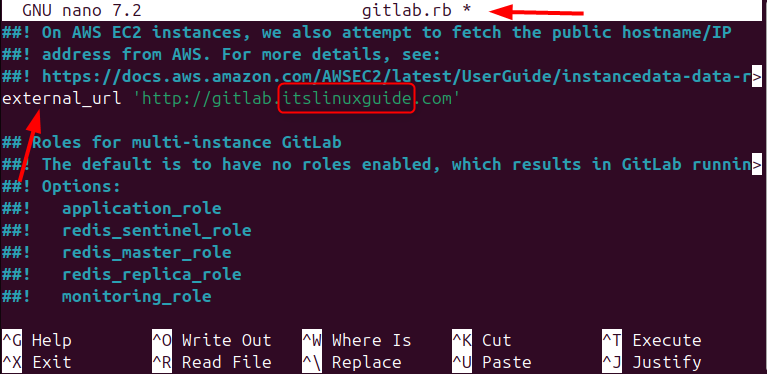
Next, for creating the username, add the email as well, and for that, search for letsencrypt in the GitLab configuration file:
letsencrypt['contact_emails'] = []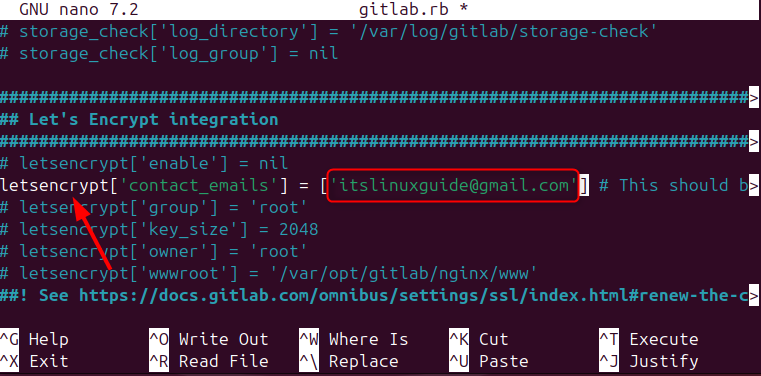
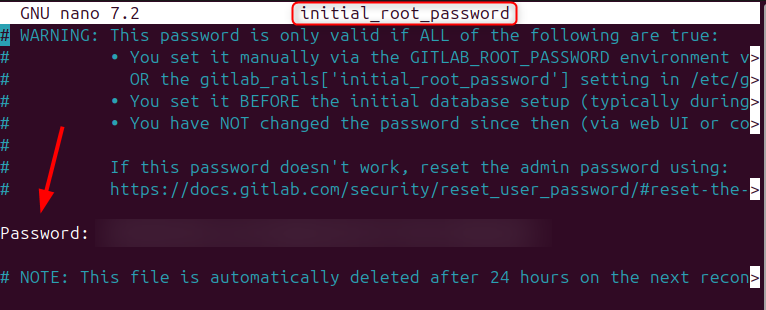
Now run the reconfiguration command after saving the changes, and as a result, a temporary password will be generated, valid for 24 hours:
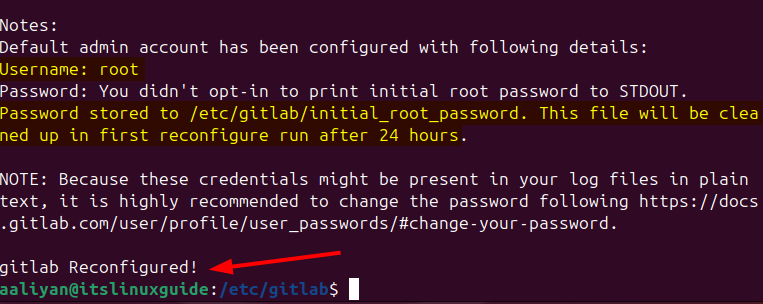
To see the temporary password, open the initial_root_password file in the GitLab directory in Ubuntu:
sudo nano initial_root_password
Copy the password and close the file:
Next, allow HTTP, HTTPS, and OpenSSH from the Ubuntu firewall by executing the following commands:
sudo ufw allow http
sudo ufw allow OpenSSH
sudo ufw allow https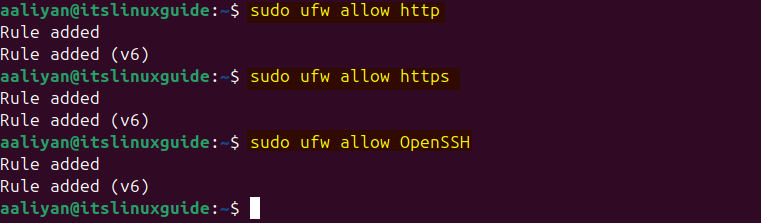
After adding the rules in the firewall on Ubuntu, check their status via executing the following command:
sudo ufw status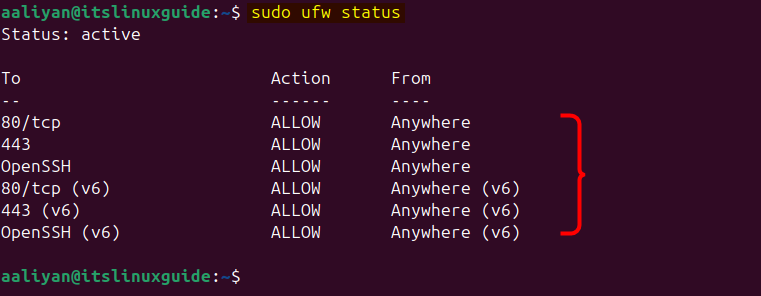
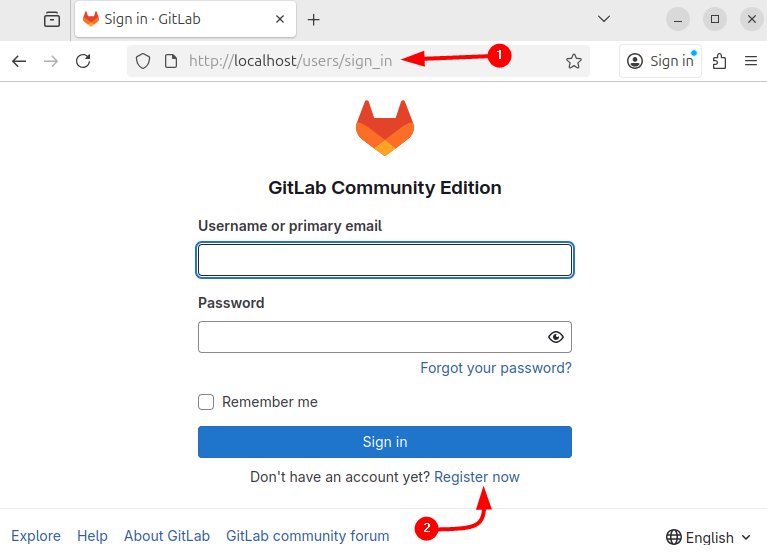
Now access GitLab on Ubuntu either via the external URL added via the configuration file or by the default system IP address. In case of an external URL, use the email and the password from the GitLab configuration file, and in the other case, click on Register now:
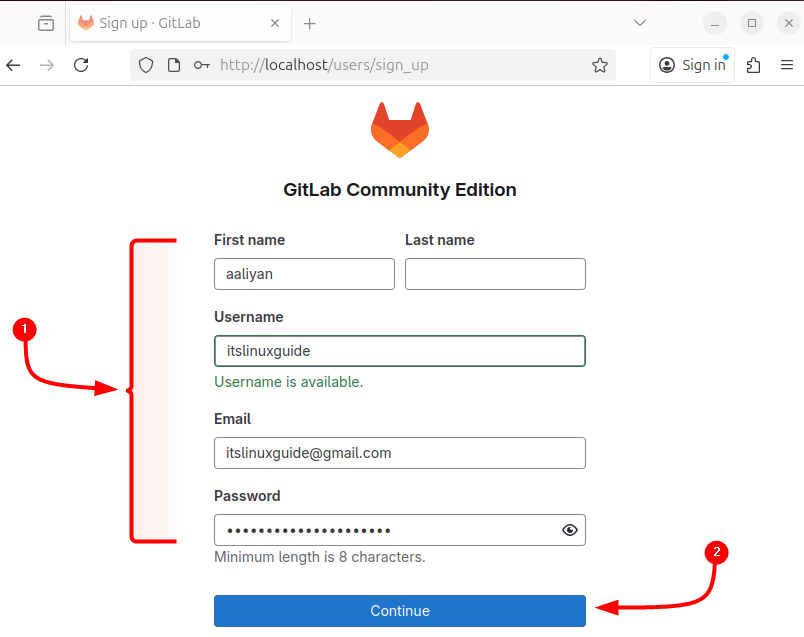
Fill up all the necessary fields with the correct data and then click on Continue:
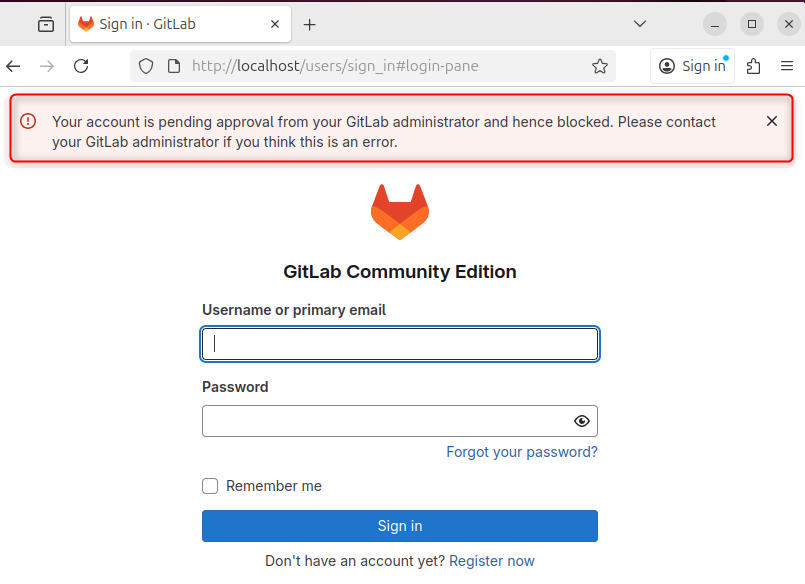
After creating the account, there might be an error in account activation due to the approval of the administrator, so in that case, log in via the admin account:
Since by default, a root user is created for GitLab on Ubuntu, execute the below command to reset the root password:
sudo gitlab-rake "gitlab:password:reset"
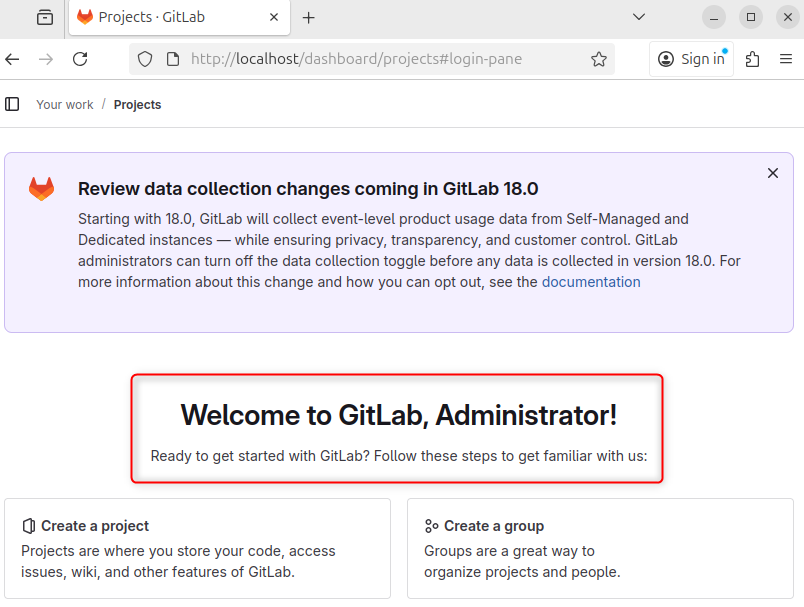
Next, log in via the same password to login:
Conclusion
GitLab is a complete DevSecOps ecosystem that unifies code collaboration, CI/CD automation, security testing, and deployment within one interface. To install GitLab on Ubuntu, download its bash file and use the apt package installer. Furthermore, after installation, execute the reconfigure command to access it via browser on Ubuntu.