
Cloud storage is a far better option for saving your data than saving it on a physical drive, it has more chances of losing the data in case of physical damage or theft. Using any cloud service like Dropbox, you can not only access it on any system, but you can also share the data to others quite easily. Dropbox comes under the list of popular cloud services, making it viable solution for storing your data. On Ubuntu, the installation of Dropbox is quite easy as there are multiple methods like using its deb file or using the apt package manager.
5- Ways to install Dropbox on Ubuntu
Dropbox other than storing and sharing the data comes with several other benefits which include password protection, two-factor authentication and file encryption. There are primarily five ways to install Dropbox on Ubuntu, other than the installation I have also explained some basics for using Dropbox:
1: Installing Dropbox via Deb File
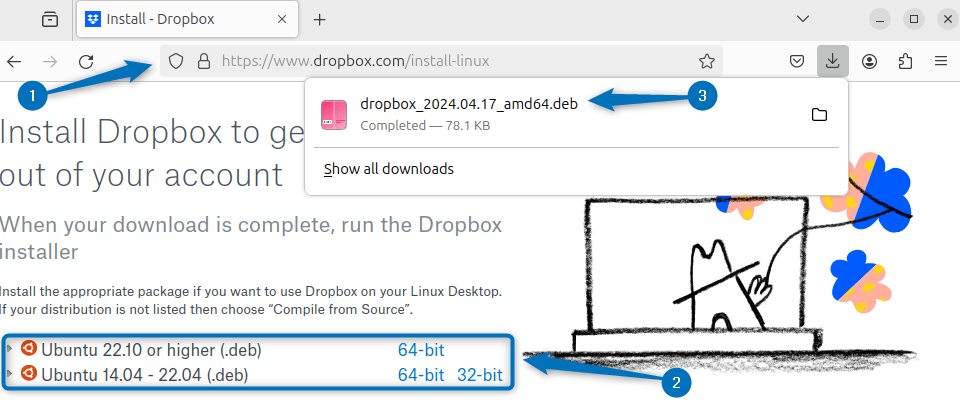
To install Dropbox on Ubuntu, the one of the easy ways is to use its deb file which can be further used by the apt package manager. To Download the Dropbox deb file go to its Linux install page and click on file for Ubuntu 22.10 or higher version:
Alternatively, you can use the below command to get the deb file that uses the download link along with the wget utility:
wget https://linux.dropbox.com/packages/ubuntu/dropbox_2024.04.17_amd64.deb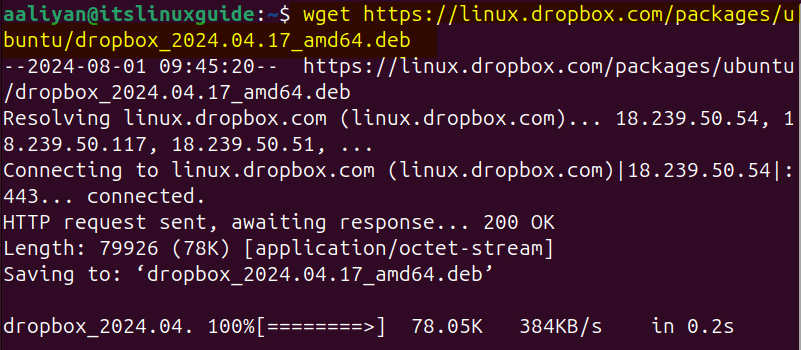
Now install Dropbox on Ubuntu using the downloaded deb file with apt package manager:
sudo apt install ./dropbox_2024.04.17_amd64.deb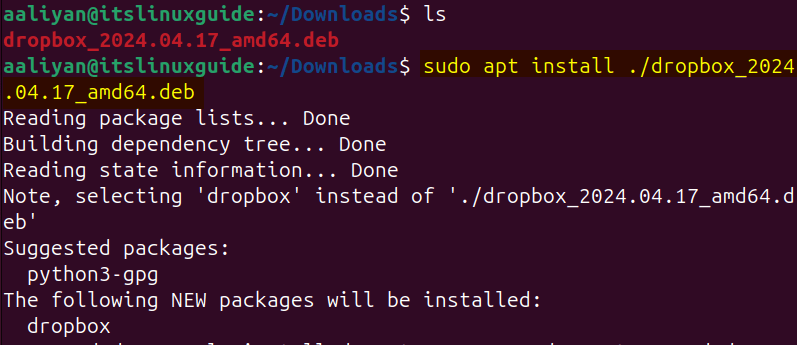
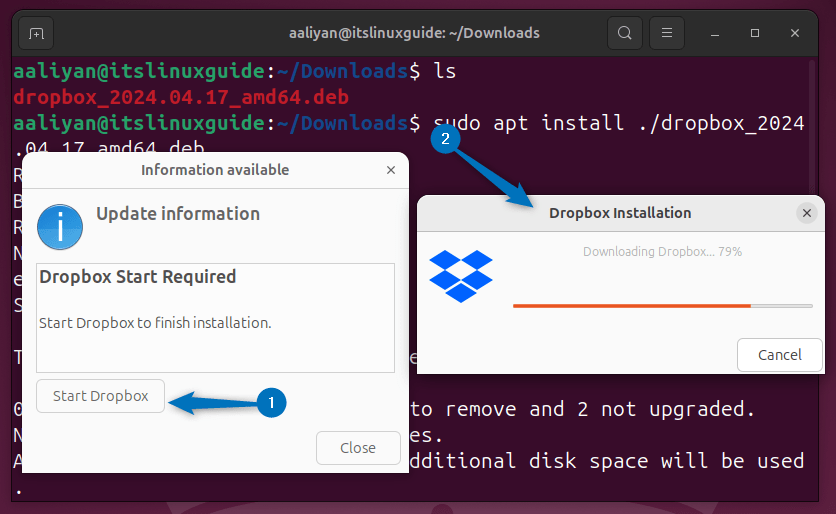
When the installation is completed, a pop-up will open asking you to start the application to complete the process, so click on Start Dropbox to proceed:
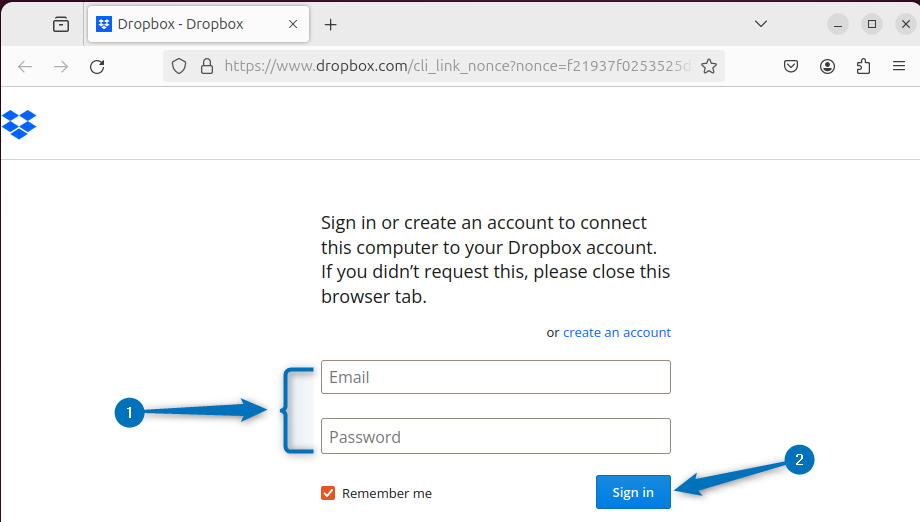
Now once everything is completed your browser will open launching the login/signup page for Dropbox:
2: Installing Dropbox via GDebi Package Installer
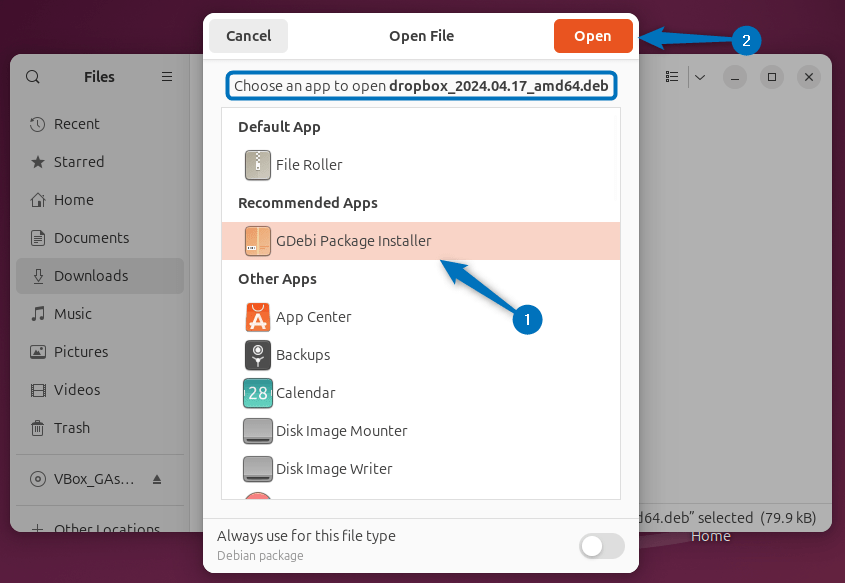
To use the deb file for installing any application on Ubuntu there are several methods and to read about them read the guide on installing deb file on Ubuntu. One method among them is using the GDebi package installer, this method is for those users who are looking to install Dropbox via its deb file using Ubuntu GUI. Simply open the deb file using the GDebi package installer:
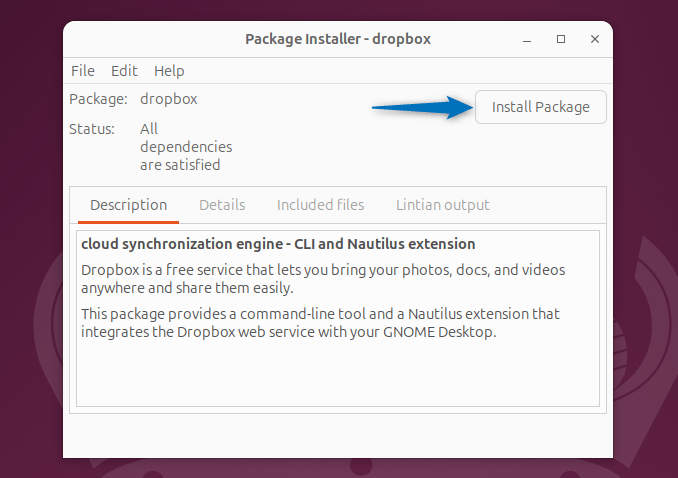
Now once the Dropbox deb file is loaded, start its installation by clicking on Install Package option:
Once the completion dialogue box appears, close the package installer after clicking on the Close option:

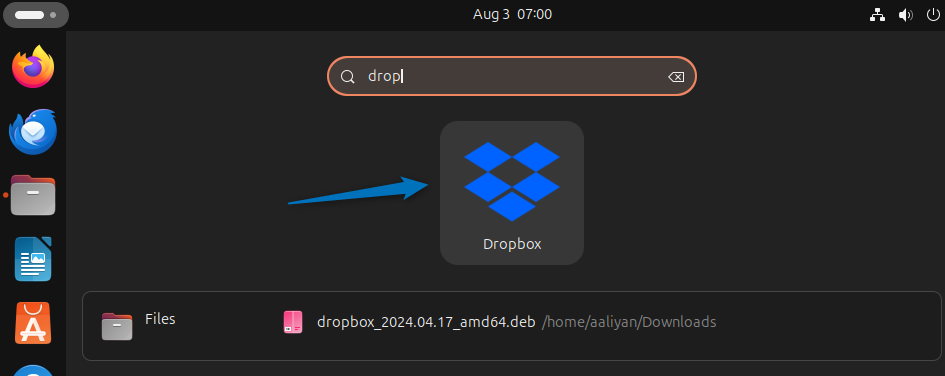
To launch Dropbox you can search for it in the applications menu which you can also access by clicking on the Show Apps icon:
3: Through Dropbox Tar File
If you are looking for a plug-and-play version of Dropbox then you can use its tar file which you only need to extract. So to download and extract tar file for Dropbox, use the below command:
cd ~ && wget -O - "https://www.dropbox.com/download?plat=lnx.x86_64" | tar xzf -
The extracted tar file of Dropbox is hidden, so first list all the hidden files in the directory where the file is downloaded and extracted using the below command:
ls -aHere in the image below, you can see that there is a file named .dropbox-dist which is actually the extracted tar file:
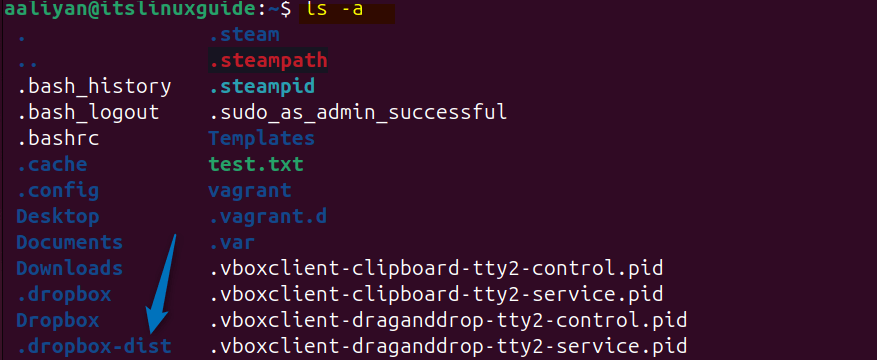
Now to launch Dropbox, execute the dropboxd file in the .dropbox-dist directory by using the below command:
~/.dropbox-dist/dropboxd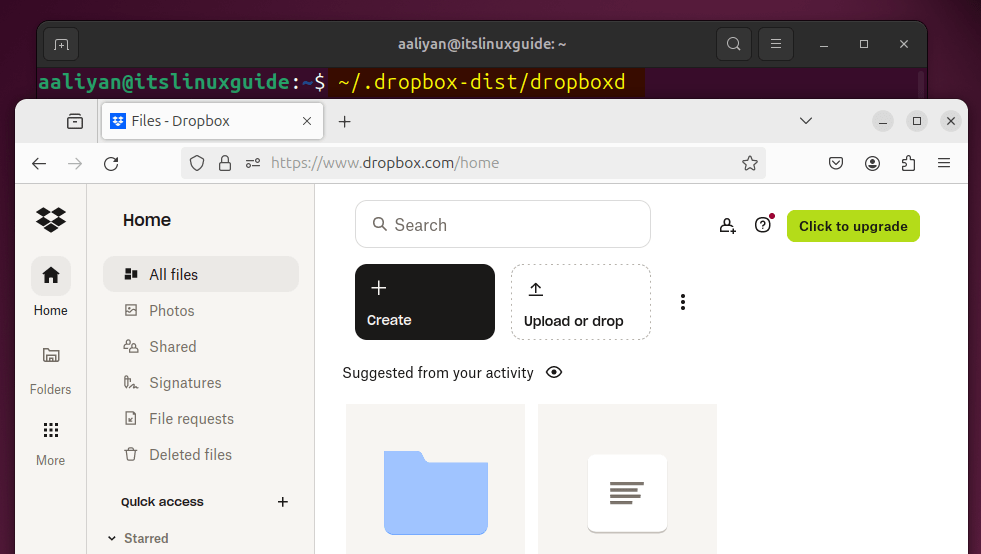
4: Installing Dropbox via Flatpak App Installer
The next method for installing Dropbox on Ubuntu is through the Flathub repository by using the Flatpak app installer. This package is not verified by the Flathub repository which is okay in most of the cases, to install Dropbox execute:
flatpak install flathub com.dropbox.Client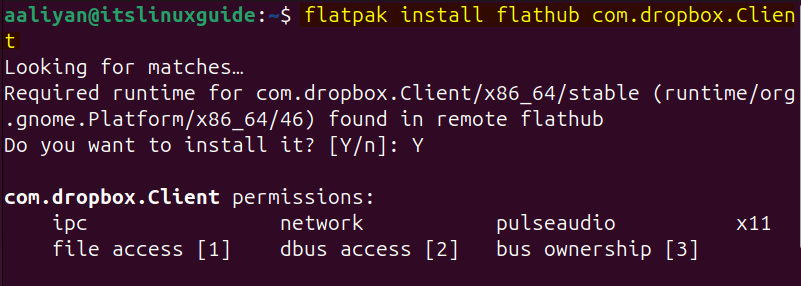
Now to launch Dropbox installed using the Flatpak app installer, use the below command:
flatpak run com.dropbox.Client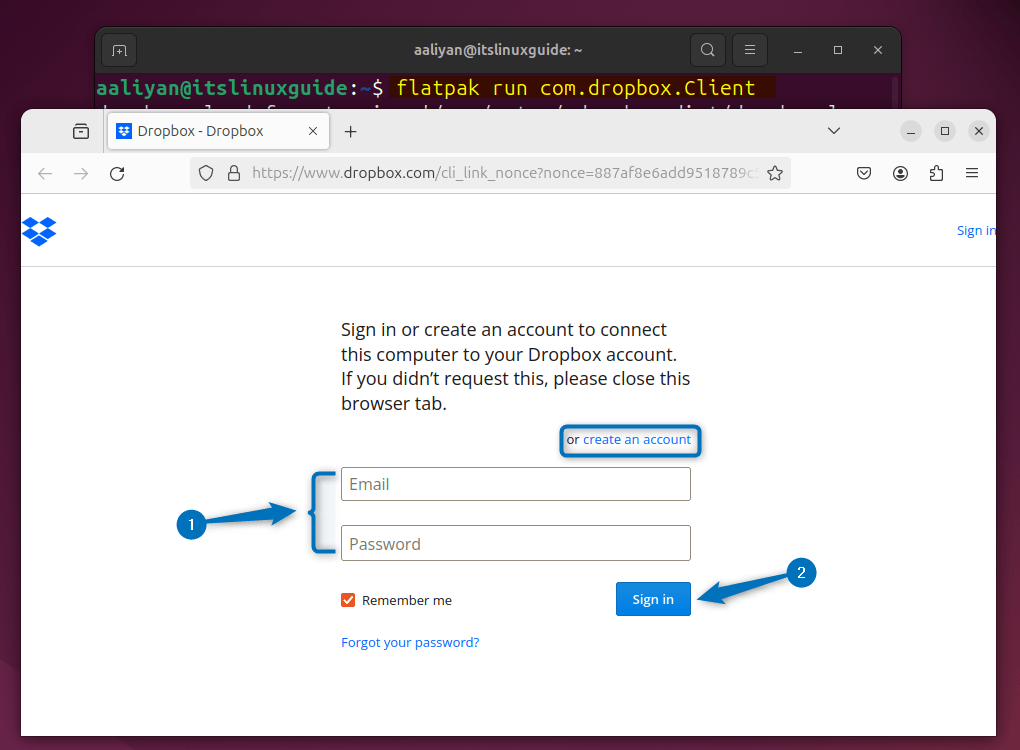
5: Through Ubuntu Default Package Installer
The last method to install Dropbox is using its Ubuntu default app installer, the significance of this method is that it uses Nautilus that integrates Dropbox with the file manager. This way no extra steps are required to sync the file manager Dropbox folder with its web version. To install Dropbox via apt execute:
sudo apt-get install nautilus-dropbox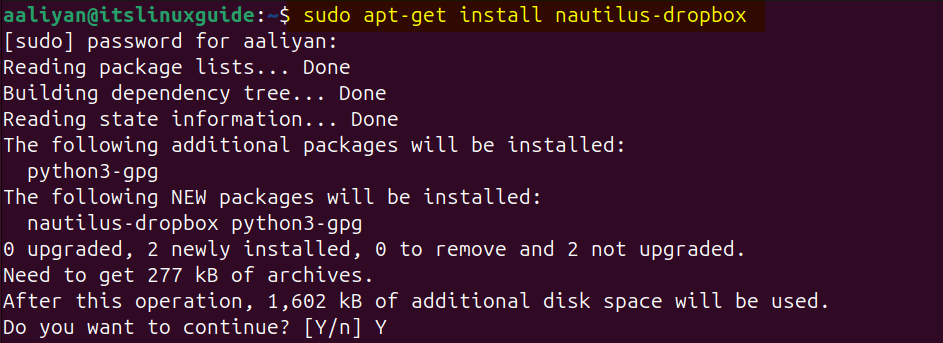
Now to launch Dropbox via terminal, use the below command:
dropbox start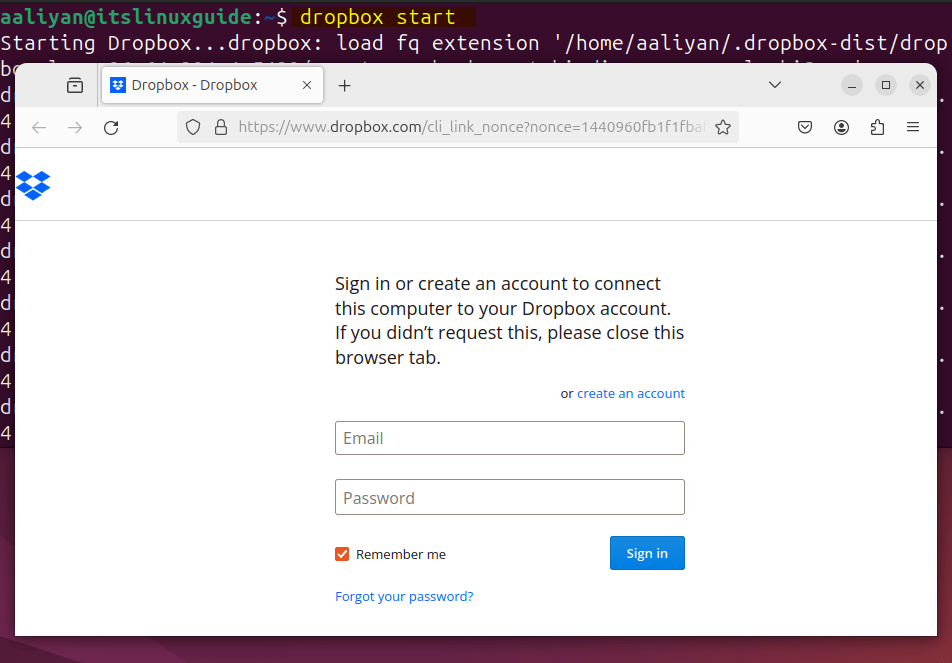
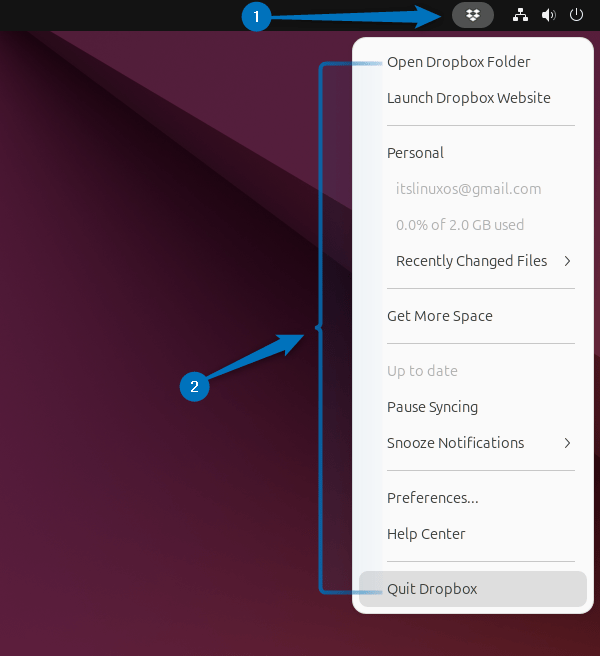
Note: When Dropbox is installed on Ubuntu, you will see its icon on the top right side of the window. From here you can access its web version, open the Dropbox folder and can perform some other actions as well.
Getting Started with Dropbox on Ubuntu
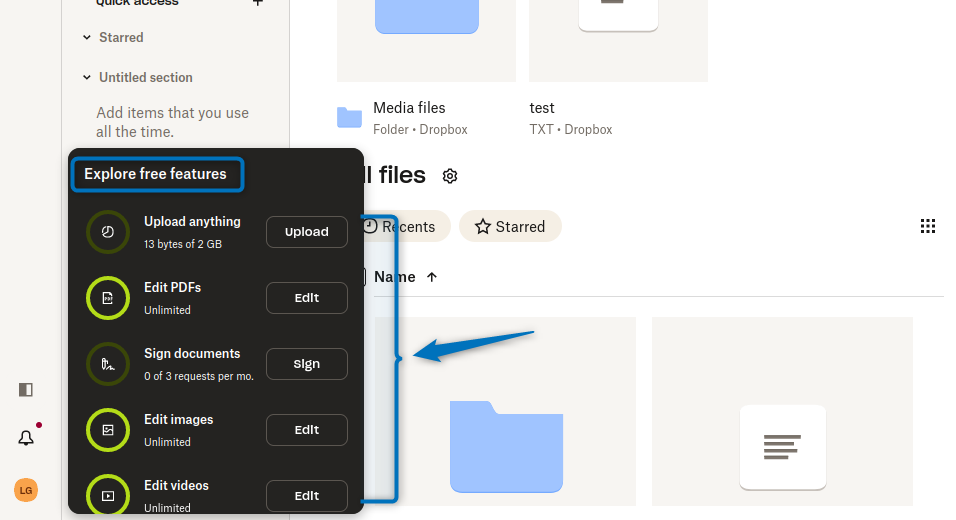
Now I will be discussing some of the basic things that you can do in Dropbox, all these will be beneficial for you in case you are using this cloud storage service for the very first time. Some of the features that Dropbox include is the creating digital signatures for singing the PDF files, further it also provides a password manager as well for data protection.
1: Creating Dropbox account on Ubuntu
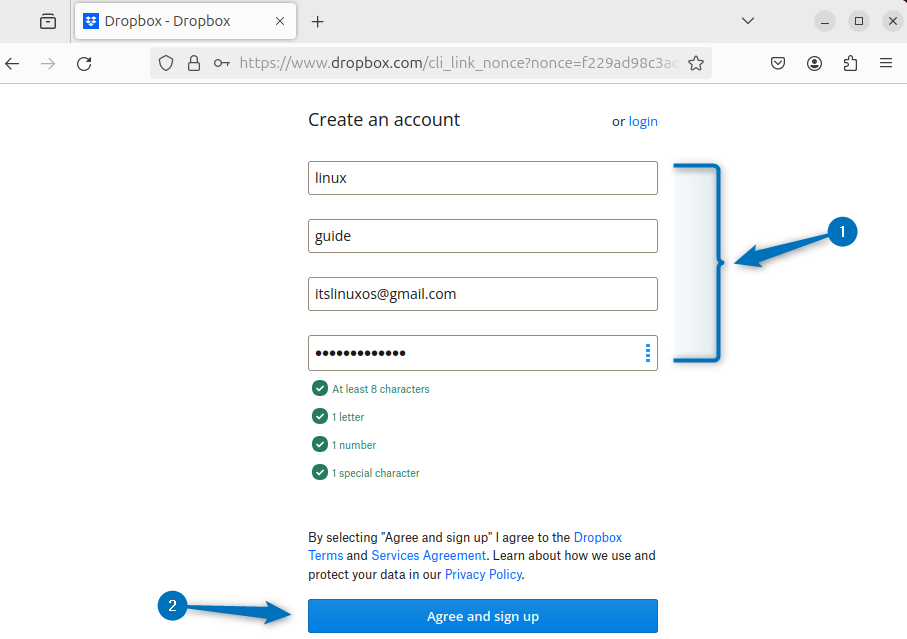
To use Dropbox cloud you need to create an account for it first in case you don’t have one, so on the launch of Dropbox click on the sign in option and then enter the details like email, name and password:
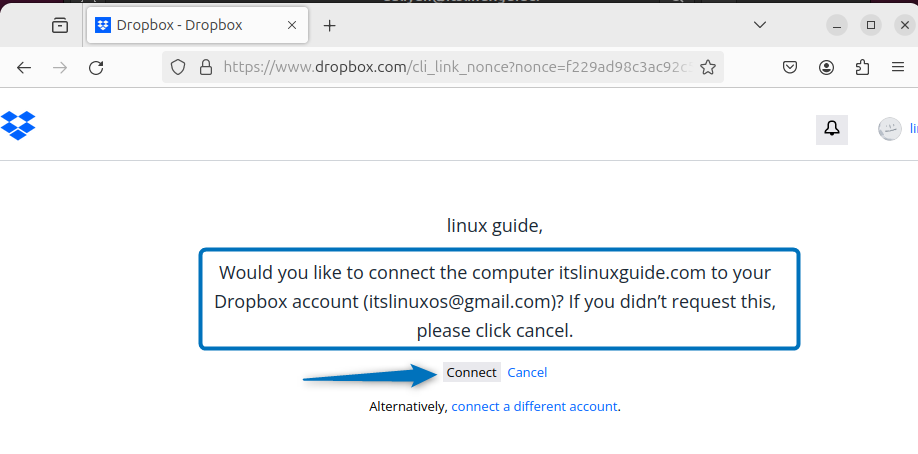
Next, to sync your Ubuntu with Dropbox there will be prompt asking for connecting your computer with Dropbox, for that click on Connect:
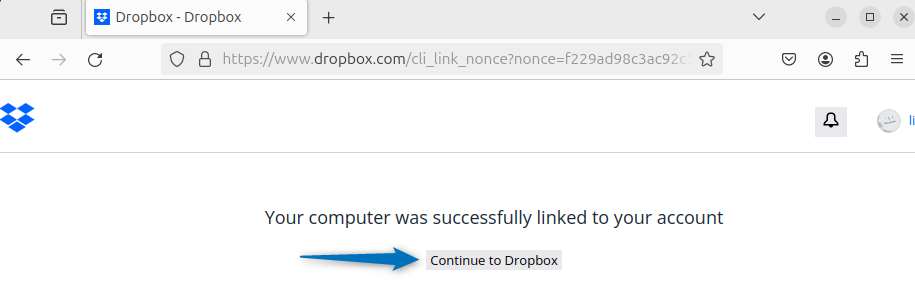
Once the connection is successful, click on Continue to Dropbox to redirect to its homepage:
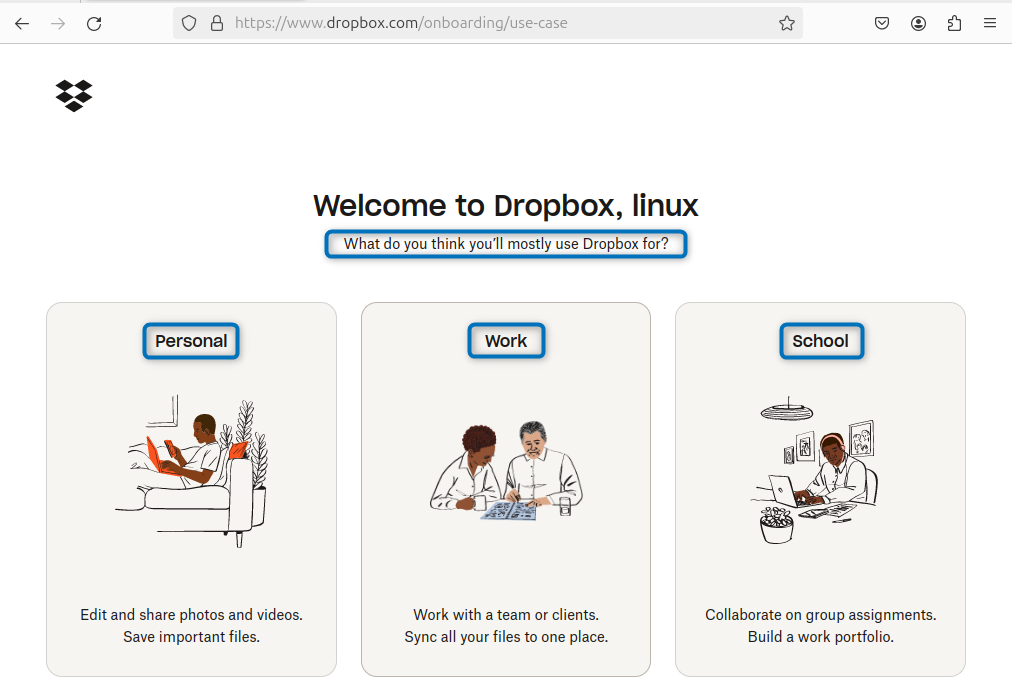
Now select the purpose for using Dropbox which include personal, work and school:
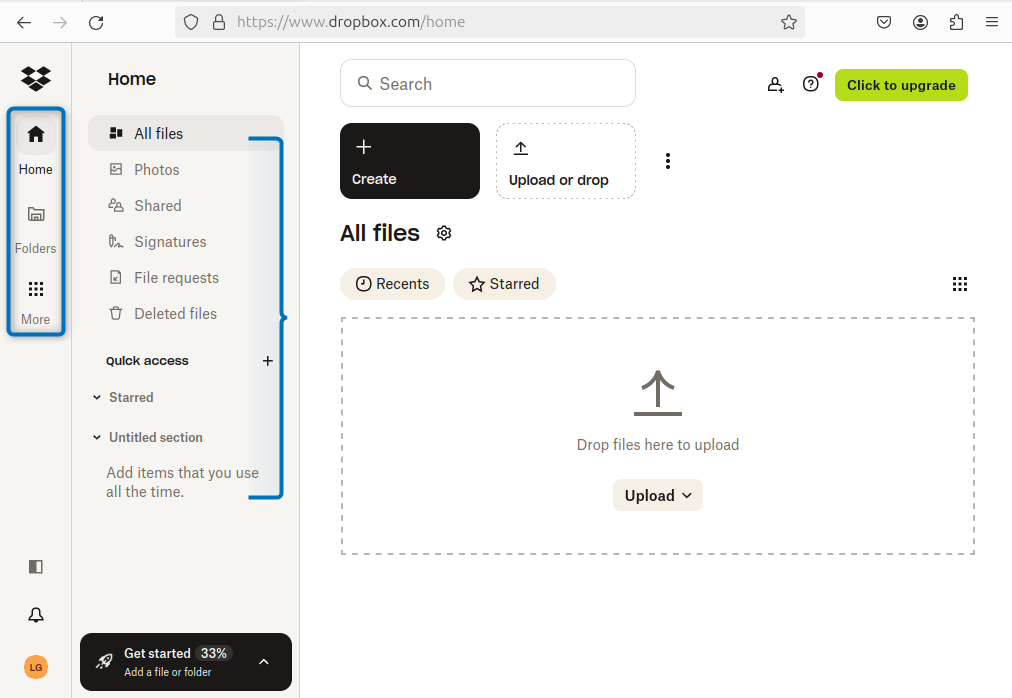
After selecting the purpose, the homepage for your Dropbox account will open where you will two lists of options on the left. The first one is for navigating the cloud and the second one is for navigating all of your data:
2: Adding Files or Folders on Dropbox
To get all of your system data in Dropbox there are two ways, one is that you can either place the files or folders in the Dropbox folder of Ubuntu that is synced with Dropbox. Or you can either upload the data in the form of files or folders. So in that case click on the upload or drop icon on the right side of the page and then from there select the file or folder:
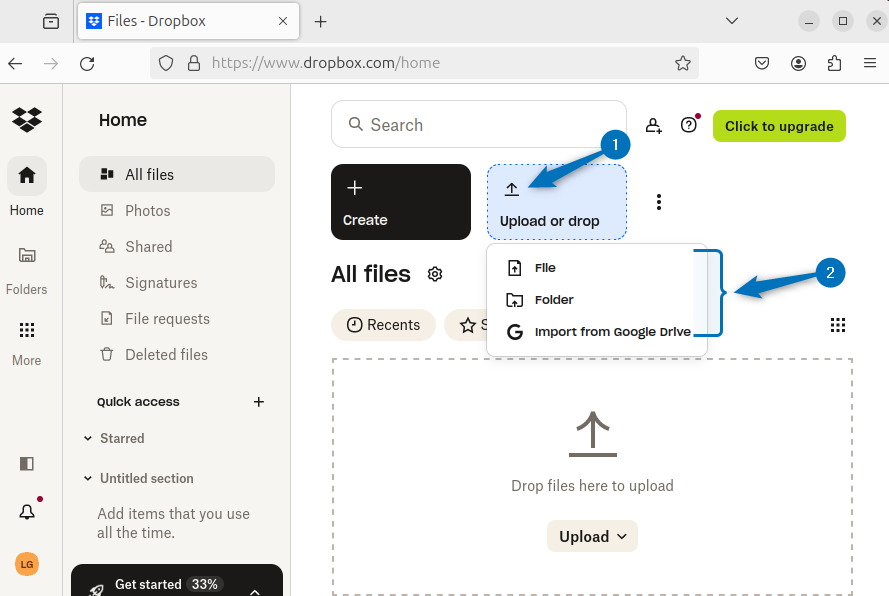
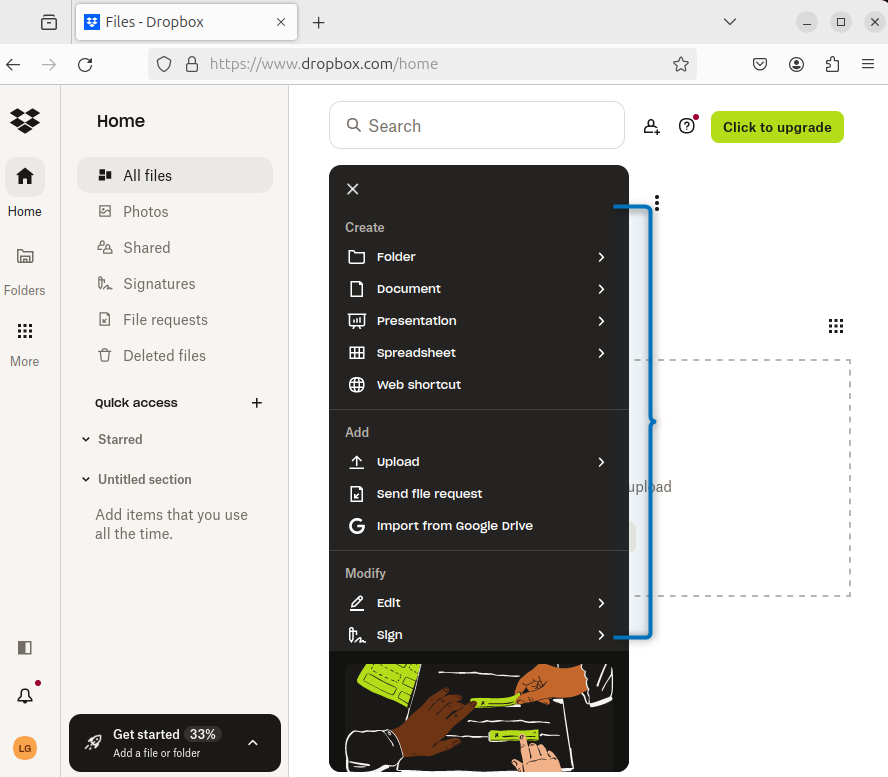
Also, you can also import your important data from Google Drive in case the email you have added is from Google. Moreover, you can also create folder for organizing your data by clicking on the Create option, the other options include creating, presentations, documents, spreadsheets and more:
One thing to note here is that you can access Dropbox folder in the Home directory of Ubuntu and if it has the green tick on it then it means that is synced and vice versa:

3: Sharing Files on Dropbox
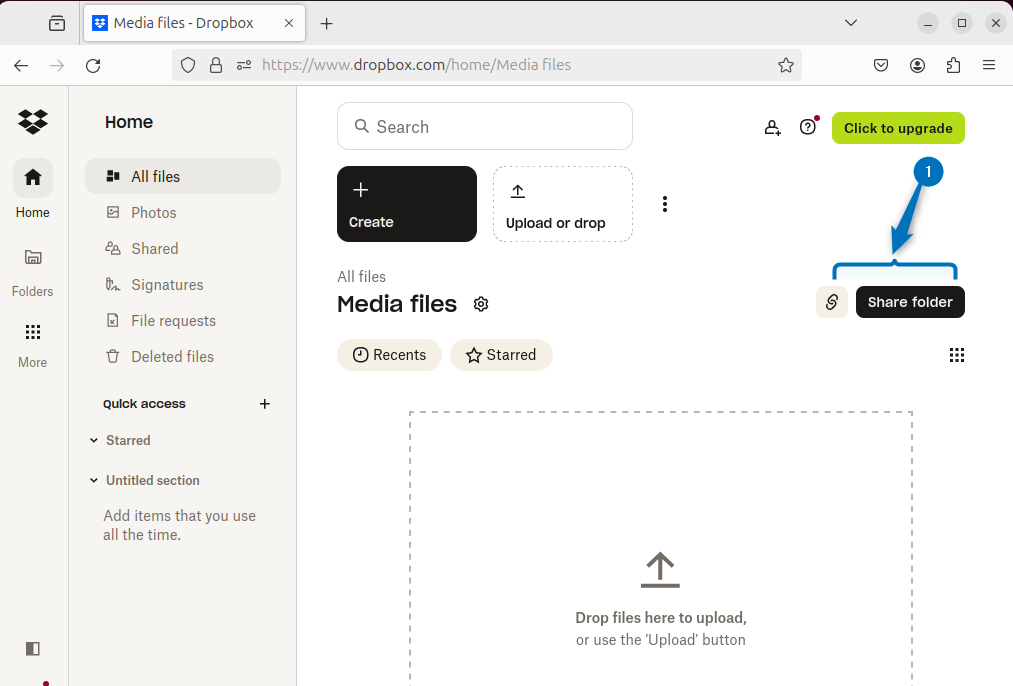
The next thing you should know about Dropbox is that you can share your files or folders, either by sharing their link or by adding the respective user email address. One way to do it in case of folders is either clicking on the link option or Share folder option after entering the respective folder:
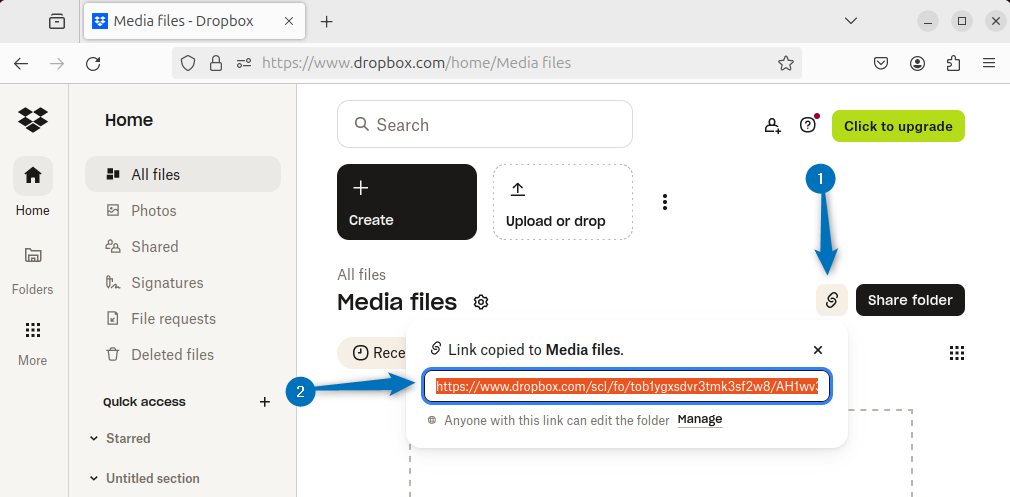
When you click on the link icon, the link for sharing will appear, copy it and send it to the user with whom you want to share the folder:
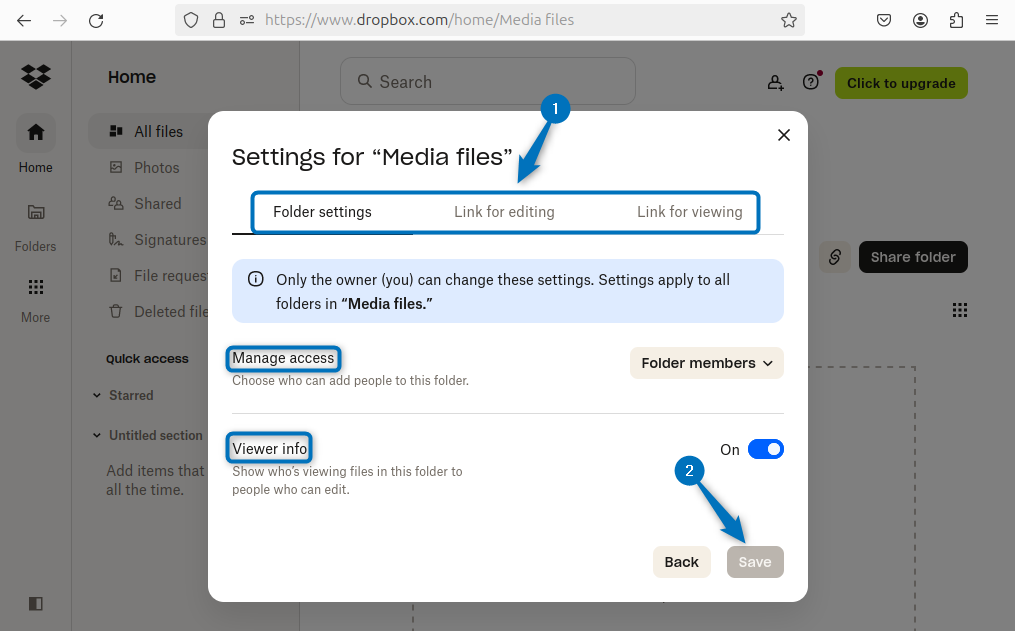
However, when you click on the Share folder either copy the link or add the user email, further you can add or set permissions for the user by clicking on the gear icon:
There are primarily two types of options for permissions, one is for link for editing and the other is Link for viewing, you can adjust the desired one based on your preference:
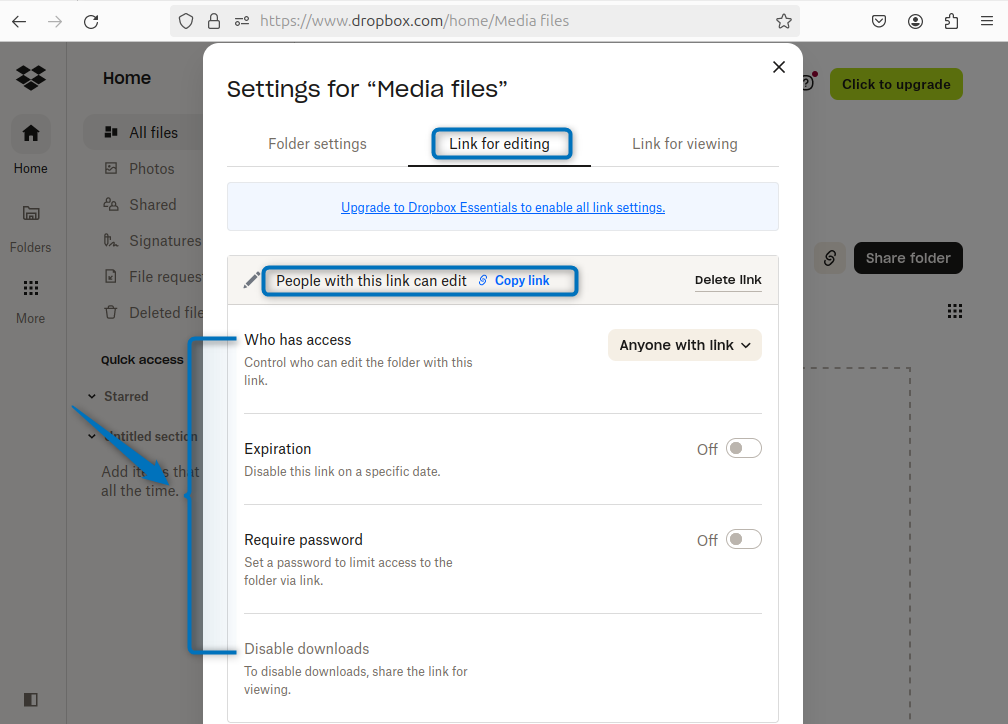
So when you click on the Link for editing you will come across several settings like setting link expiration date, password for accessing link and permission for downloading the data:
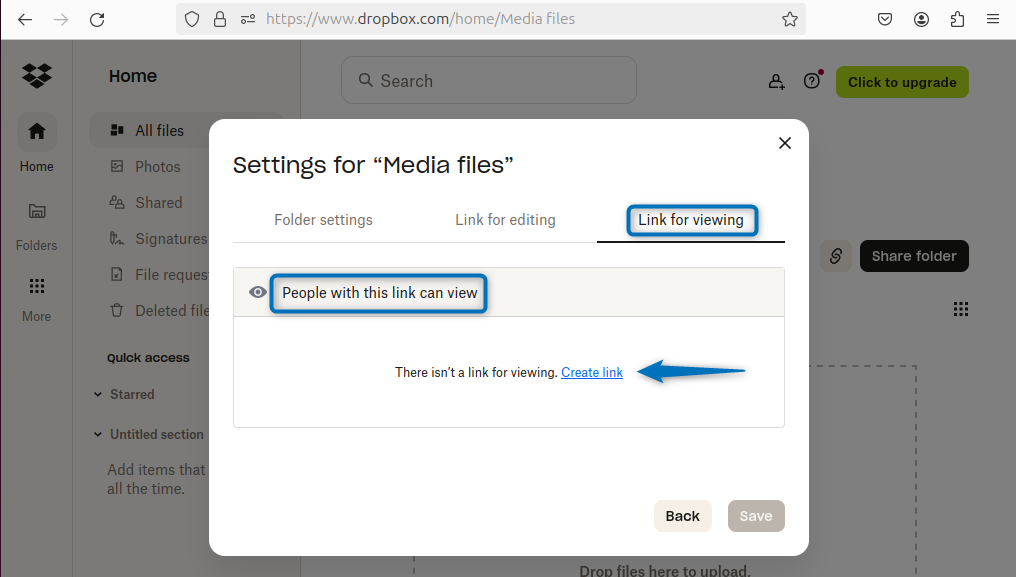
On the other hand, when you click on the Link for viewing, you can generate the link by clicking on Create link option:
Another way to share is by selecting that respective file or folder and then click on the Share selected option:
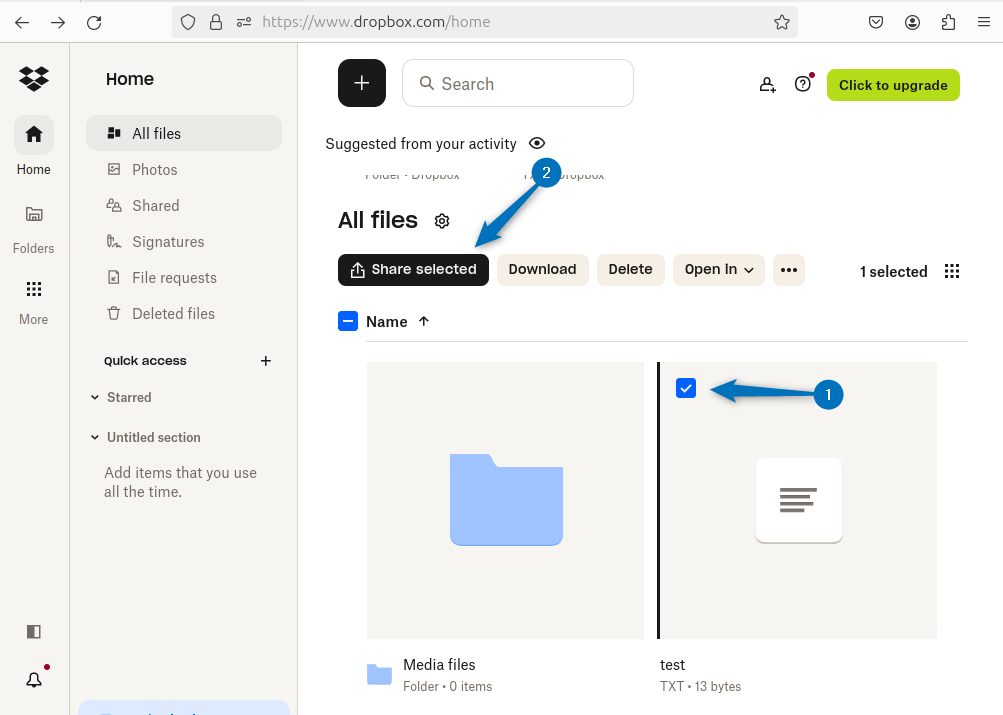
The share option also gets visible even when you move the cursor to respective file or folder.
4: Creating Signatures on Dropbox
Dropbox has one of the unique feature for creating the digital signatures which you can use for signing various documents. Signatures on Dropbox can be either created, or you can also upload any if you already have one. First go to signatures section and then choose the relevant option:
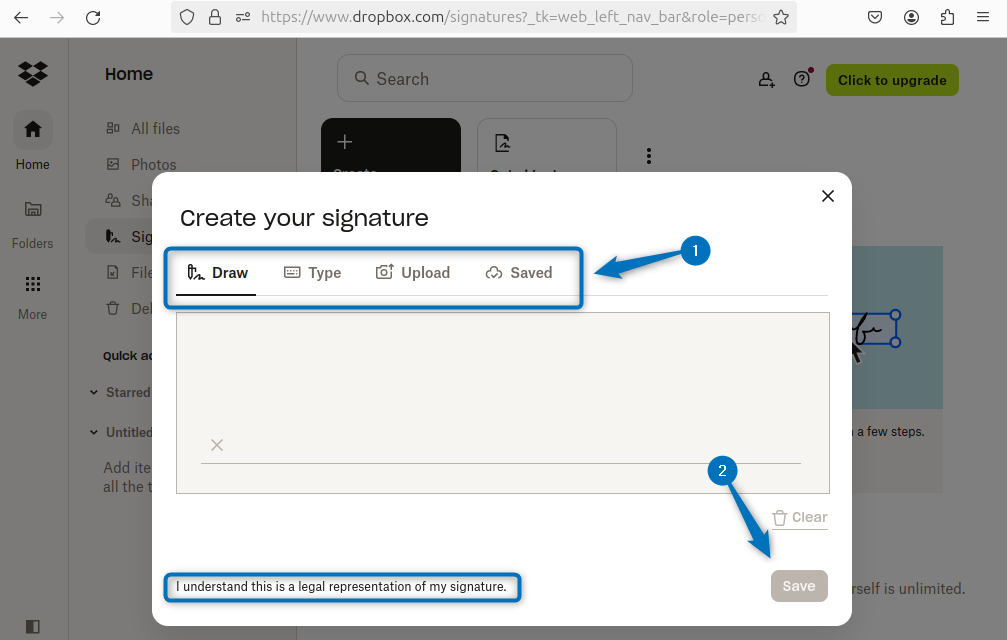
Note: Dropbox comes with several versions, in the free version you get only 2GB storage space, three signatures per month, unlimited PDFs edits. Further if you are plaining to buy any Dropbox subscription then visit Dropbox subscription page
Conclusion
This guide discussed 5 ways to install Dropbox on Ubuntu, which include using Dropbox deb file, tar file, GDebi package manager, flatpak package manager and apt app installer. To begin with, Dropbox first you need to create a Dropbox account, and then you can sync your data with it or share your selective data with others using password authentication.