
Vagrant is a virtual development environment manager that simplify the creation and management of virtually developed environments. Further, it automates many manual configuration tasks required in VirtualBox or VMware by defining the environment using its Vagrant file.
So if you are looking for a CLI tool for creating virtual environments on Ubuntu, then Vagrant can be a good option. This guide will elaborate three ways to install Vagrant on Ubuntu, and also walk you through the steps for creating a virtual environment using Vagrant.
3 Ways to Install Vagrant on Ubuntu
Vagrant also allows the easy deployments of environments to cloud platforms like AWS, GCP, or Azure. Further, in case you are working as a team, using its Vagrant files you can share the virtual environments to make sure everyone is working on the same environment. There are three ways to get Vagrant installed on Ubuntu:
1: Through Vagrant Official Repository
The first method to install Vagrant on Ubuntu is using HashiCorp official repository, since Vagrant is not available in the apt package manager. To add the repository, you first need to add the repository validation key by executing the below command:
sudo wget -O- https://apt.releases.hashicorp.com/gpg | sudo gpg --dearmor -o /usr/share/keyrings/hashicorp-archive-keyring.gpg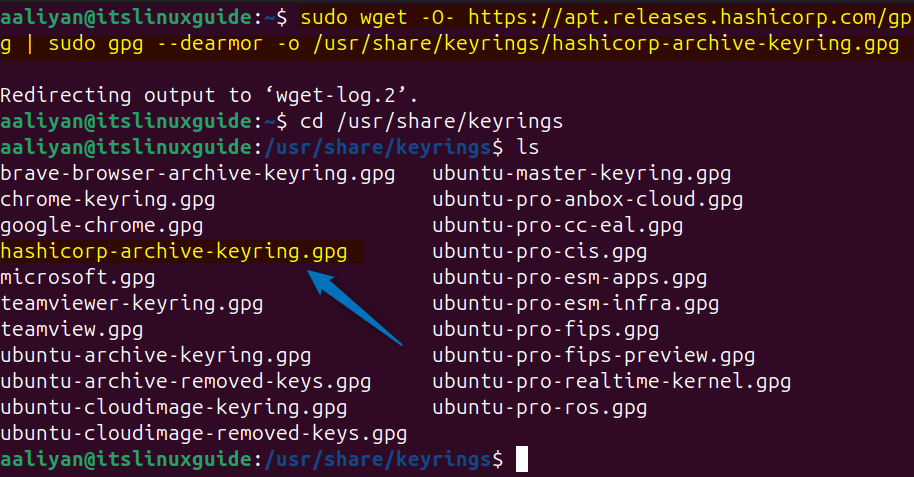
Now download and save the Vagrant repository file in the Ubuntu sources directory by using the below command:
sudo echo "deb [signed-by=/usr/share/keyrings/hashicorp-archive-keyring.gpg] https://apt.releases.hashicorp.com $(lsb_release -cs) main" | sudo tee /etc/apt/sources.list.d/hashicorp.list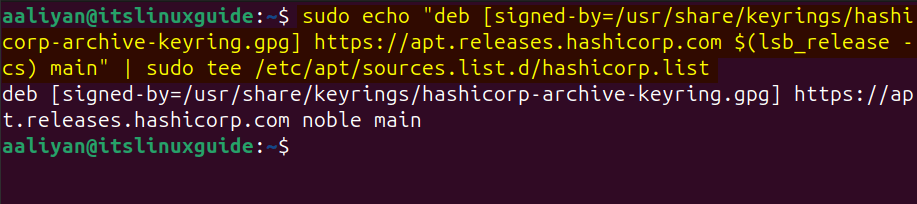
Now update or refresh apt packages list to apply the changes by using the update command:
sudo apt update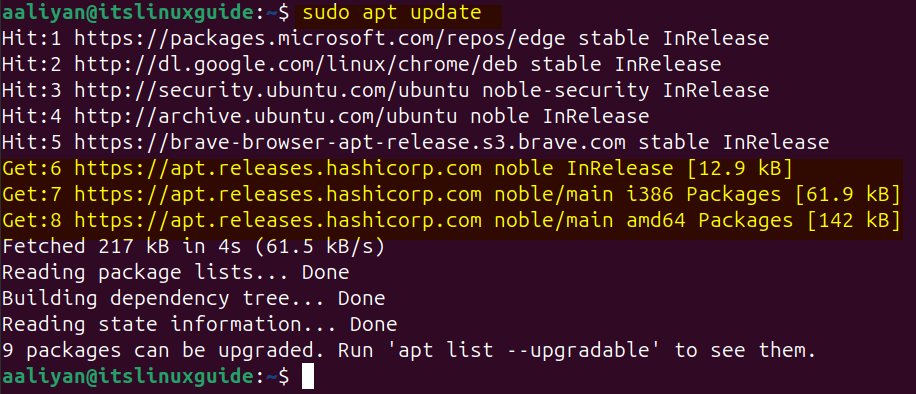
Next, use the apt package manager to install vagrant on Ubuntu as in the command below:
sudo apt install vagrant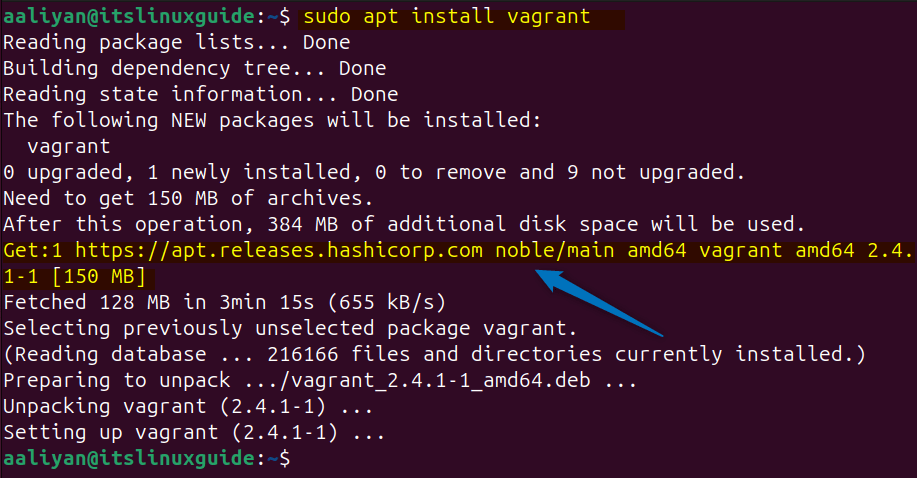
Once the installation is completed, you check its version by running the version command as given below:
vagrant --version
2: Through Vagrant Deb File
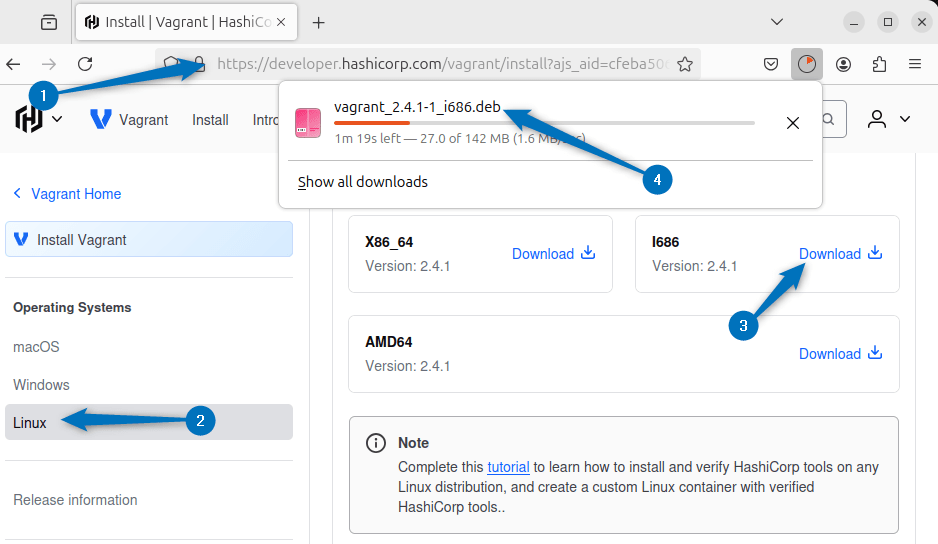
Another way to install Vagrant is through its deb file, that is available in the Download section of HashiCorp. Simply click on Linux option from the left and then click on download icon for I686 file:
On the other hand, you can also download the Vagrant deb file using the terminal as well via its download link as in the command below:
wget https://releases.hashicorp.com/vagrant/2.4.1/vagrant_2.4.1-1_i686.deb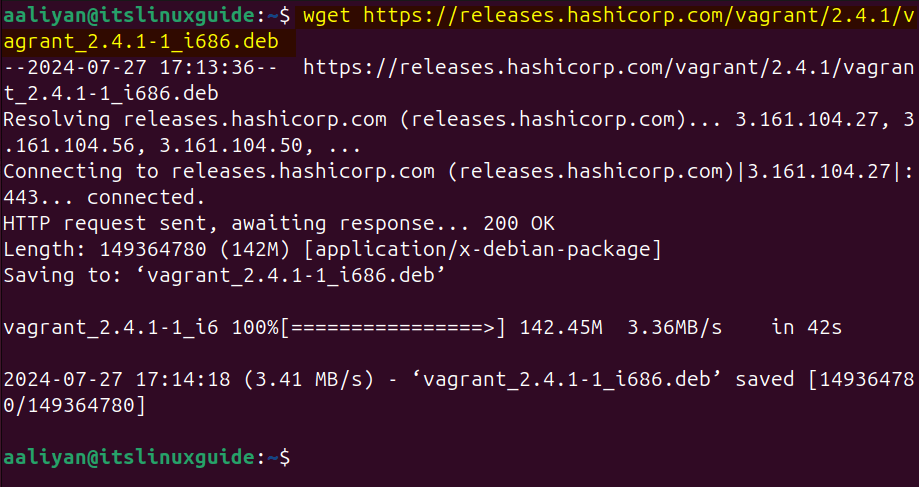
Now, use the apt package installer to install Vagrant via its deb file as in the command below:
sudo apt install ./vagrant_2.4.1-1_i686.deb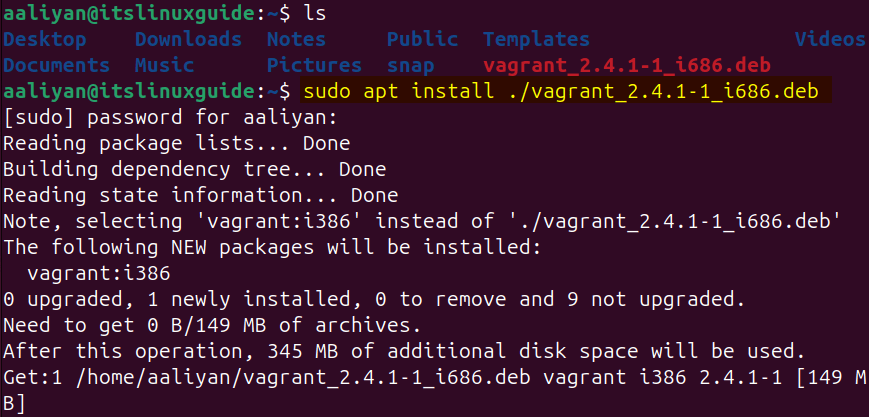
To verify the installation of Vagrant, you can list the apps installed on Ubuntu via apt by using the following command:
sudo apt list --installed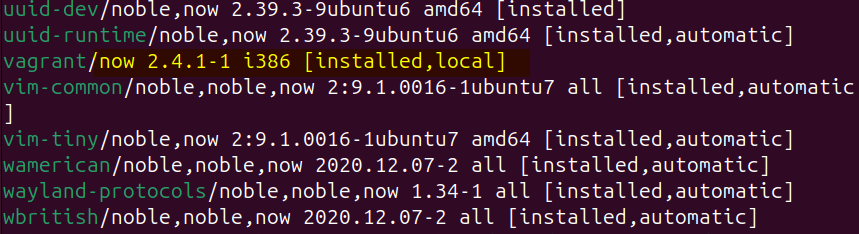
3 – Through GDebi Package Installer
There is a GUI method as well for installing Vagrant, though it is a command line tool, but if you prefer using the GUI then use the GDebi package installer. This package installer also uses the deb file of Vagrant, which you can get from the Vagrant download section. Once the file is downloaded, navigate to its directory and select the Open With option from the context menu:
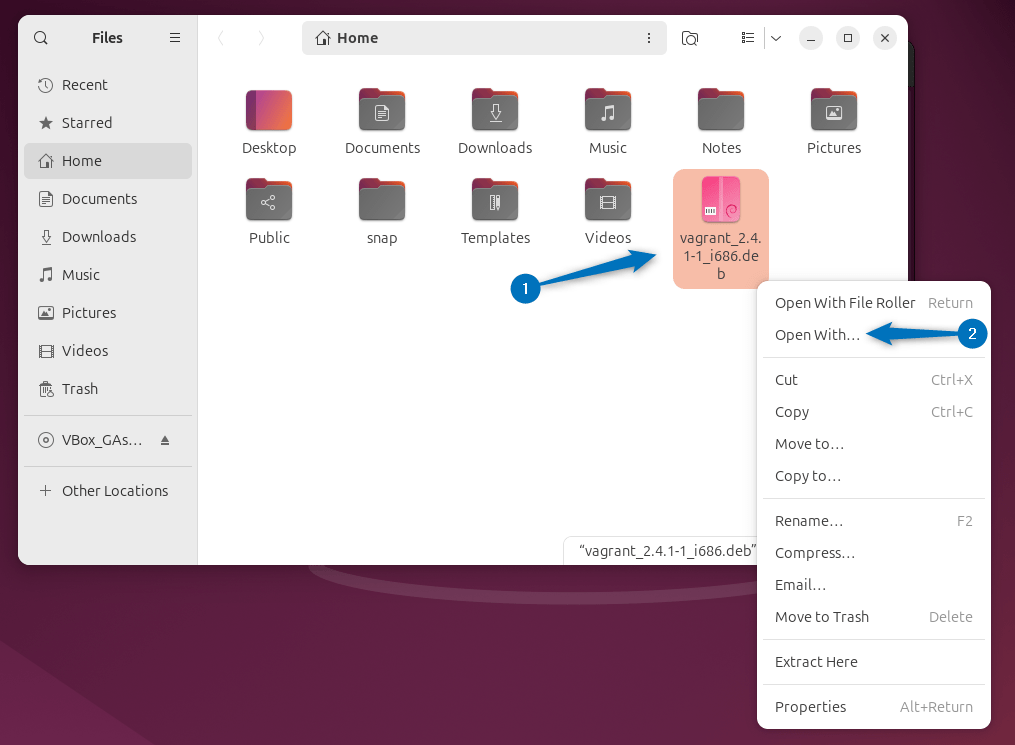
Now open the Vagrant Deb file using the GDebi package installer:

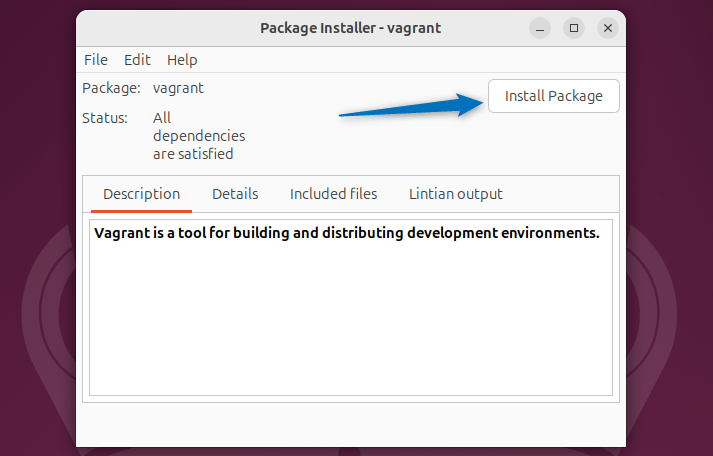
Once the Vagrant deb file is loaded in GDebi package installer, proceed with its installation by clicking on the Install Package option:
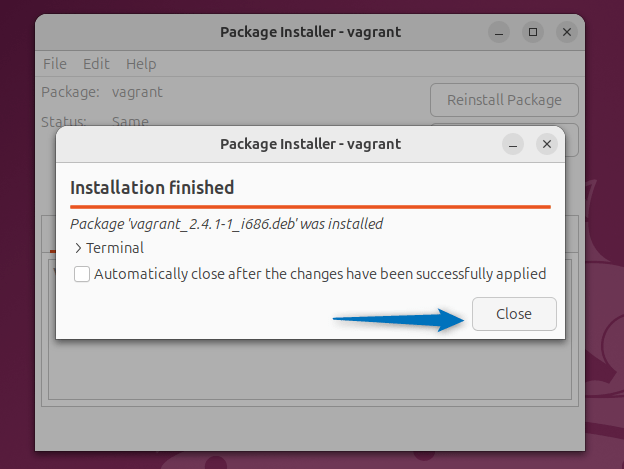
After the Vagrant installation is completed on Ubuntu, close the dialogue box:
How To Use Vagrant on Ubuntu
Once the Vagrant is installed on Ubuntu, you can use it for creating virtual machines however you need to have a hypervisor which you can get by installing any virtualization platform like KVM, VirtualBox or VMware. Further, to create a virtual machine using Vagrant on Ubuntu here are the following steps for that:
1: Install VirtualBox
As previously mentioned that for Vagrant, a hypervisor is needed that serves the purpose of creating and managing virtual machines (VMs) on a single physical machine. For that, I have installed the VirtualBox by using the below command:
sudo apt install virtualbox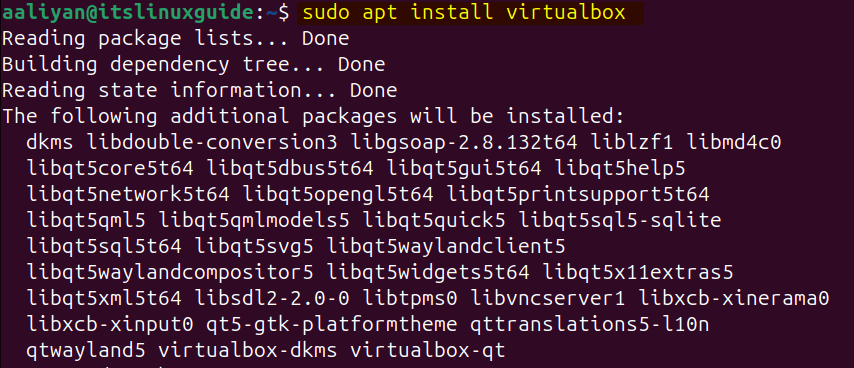
Further to read more about installing VirtualBox on Ubuntu read this blog post: How to Install VirtualBox on Ubuntu
2: Create Vagrant Directory in Ubuntu
The next step you need to perform is to create a directory for vagrant, which will be primarily used for creating virtual machines. So if you have multiple partitions on Ubuntu then choose the directory wisely, to create the Vagrant directory execute:
mkdir ~/vagrant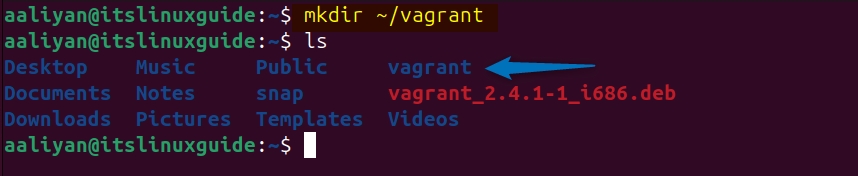
3: Initializing Vagrant in Ubuntu
Now to create a virtual machine it is necessary to initialize the Vagrant file and for that there are two ways, one is by simply initializing the base file which you can configure yourself, to initialize the Vagrant base file execute:
vagrant init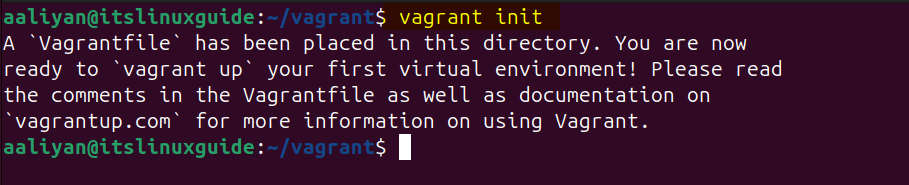
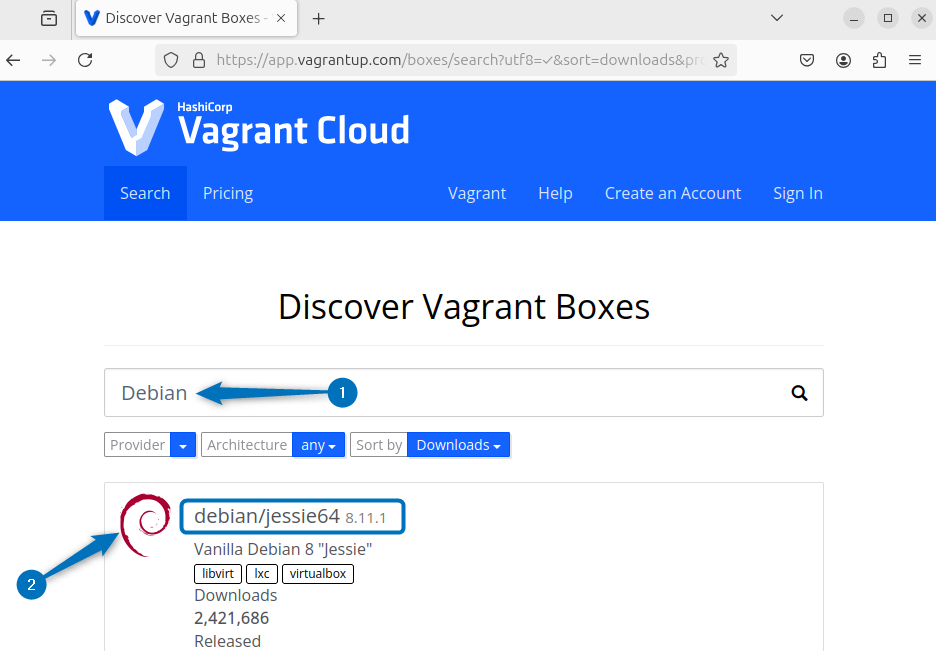
The other way to initialize Vagrant file is to pre-populate it with settings for a specific or desired operating system. However, Vagrant has a cloud which contains all the operating system and to initialize it you need to visit the Vagrant Cloud and search for the respective operating system:
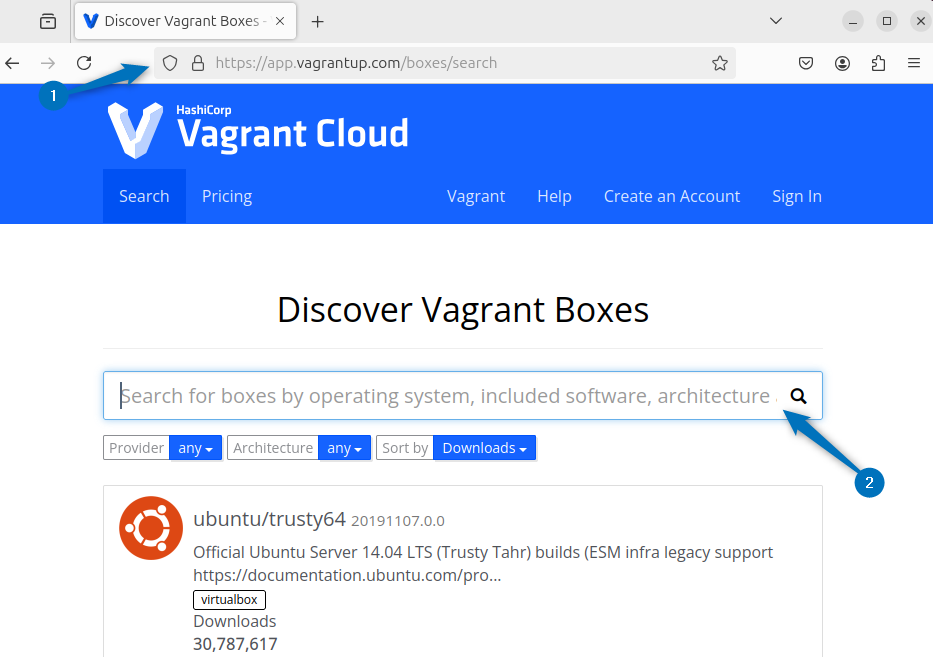
Here for demonstration I have searched for Debian operating system, so in that case I will be using debian/jessie64 as the Linux distribution name
Next, use the below syntax for initializing the Vagrant file with specific operating system:
vagrant init [operating-system-name]
4: Creating Virtual Machine on Ubuntu using Vagrant
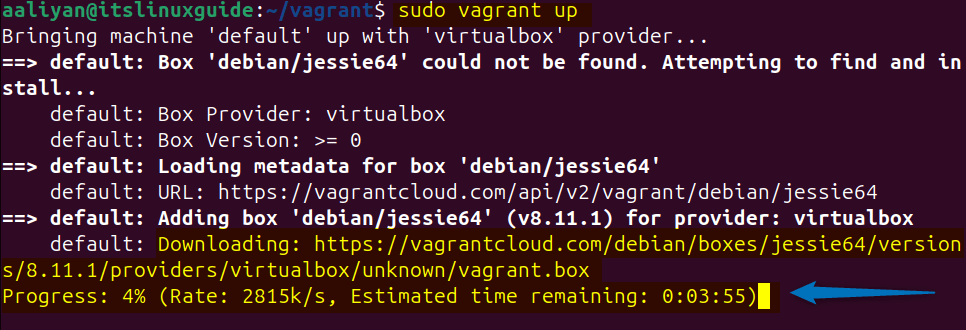
Once the file is initialized, the last thing to do is to create and start the virtual machine, and all of this will happen according to the instructions in the configuration mentoned in the Vagrantfile.
sudo vagrant upHere, since I have given the operating system name so it will first download its setup and then it will create it:
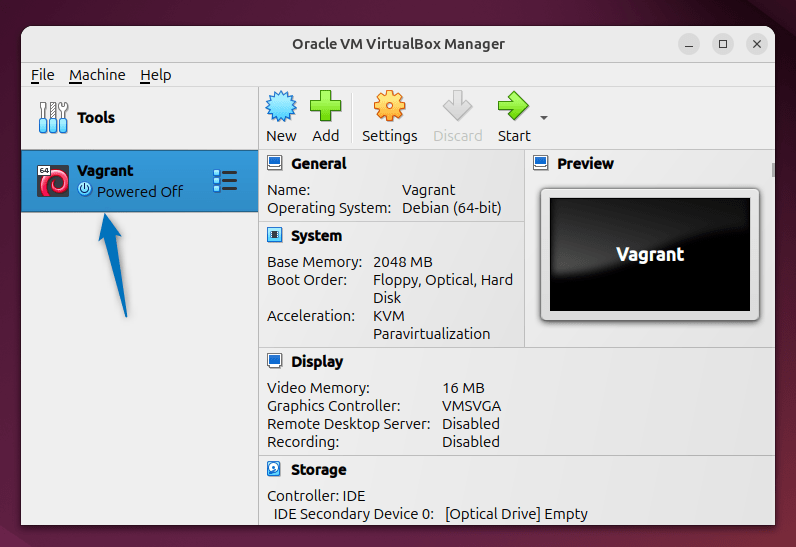
Now once every thing is done you can verify by launching the VirtualBox on Ubuntu:
Further, if you want to delete the virtual machine created via vagrant on Ubuntu, then execute the below command:
vagrant destroyMoreover, to have brief information about the commands related to Vagrant on Ubuntu, simply consult its help by executing:
vagrant --help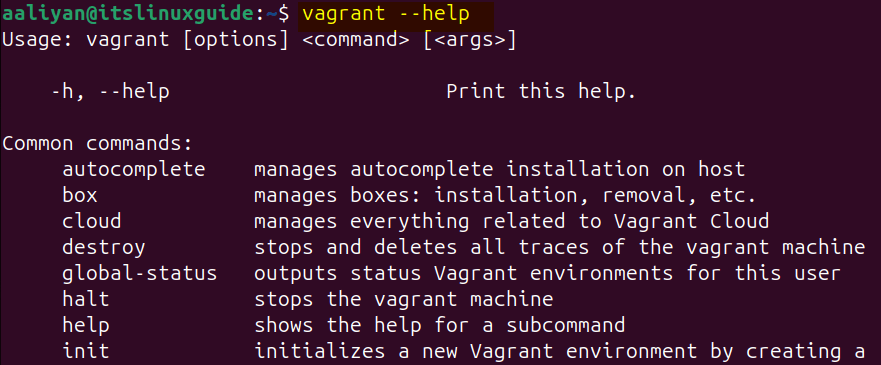
Conclusion
This guide discussed three ways to install Vagrant on Ubuntu which include using Vagrant official repository, Vagrant deb file and Gdebi package installer. Further, this guide also discussed the basics for getting started with Vagrant for the first time on Ubuntu. One thing to remember here is that you need to find the respective operating system in Vagrant cloud first before initializing its file.