
Linux distributions like Ubuntu are primarily preferred because they are open-source, free to use, and have a vast number of customization options. Ubuntu, among all of the Linux distributions, is the popular one because it prioritizes a user-friendly experience, good hardware compatibility, and has a vast and active community of users and developers. Recently a newer version of Ubuntu has been released and if you want to install it on VirtualBox then read this guide as it will explain the detailed process of installing Ubuntu 24.04 on VirtualBox.
Installing Ubuntu 24.04 on VirtualBox
Ubuntu 24 comes with a Kernel version of 6.8 that comes with a new file system named bcachefs and not only that it comes with GNOME 46, thus refining the user experience. Here are some steps you need to perform to install Ubuntu 24 on VirtualBox, but first you need to download it from Ubuntu’s official site:
1: Create Ubuntu Virtual Machine in VirtualBox
The first step to install Ubuntu in VirtualBox is to create a virtual machine where you need to allocate the resources for it. To create a Ubuntu virtual machine first click on the New option on the top, then add the details which include its name, installation directory path, system type, and version. Afterward, click on Next to proceed further:

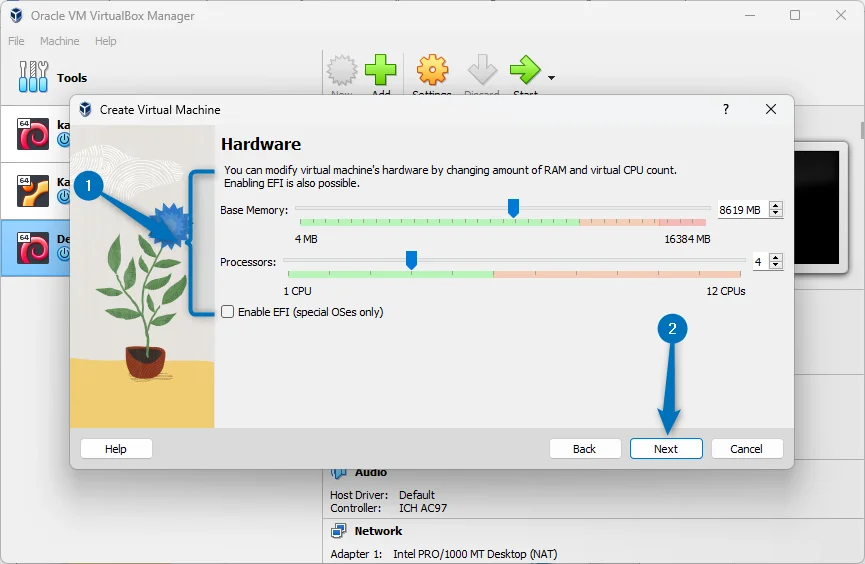
Now specify the base memory (RAM) for the Ubuntu virtual machine, the recommended allocation is around 8 GB. Afterward set the number of processors which you can set according to your system resources:
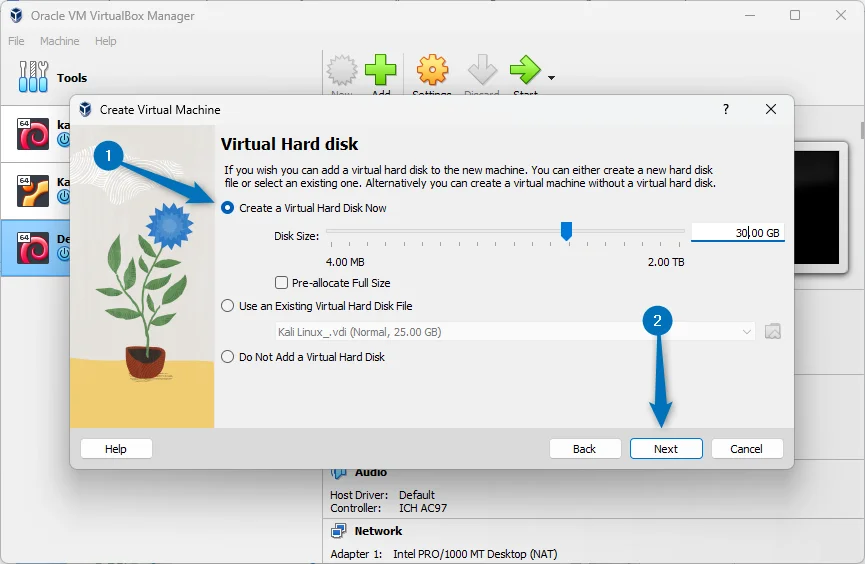
The next, thing to do is to allocate the space for virtual machine, here by default 25 GB is set, but you can increase or decrease based on your system storage:
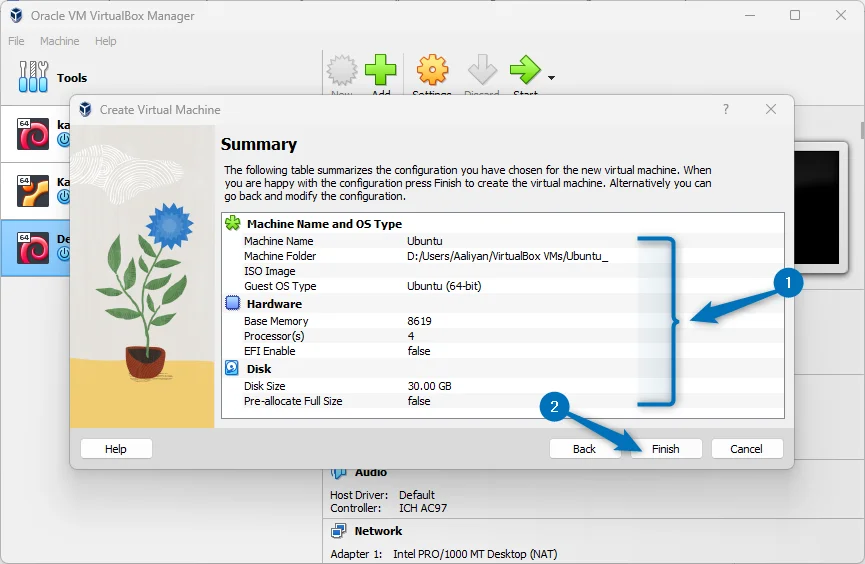
Till here all the system specifications are set now you can verify all the specifications and after verification click on the Finish option:
2: Install Ubuntu 24.04 on VirtualBox
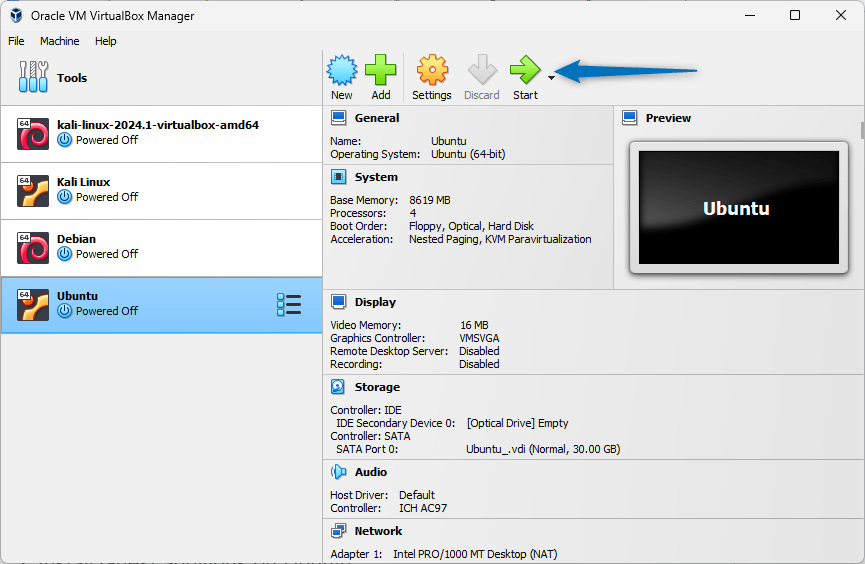
Now the Ubuntu virtual machine is created, so launch it by clicking on the Start icon after selecting it:
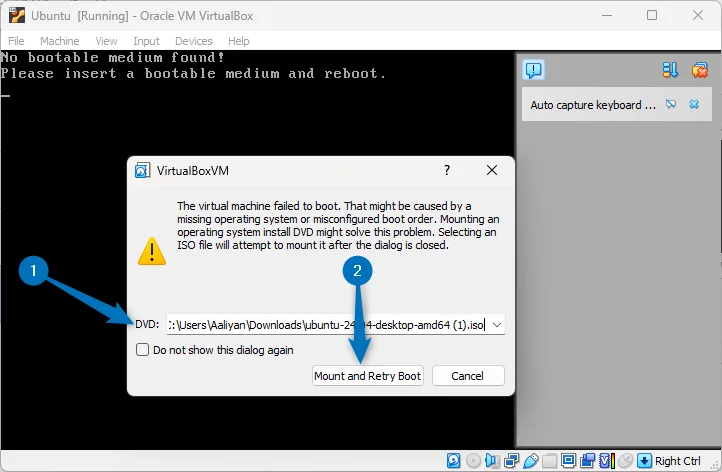
Since I didn’t add the path for the Ubuntu 24.04 ISO file while creating a virtual machine, so on the virtual machine startup
it is asking to enter the file path. Simply set the path and then click on Mount and Retry Boot:
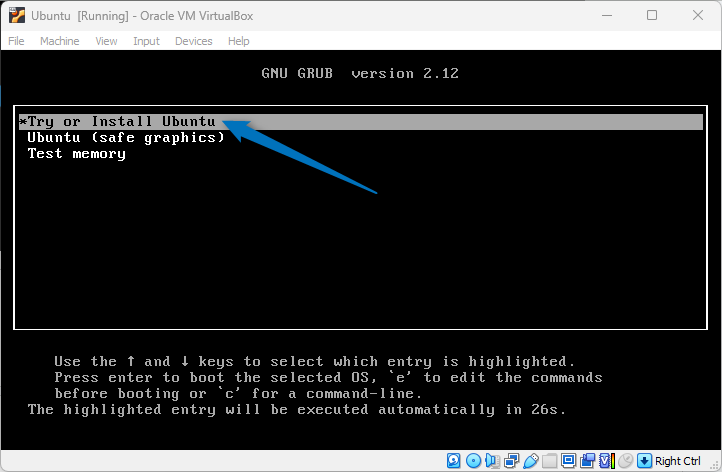
Next, the bootloader menu of Ubuntu 24 will open, from there simply click on Try or Install Ubuntu and proceed:
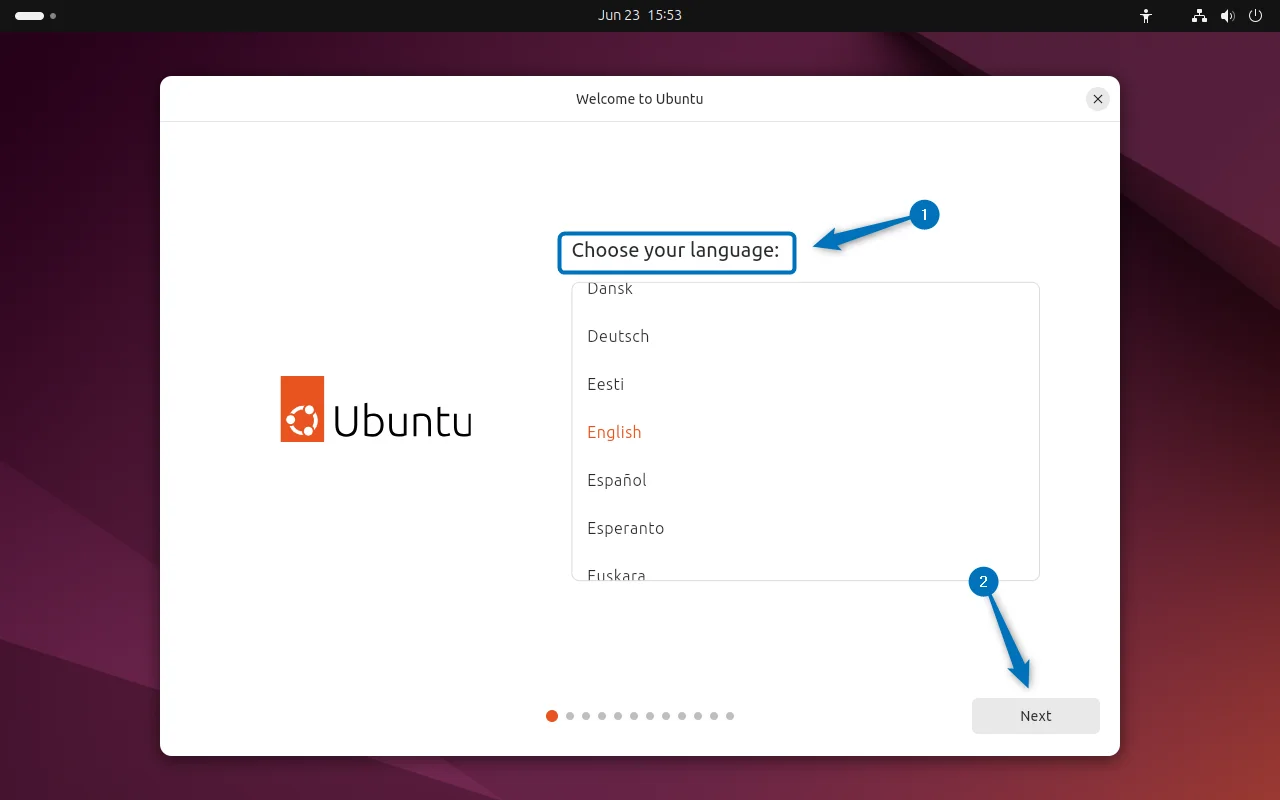
Now the setup for Ubuntu will launch and the first thing it will ask for is the language, after selection proceeds to the next setting by clicking on Next:
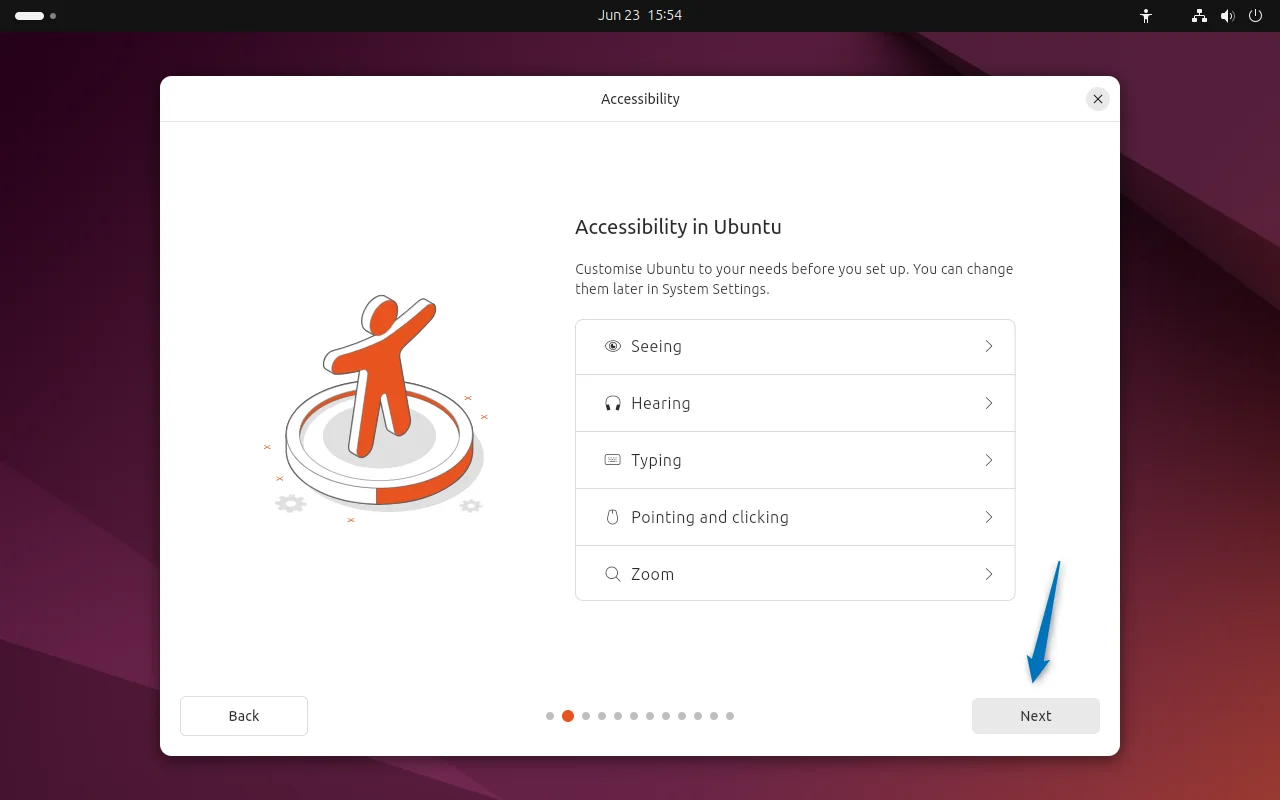
The accessibility option provides several system settings which include seeing, hearing, typing, pointing, clicking, and zooming. You can modify them if you like to activate any of them:
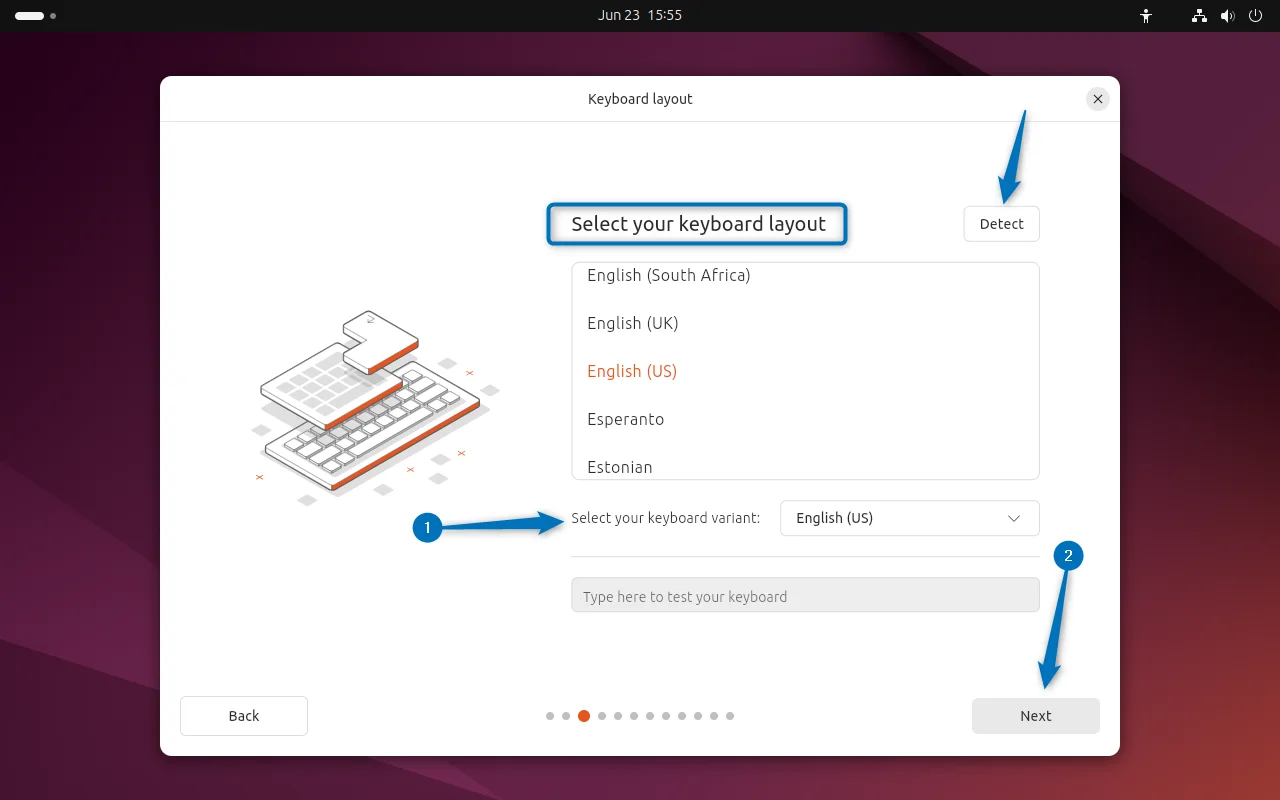
Next, set the layout of the keyboard which you can either manually select or simply click on Detect, then press the displayed keys:
Now here comes the tricky part because due to the internet connection Ubuntu 24.04, most of the time runs into trouble due to snapd installation and some other errors. So it is better to select Do not Connect to Internet and then simply disconnect the Wired connection as well, after that click on Next to proceed:

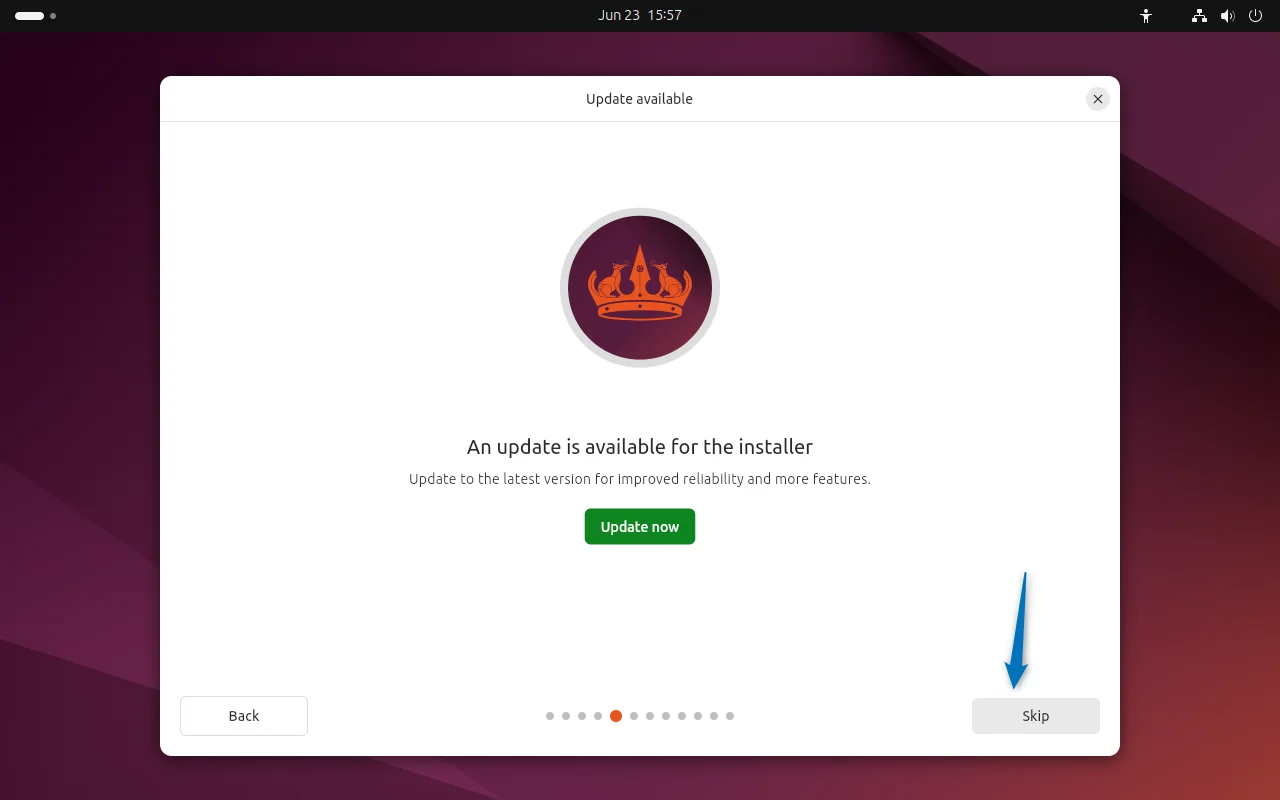
Now, the set-up will ask about the updates, I will recommend not to install them as you can do the updates at a later stage. So here I have skipped them:
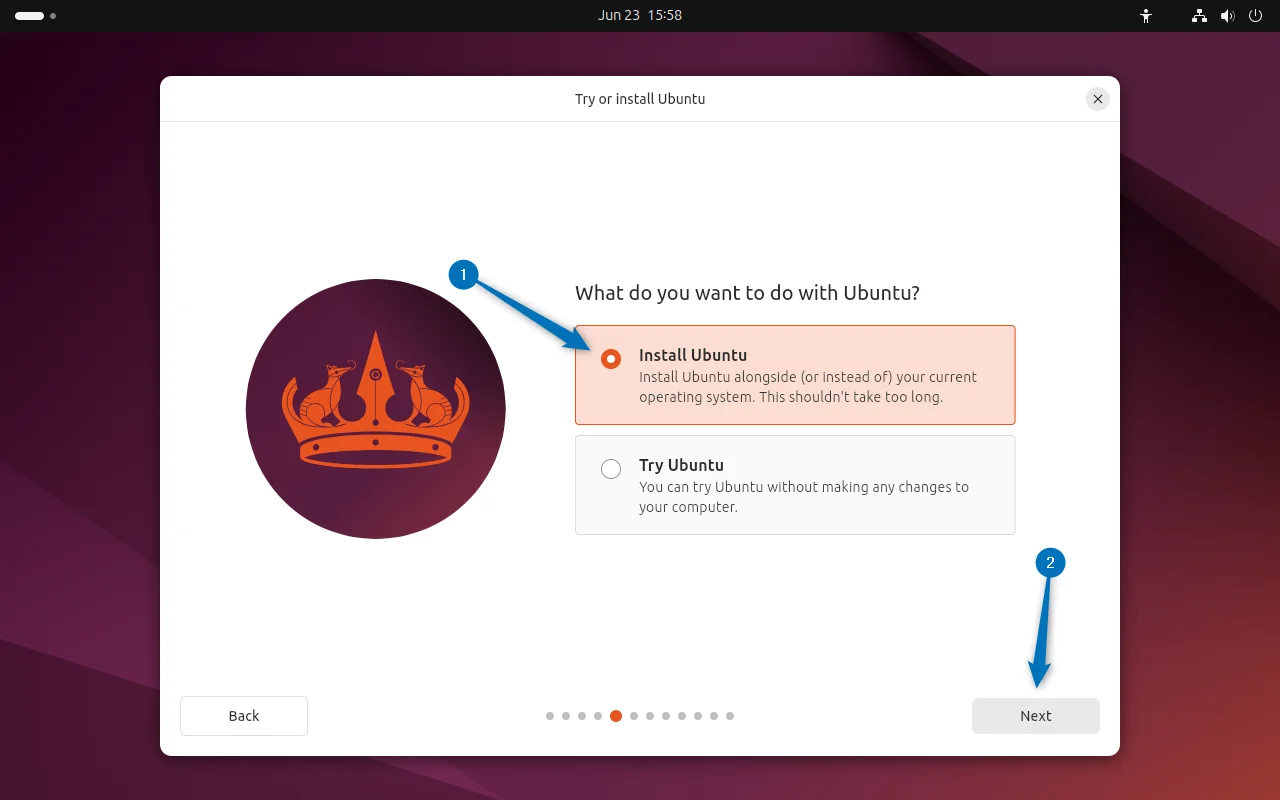
Next, the installer will ask about your intent to use Ubuntu and whether you want to try it or you want to use it for your daily tasks. Here, I have selected the Install Ubuntu option:
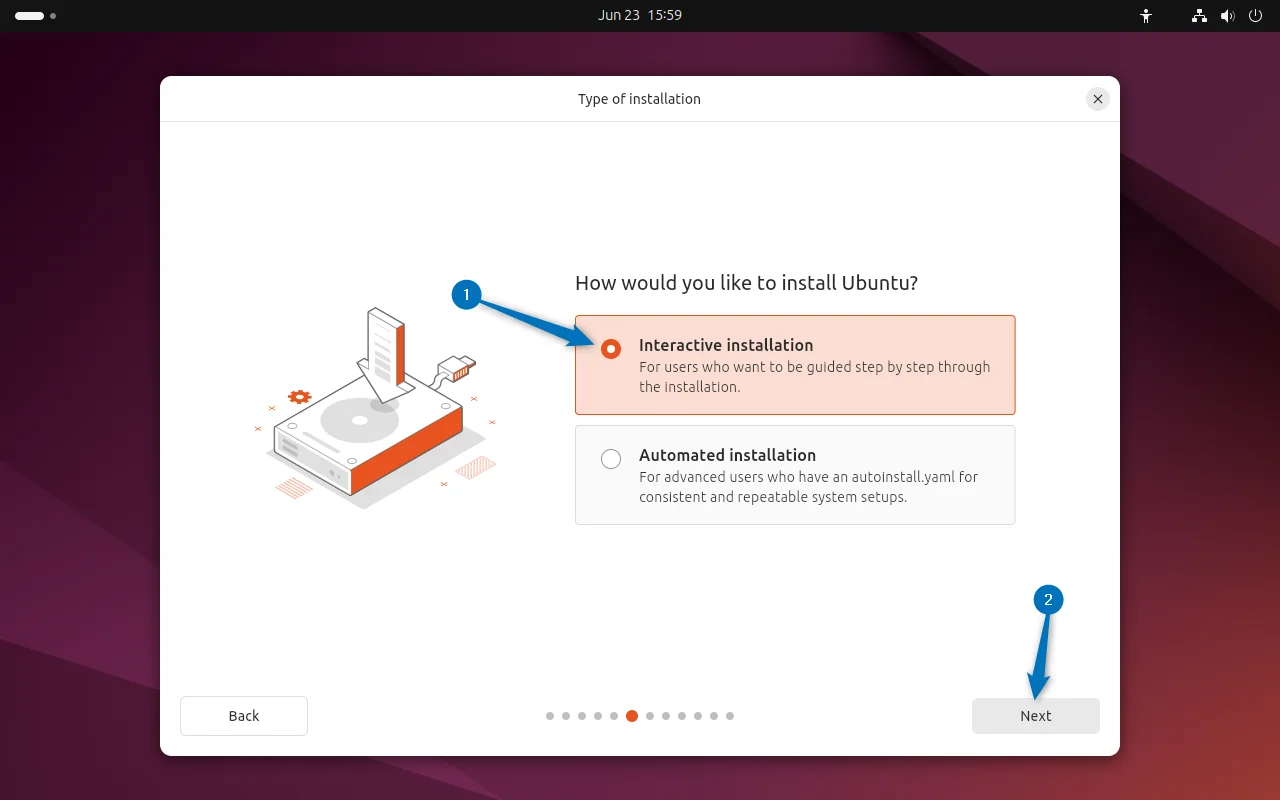
Now if you are an experienced Linux user and have YAML file for Ubuntu then select Automated installation. However, if you are a beginner or a user with intermediate knowledge of Ubuntu then select Interactive installation:
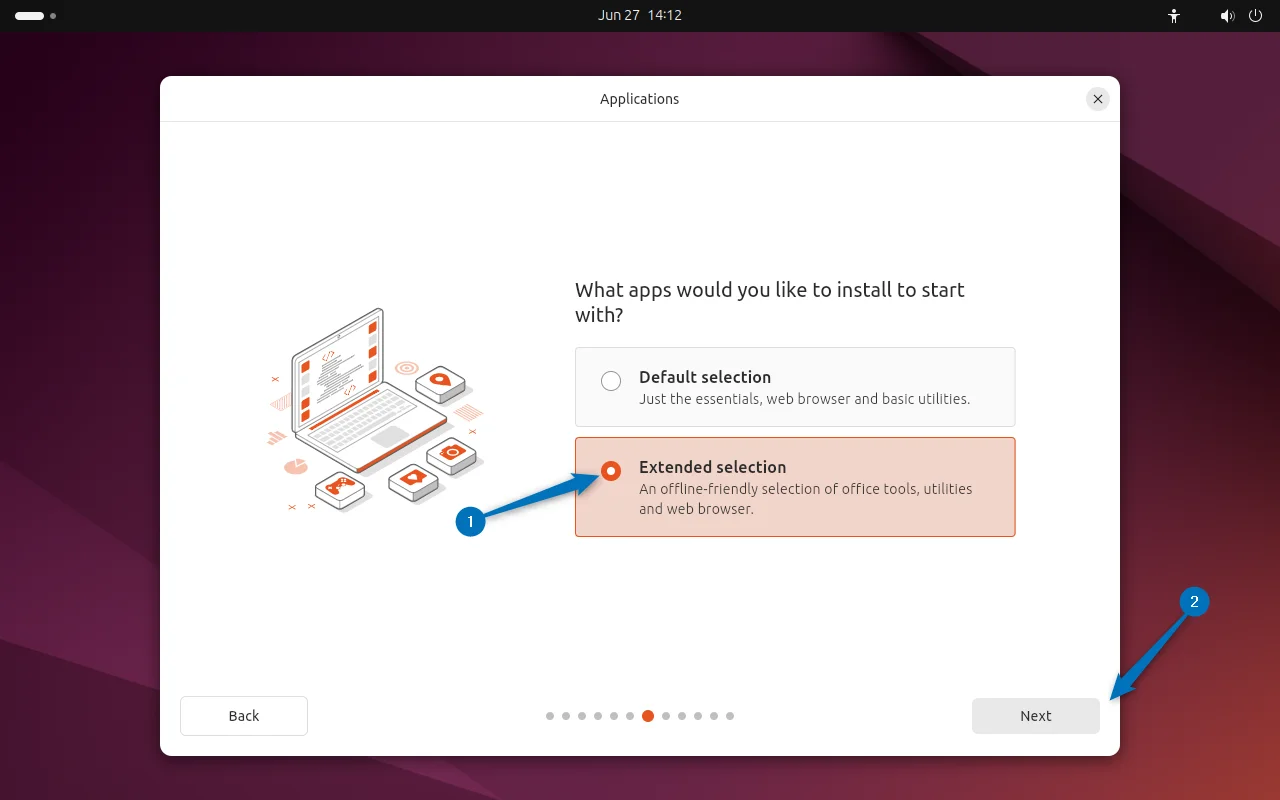
Now the installer will ask about the starter apps on Ubuntu in that case I would suggest going with Extended selection as this will be an offline installation. This is because downloading apps from the internet might cause a problem due to internet connectivity, thus halting the installation:
The next thing the installer setup will ask is about installing recommended proprietary software, here allow the installation of third-party software for graphics and Wi-Fi hardware:

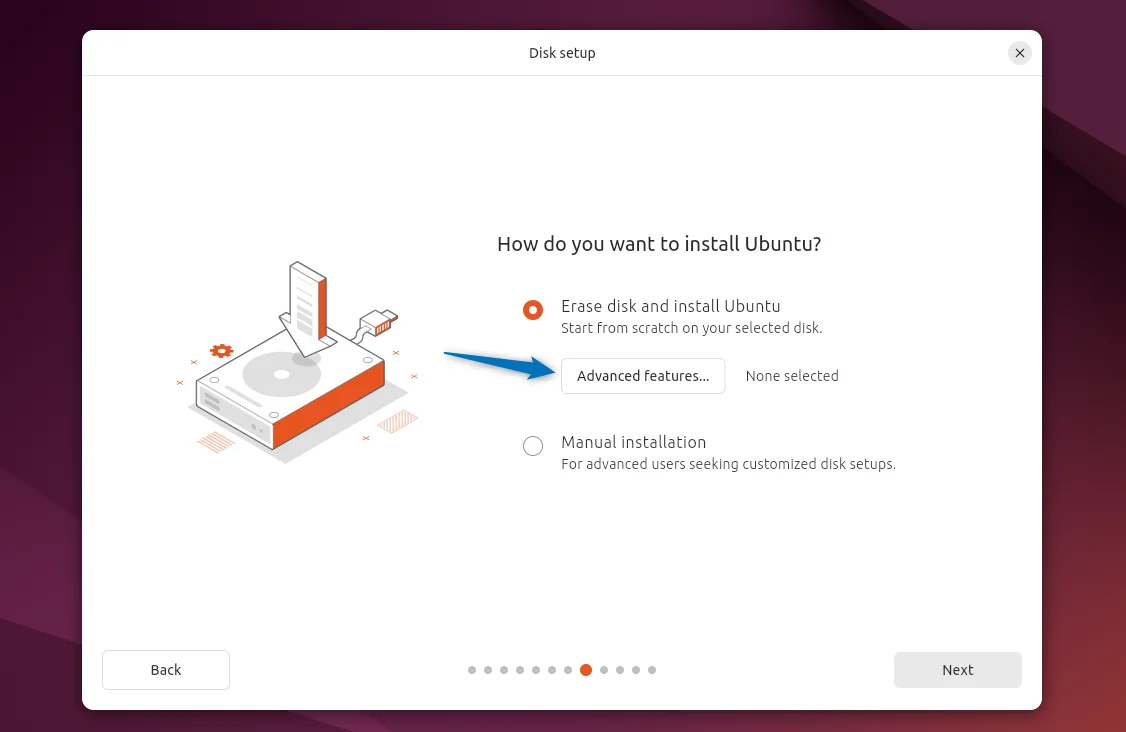
While creating the virtual machine for Ubuntu I allocated the storage space for it, the installer will create a disk itself, but you can select some advanced features for it:
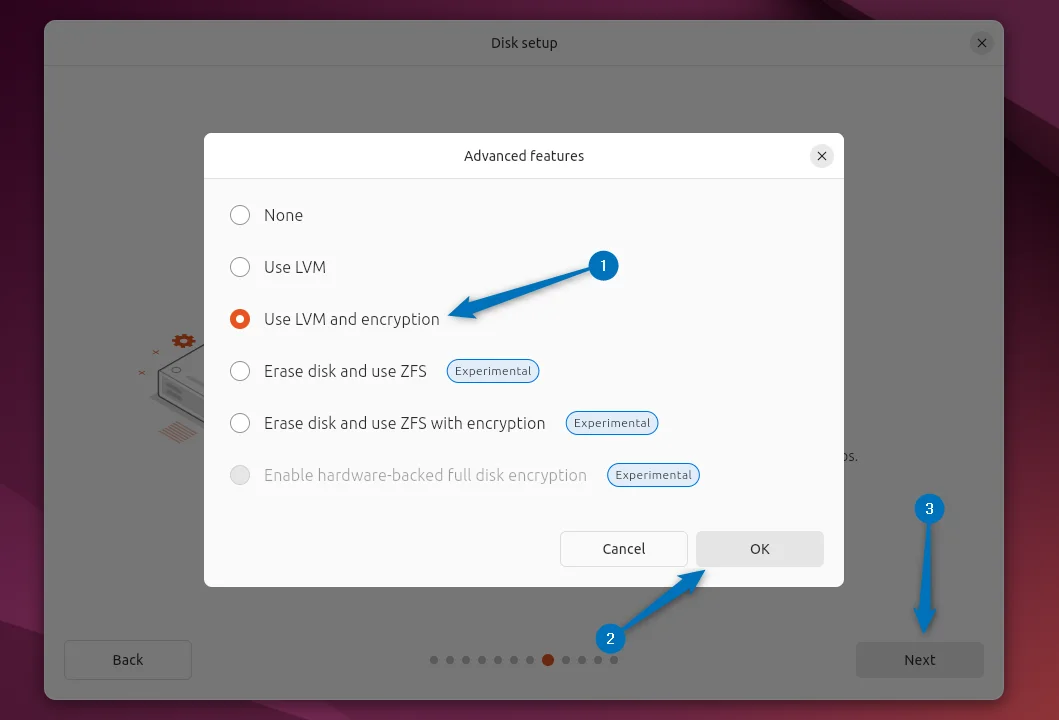
Here, I have selected logical volume management and encryption feature for my Ubuntu disk, you can select any option based on your preference:
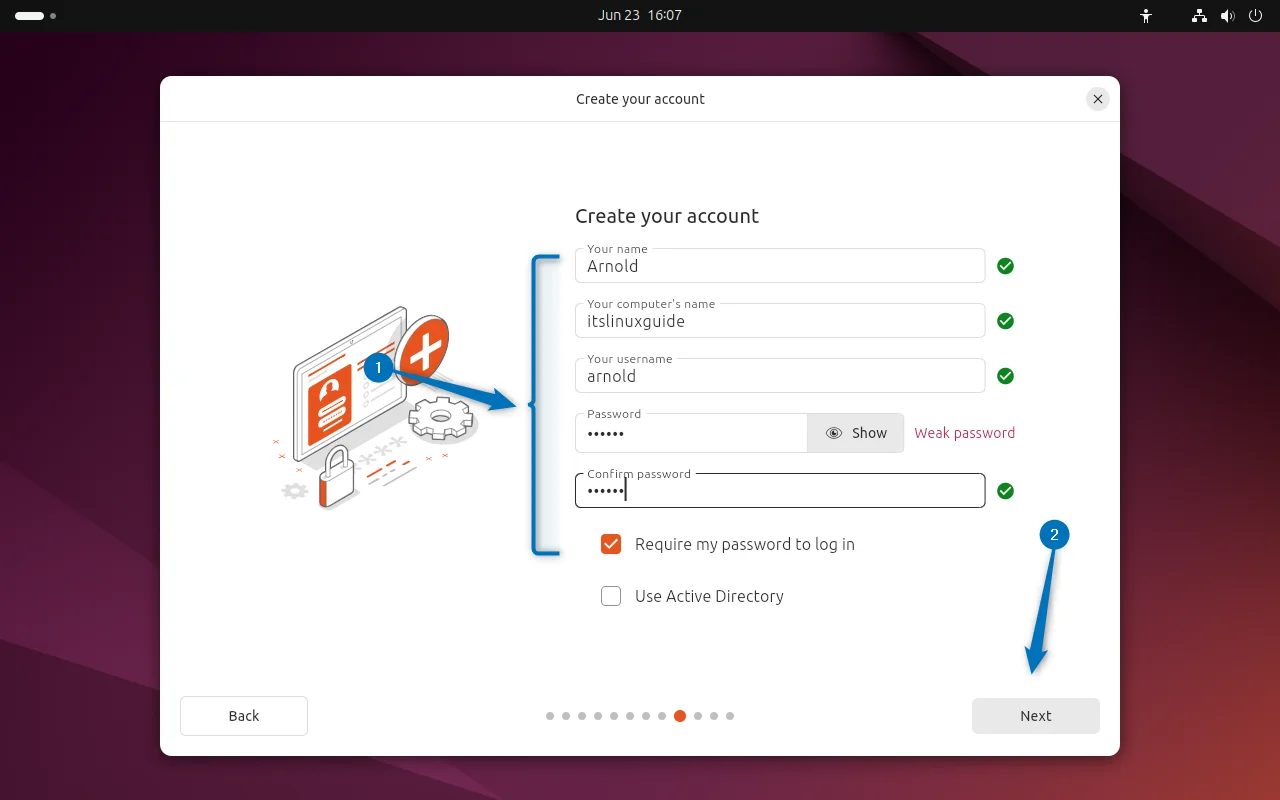
The next step is to add the user details for creating an account on Ubuntu, once the details are added you proceed to the next step:
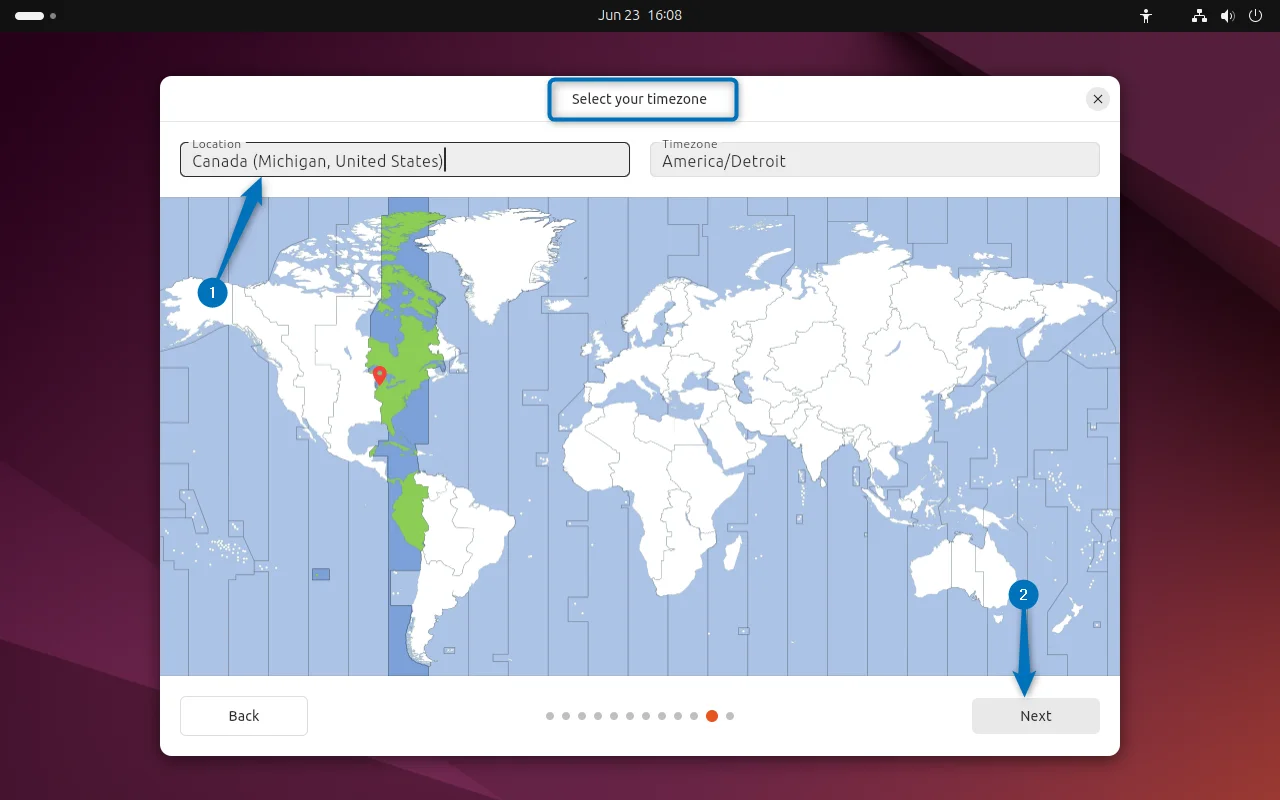
Selecting the correct timezone is important as most of the system tasks are dependent on time. Here you can either enter the country name or simply click on the map on the desired location:
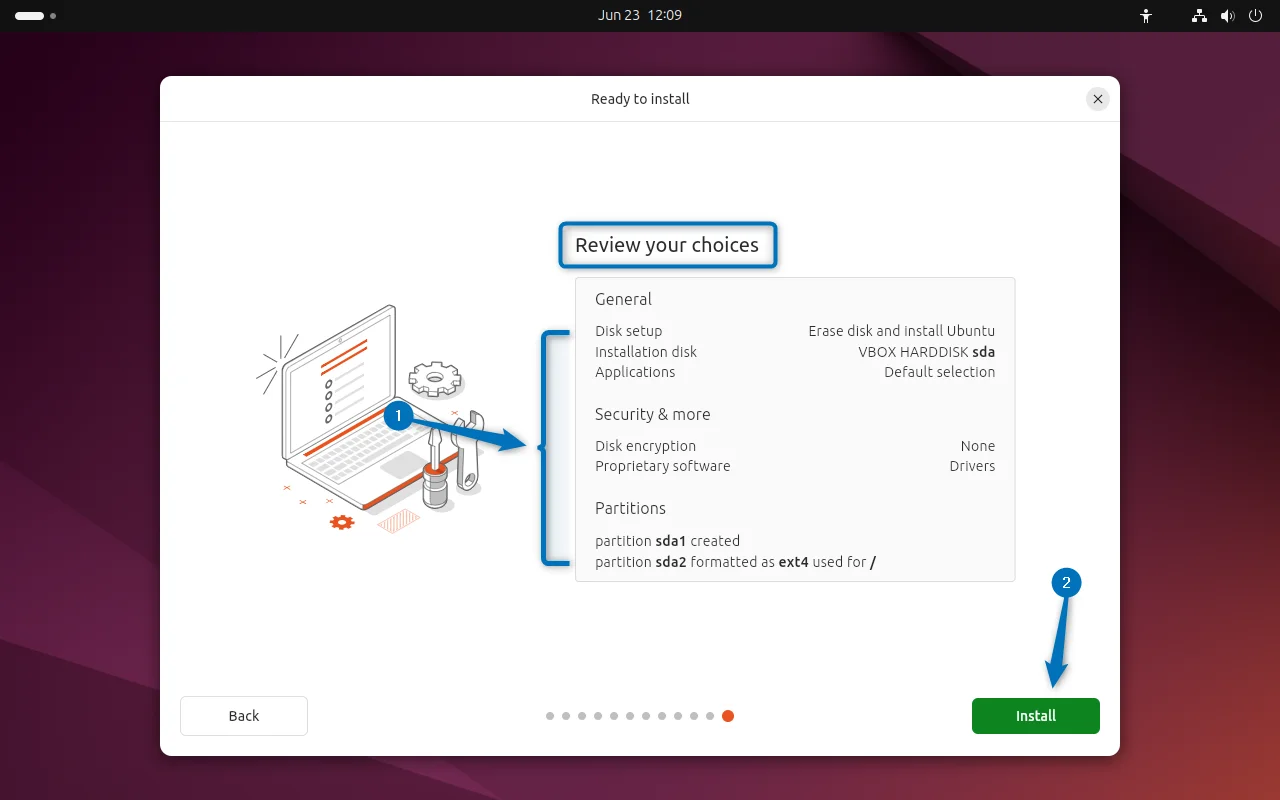
At the last, all of your settings will be displayed carefully review them and then click on Install to start the installation:
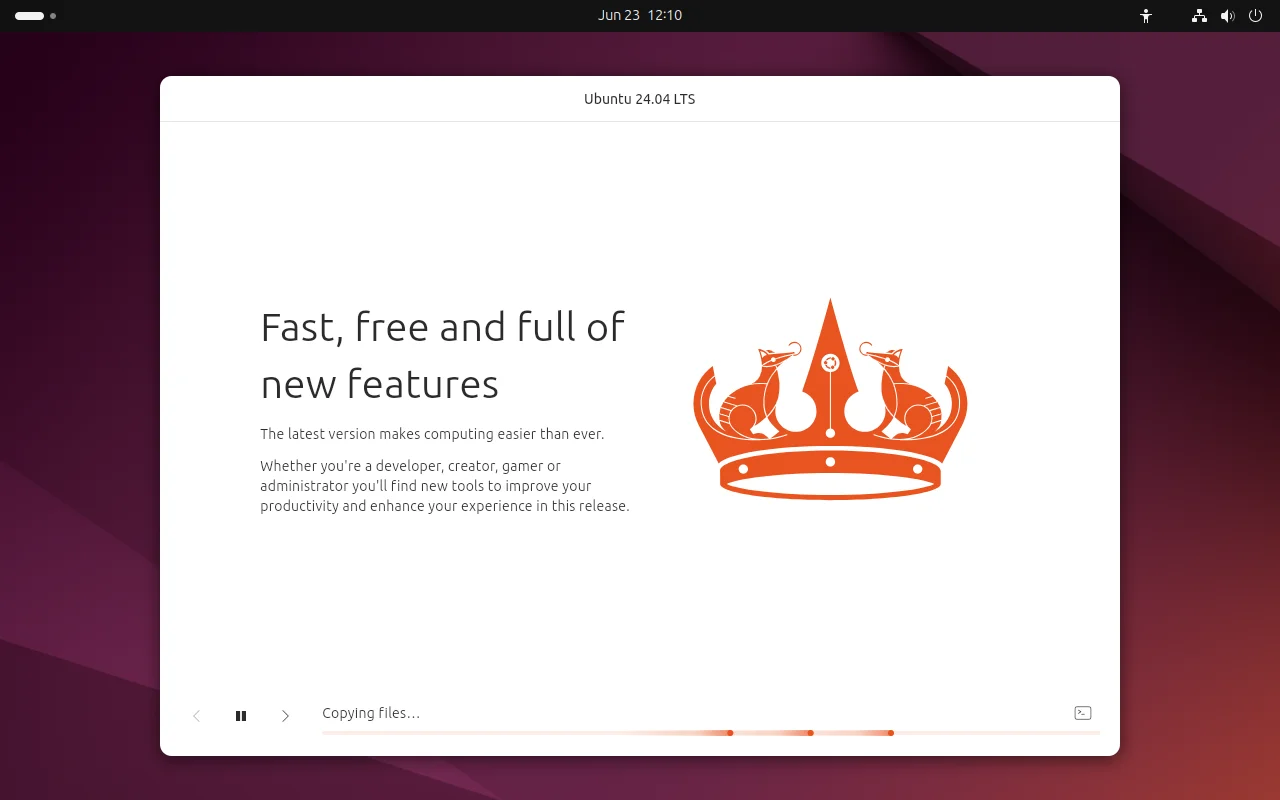
The installation process of Ubuntu on VirtualBox might take up to 30 minutes or an hour:
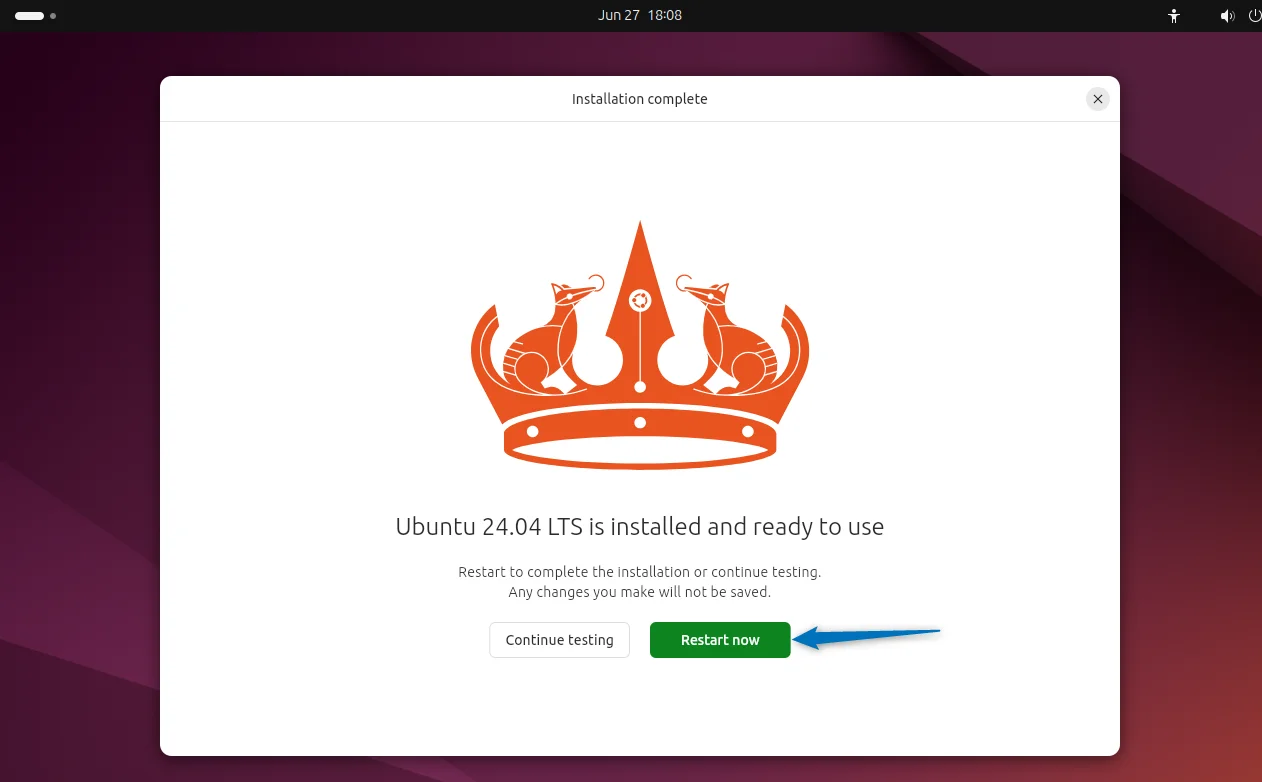
Now once the installation is successfully completed, click on Restart now for a system reboot:
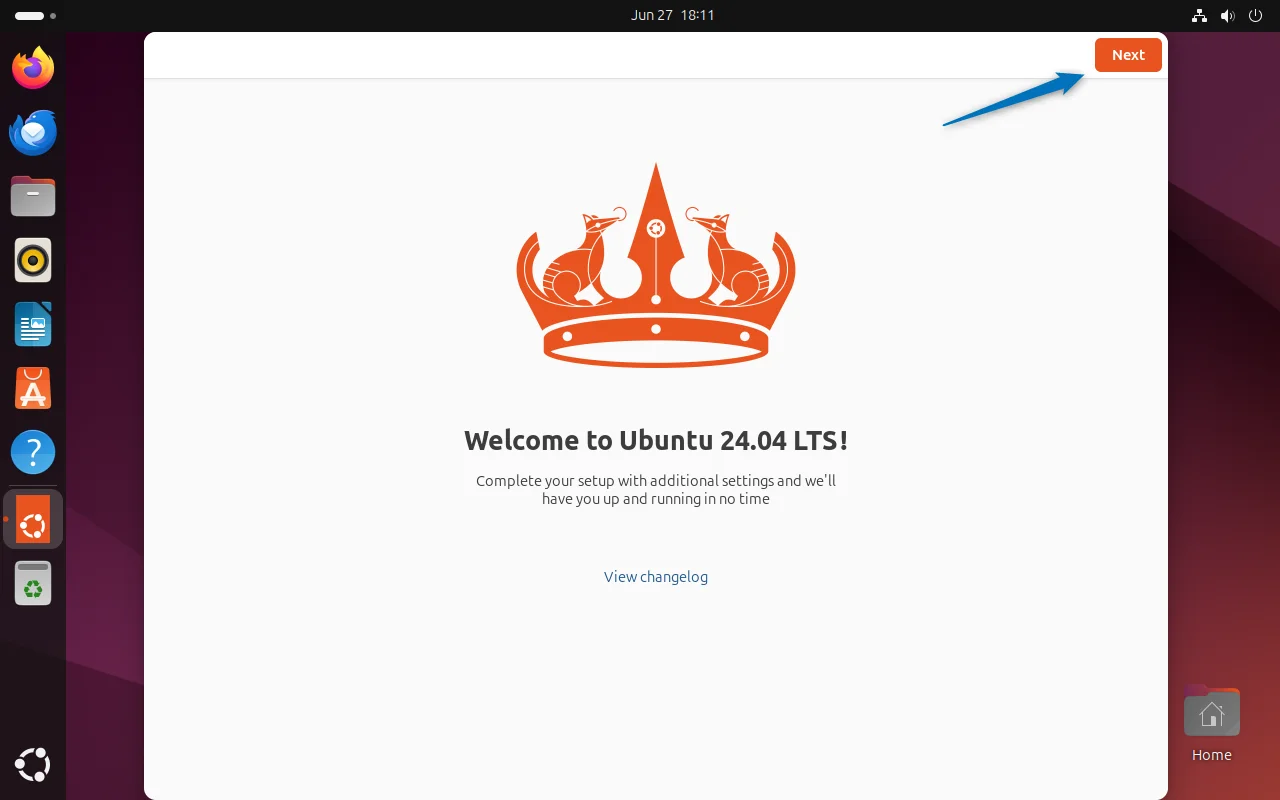
On the first login of Ubuntu 24, there will be a sort of startup wizard asking for various settings so first click on Next to begin:
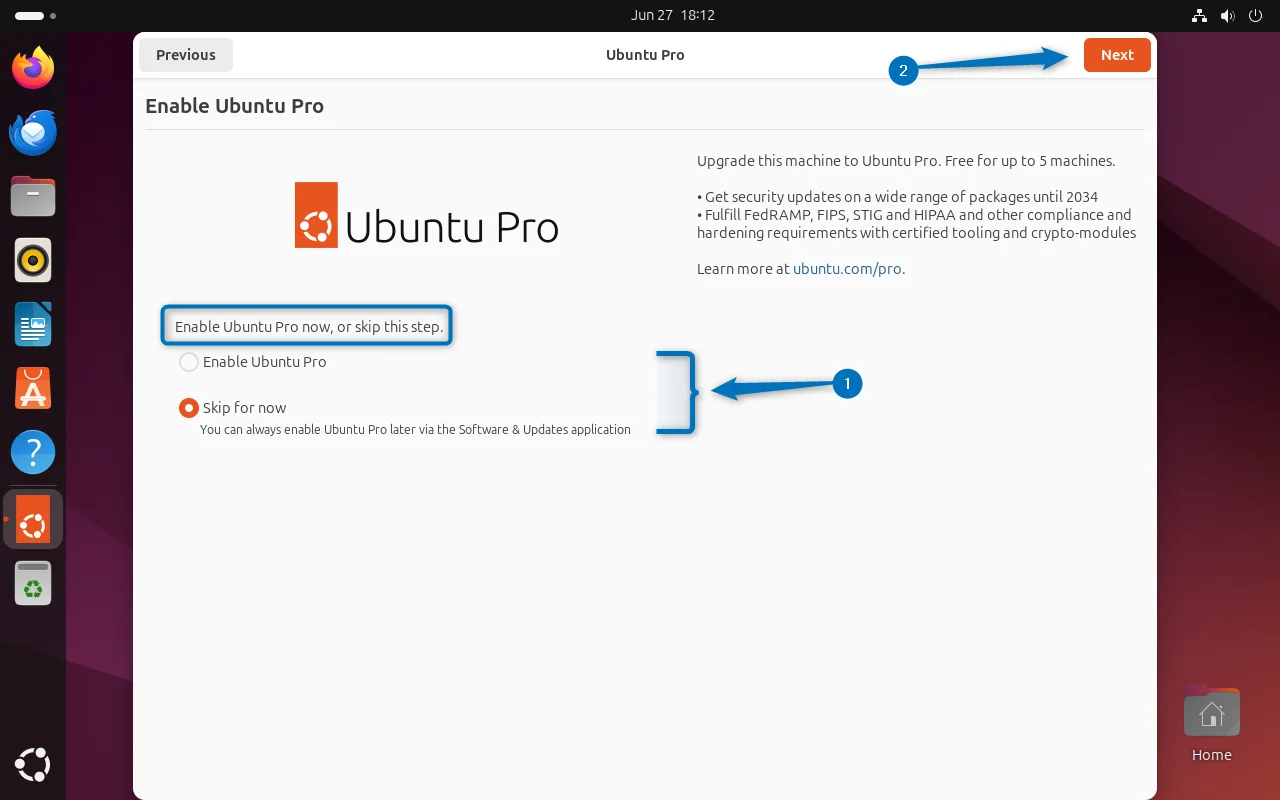
Next, you will have an option of enabling Ubuntu Pro which you can skip and go for it later:
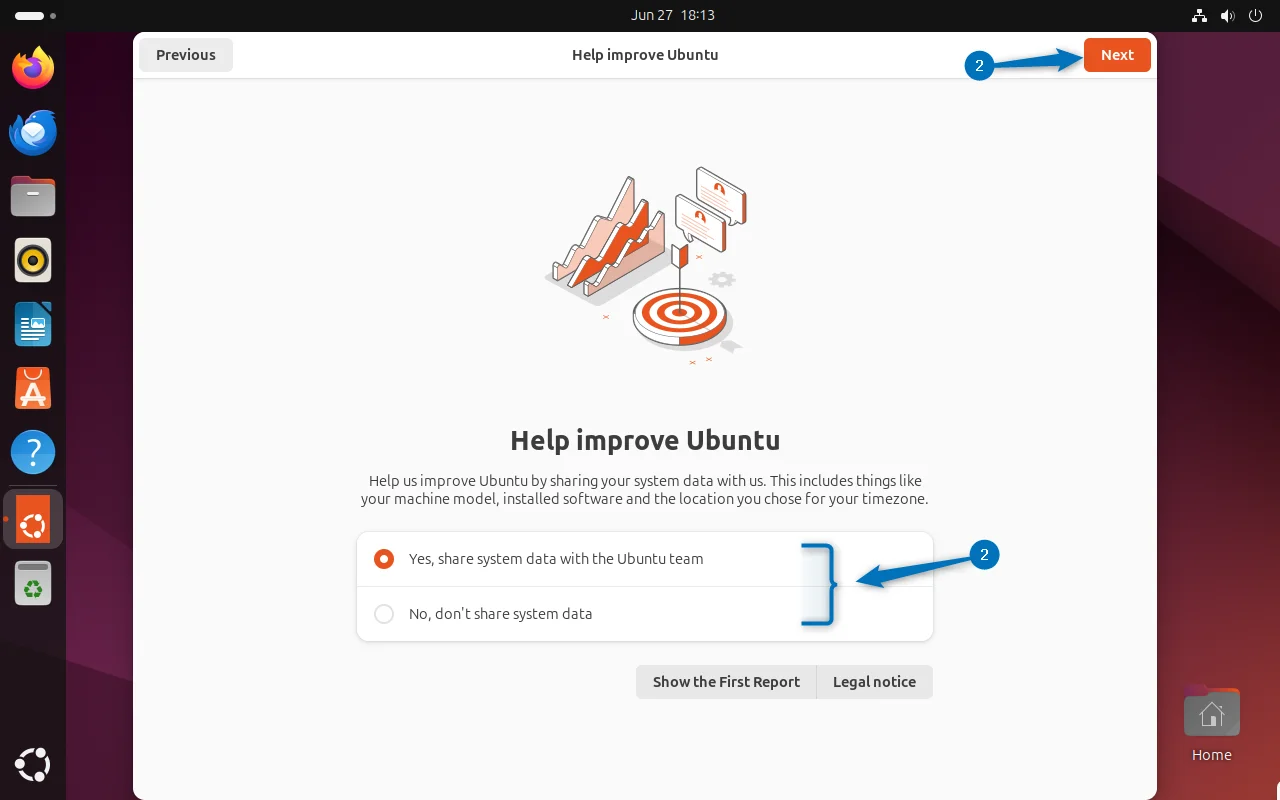
Ubuntu also asks its users to share their system data, which will help its developers to improve it further:
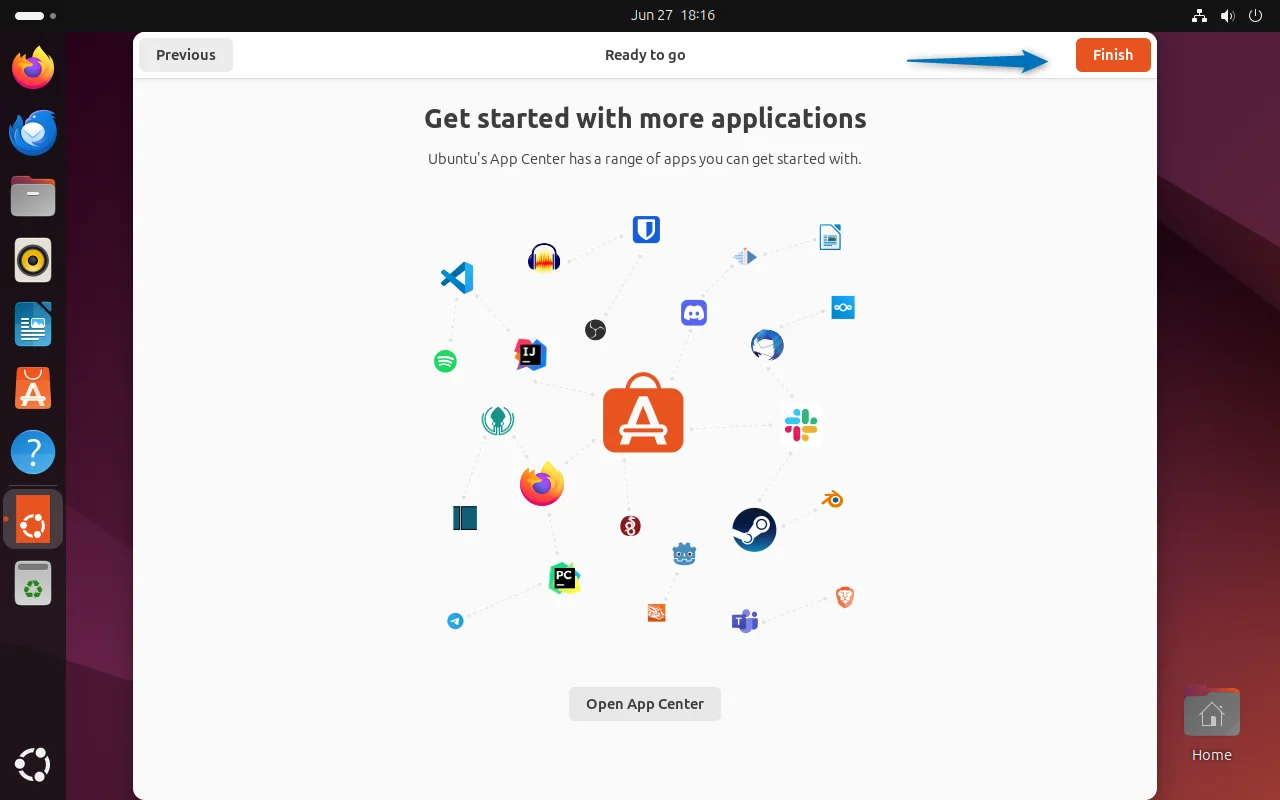
Next, click on Finish to close the Ubuntu startup setup:
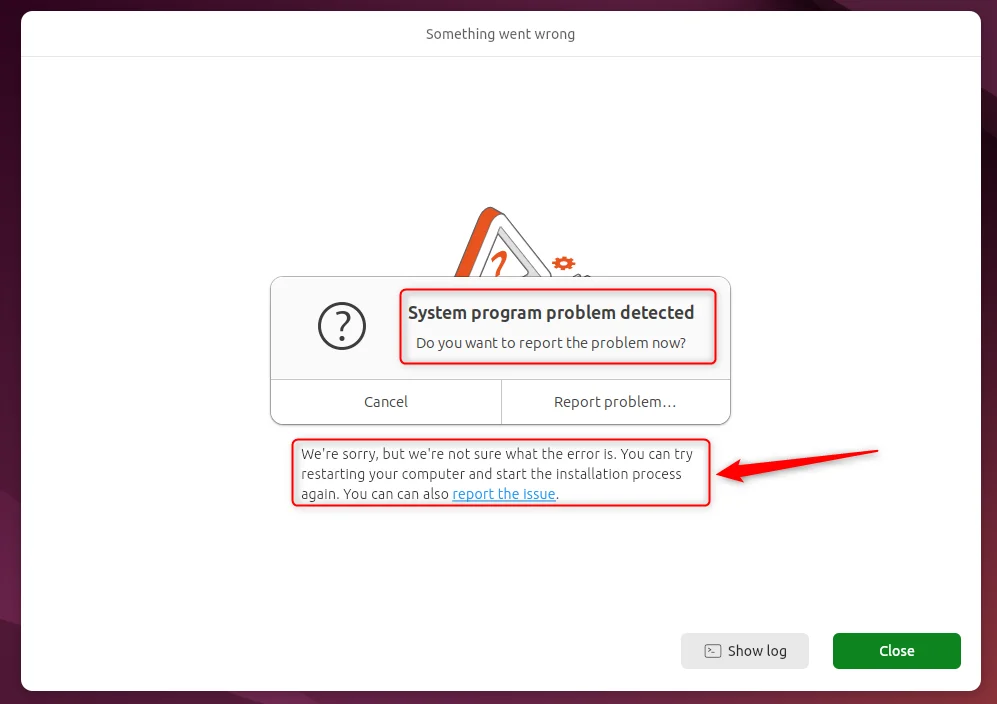
Note: While installing Ubuntu 24.04 on VirtualBox, I encountered a system program problem detected error even after installing the VirtualBox patch which is recommended by most other blogs. To resolve this issue, I turned off the internet of Ubuntu and tried the offline installation (Extended Installation).
3: Install Guest Additions on Ubuntu
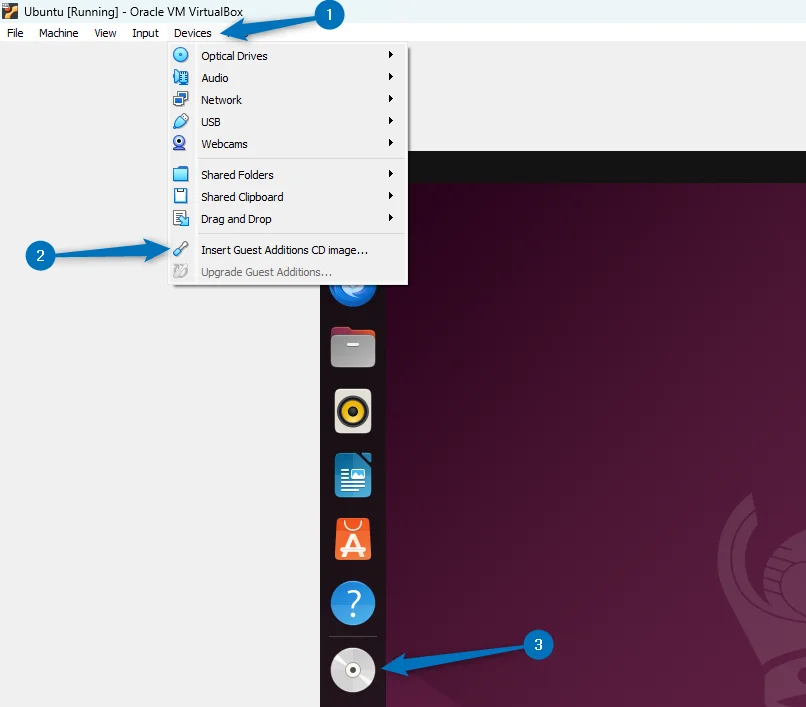
One of the biggest issues after installing Ubuntu or any other Linux distribution on VirtualBox is there is no pre-built system that allows clipboard sharing. On VirtualBox, you can install guest additions that allow clipboard and drag-drop features. To install Guest additions of Ubuntu, go to the Devices option on VirtualBox and from there click on Insert Guest Additions CD Image. Afterward, click on the CD icon that appears on the menu bar of Ubuntu:
Next the terminal application will open, and its installation will start, after the installation is completed it will ask to close the terminal window:

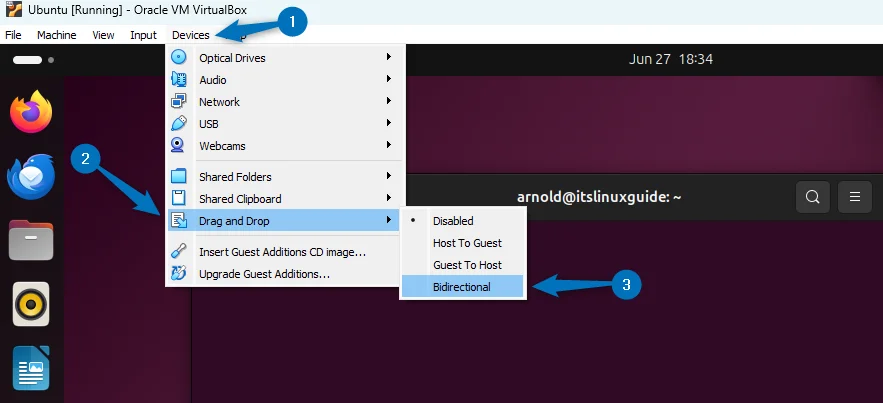
Now first set the Drag and Drop feature to bidirectional in the Devices menu:
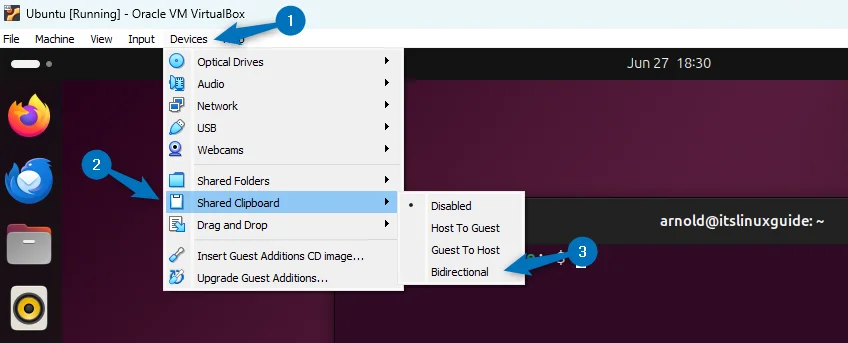
After that also allow the Shared Clipboard to be bidirectional:
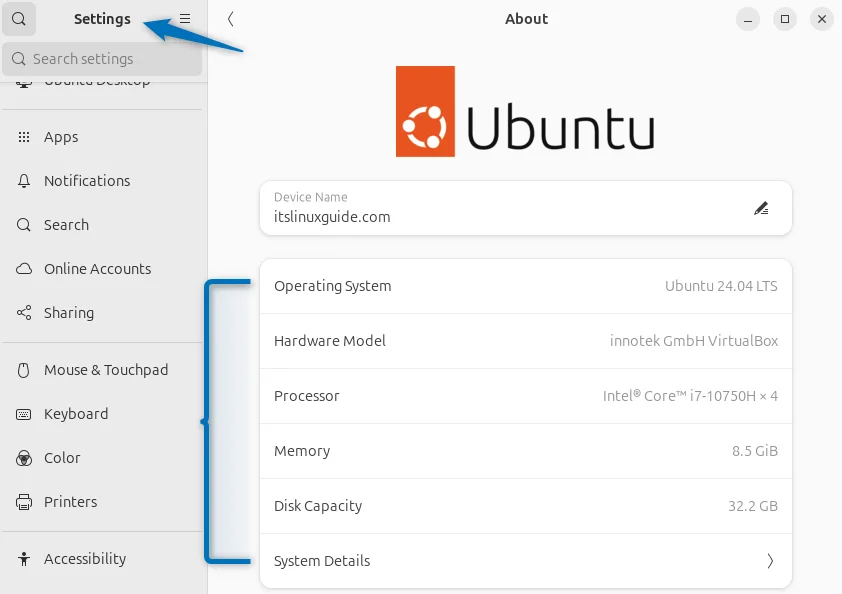
Now the installation of Ubuntu 24.04 is complete, reboot it to apply the changes made after installing Guest Additions. You can verify the details of your system in the About section:
Conclusion
Installing Ubuntu on VirtualBox is a three-step process, first, you need to create a virtual machine, then launch the Ubuntu installer, and then install the Guest Additions. To avoid any problems in the Ubuntu 24.04 installation opt for extended installation and keep the internet connection off.