Webmin is a system administration server-based tool primarily used for system service management, task scheduling, file, and package management. So, if you are a beginner or prefer a graphical interface for server management, or if you want to manage multiple Debian servers and want centralized control, then try using Webmin on Debian. To install and configure Webmin on Debian, read this guide as it will deeply explain all the methods for its installation and steps for configuration in detail.
Installing Webmin on Debian 12
Webmin offers a user-friendly interface that makes managing various aspects of the Debian server easy. Further, it eliminates the need to memorize complex command-line syntax and visually represents configuration options. There are four ways to install Webmin on Debian:
1: Through Webmin Repository Script
The first method to install Webmin on Debian is using its repository script file, which is available on GitHub. To download the repository file, execute the below command:
curl -o setup-repos.sh https://raw.githubusercontent.com/webmin/webmin/master/setup-repos.sh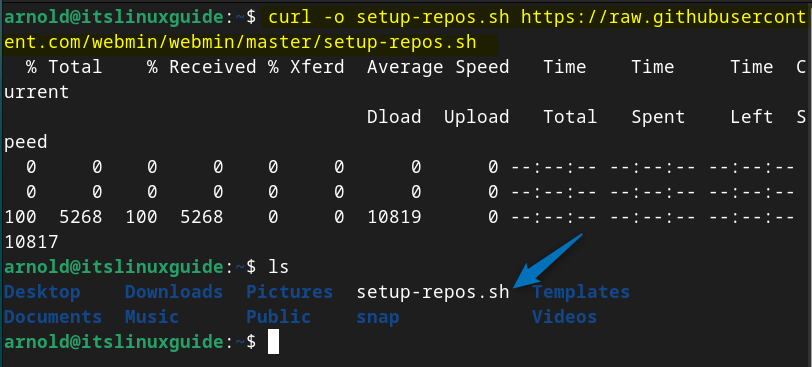
Once the file is downloaded simply execute this script to add the Webmin repository to and for that run:
sh setup-repos.sh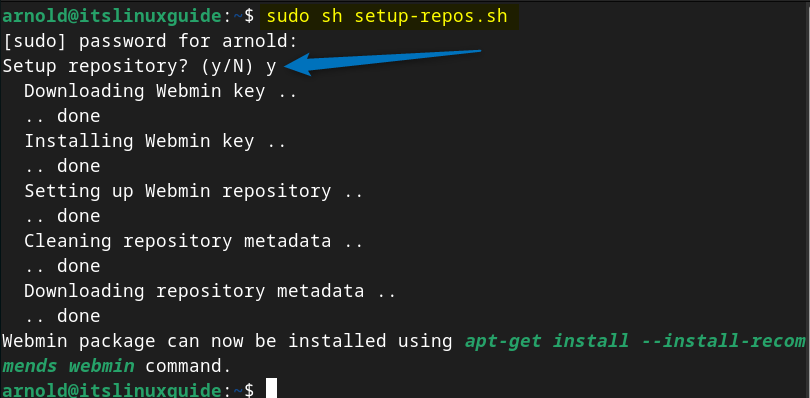
Next, update the packages list for apt so that the Webmin repository is added successfully:
sudo apt-get update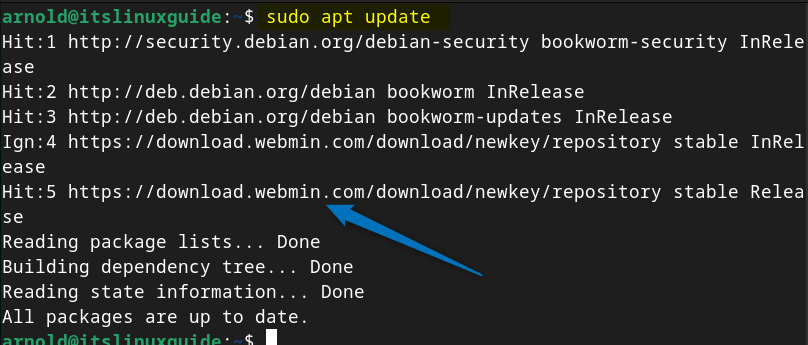
Now install Webmin on Debian 12 by executing the following command via its repository:
sudo apt install webmin -y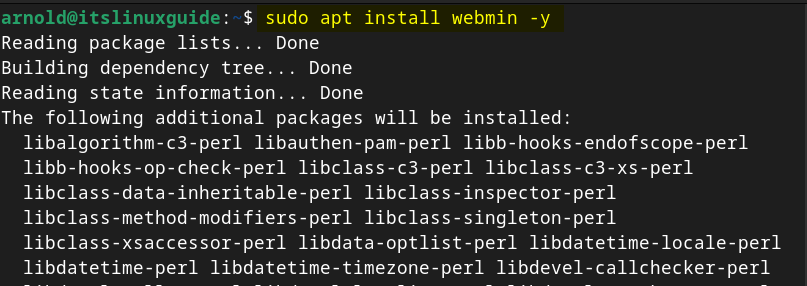
Now to verify the Webmin installation on Debian, list all the apt installed apps by using the below command:
sudo apt list --installed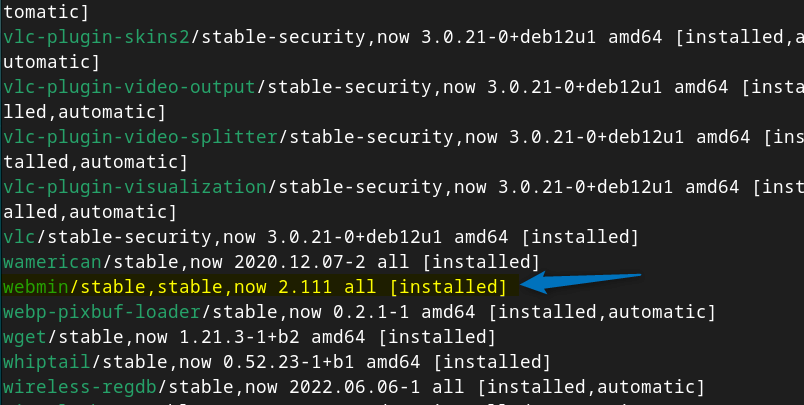
2: Through Directly Adding the Repository
Another way to install Webmin on Debian is by directly adding the Webmin repository to its sources.list file, this method adds the older repository which you can upgrade at a later stage:
sudo nano /etc/apt/sources.list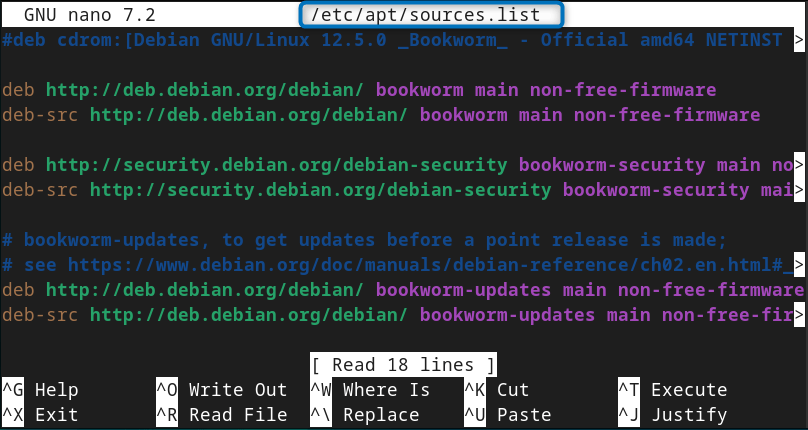
In the sources.list file add the following Webmin repository and then close the file by saving it:
deb http://download.webmin.com/download/repository sarge contrib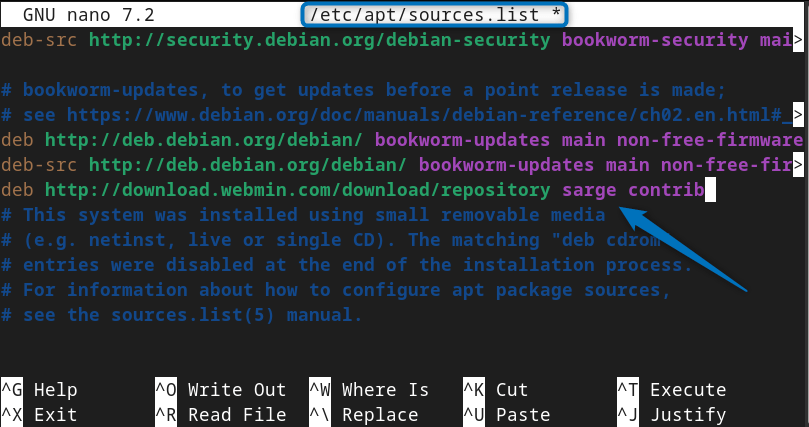
Alternatively, you can add the repository using the terminal as well, in that case simply execute the following command:
echo "deb https://download.webmin.com/download/repository sarge contrib" | sudo tee /etc/apt/sources.list.d/webmin.listAfter adding the Webmin repository, add the GPG key for the repository so that the system can validate it and for that execute:
wget -q -O- http://www.webmin.com/jcameron-key.asc | sudo apt-key add -
Next, update the packages list for apt so that the Webmin repository is added successfully:
sudo apt update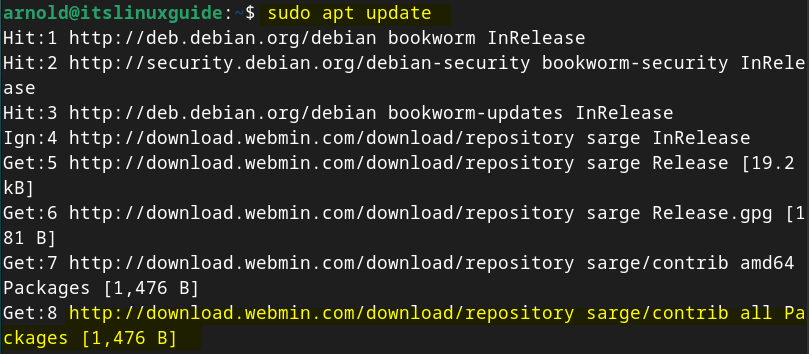
Now install Webmin on Debian 12 by executing the following command via its repository:
sudo apt install webmin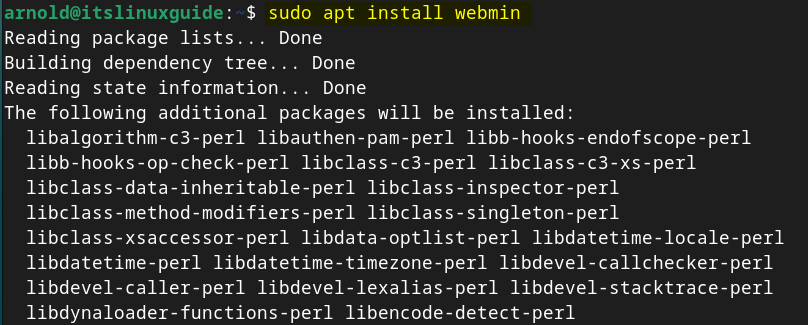
3: Through Webmin Deb File
Another way to install Webmin on Debian is using its Deb file which you can download from the Webmin download page. The deb files for older versions of Webmin are also available, here I have downloaded the deb file for latest version:
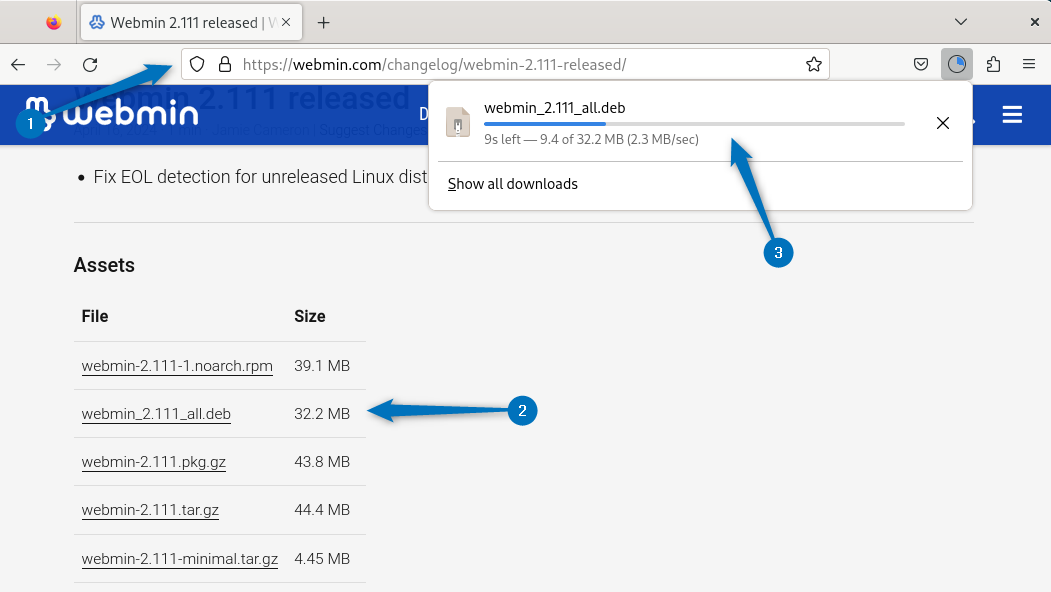
Now use the apt or dpkg package manager to install Webmin using its deb file as in the command below:
sudo apt install ./webmin_2.111_all.deb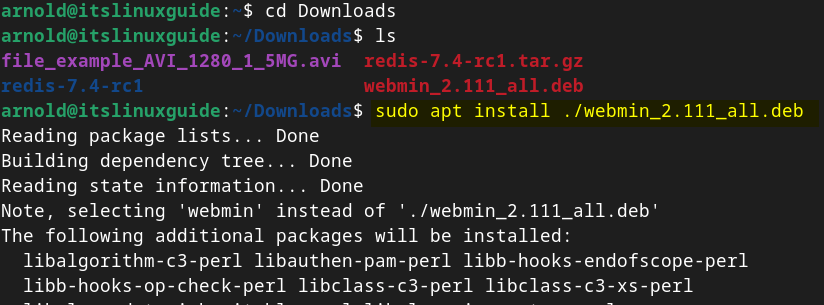
4: Through Webmin Tar File
Just like the deb file, there is a tar file also available for Webmin which you can download from Webmin official site and use it to install this server-based admin tool on Debian:
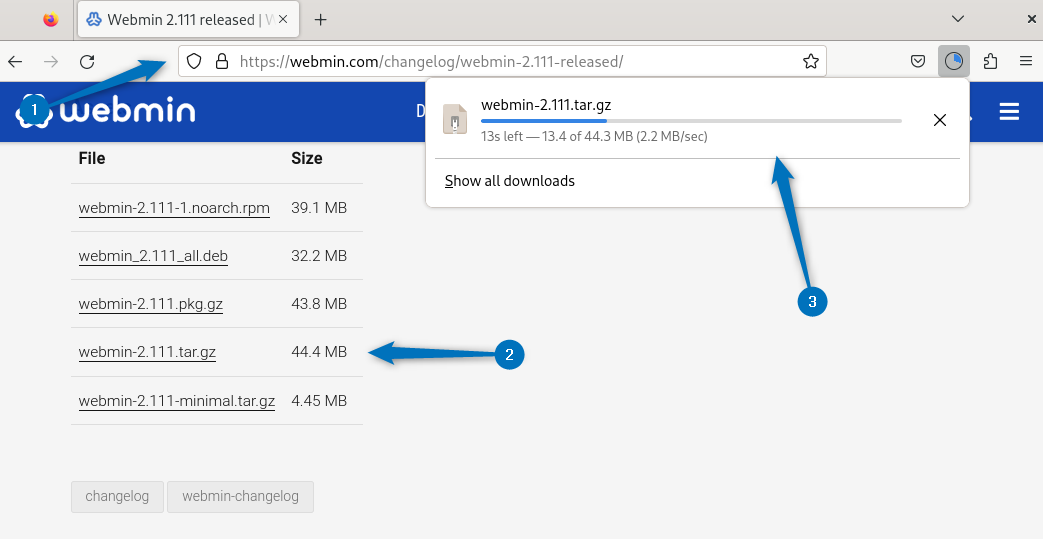
Now extract the tar file using the tar utility after navigating to the Debian 12 download directory:
sudo tar -xvf webmin-2.111.tar.gz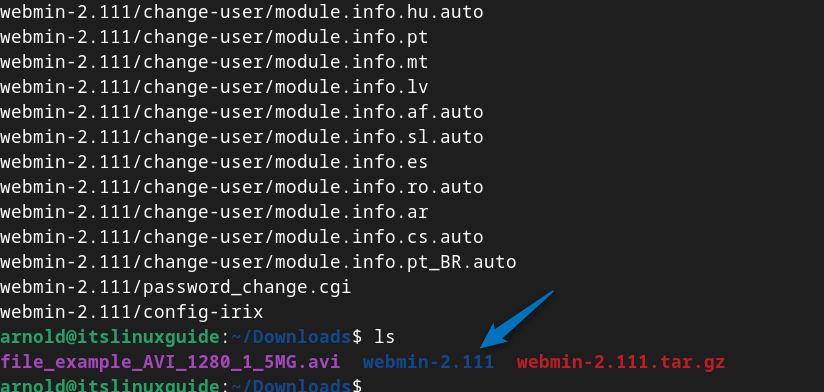
Now move to the extracted directory and if you list all the files in the directory you will see the bash script file for Webmin repository:
cd webmin-2.111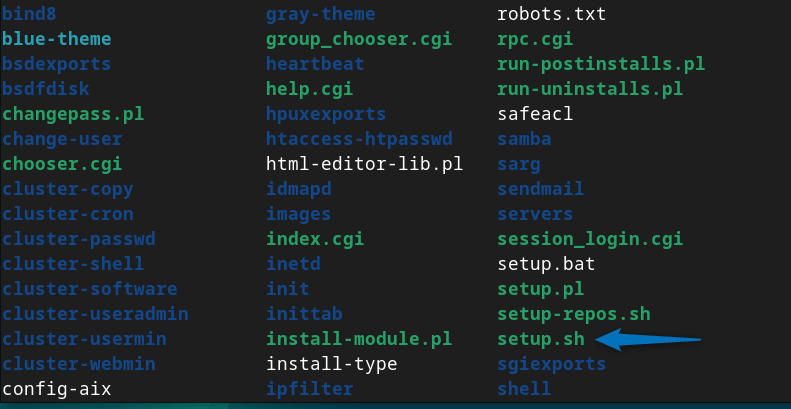
Now execute the Webmin repository script file as I did in the first method by executing the below command:
sudo sh setup-repos.sh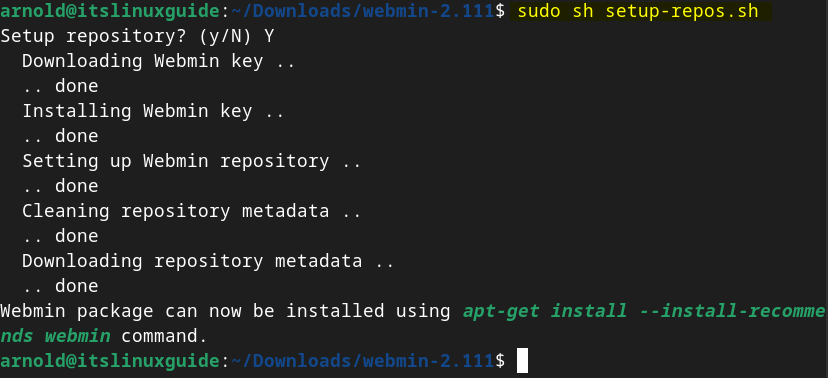
Next, update the packages list for apt so that the Webmin repository is added successfully:
sudo apt update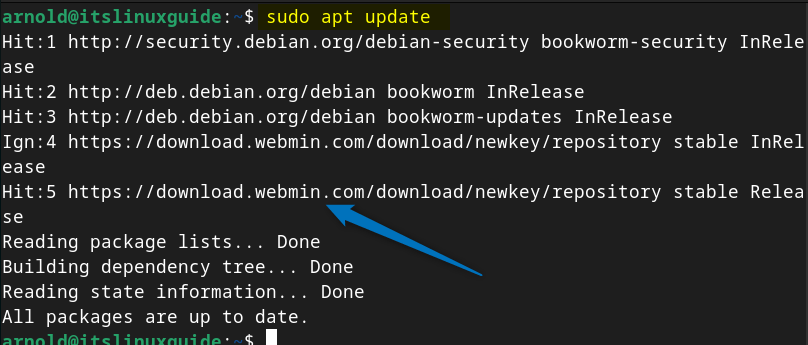
Now install Webmin on Debian 12 by executing the following command:
sudo apt-get install --install-recommends webmin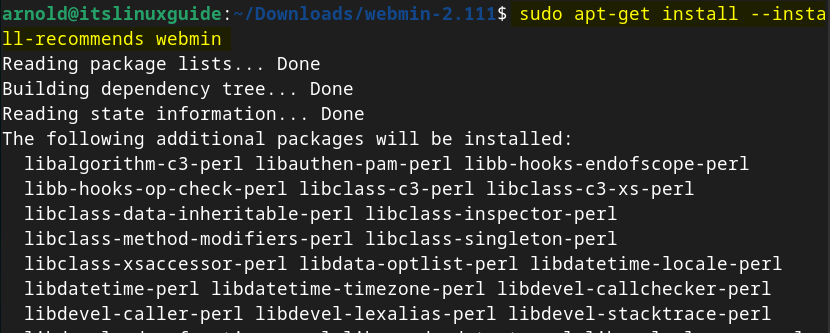
Configuring Webmin on Debian 12
To get started working on the Webmin tool on Debian, it is necessary to allow its port through the firewall and also check the service status for it.
Activating Webmin Service on Debian
The first thing to do after installing Webmin on Debian is to check its service status however, most of the time the service is active and enabled by default, to check its service status execute:
sudo systemctl status webmin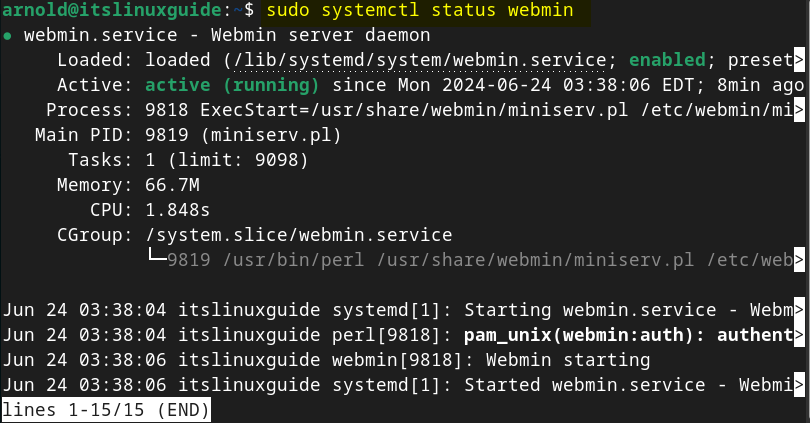
In case the Webmin service is disabled and inactive, then execute enable and start command as written below:
sudo systemctl enable webmin && sudo systemctl start webminAllowing Webmin Through the Debian Firewall
The next step in Webmin configuration is to allow incoming connections from port 10000 which is for Webmin, for that execute:
sudo ufw allow 10000
Next also allow port 22 which is for the SSH connection though it is not directly used by Webmin. However, it can be used during Webmin installation for remote server access or for managing SSH services through Webmin modules:
sudo ufw allow 22
Now verify the rules additions in the Debian firewall by checking its status:
sudo ufw status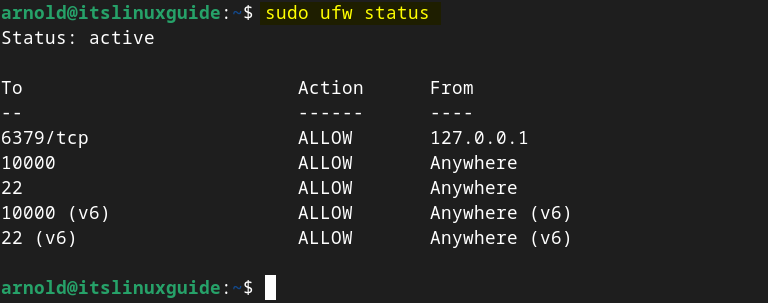
Now, access Webmin on Debian by using your Debian 12 IP address along with its port as given in the syntax below:
https://[Debian-ip-address]:10000.Here, by default, the username is root, and the password is the same as your Debian system password:
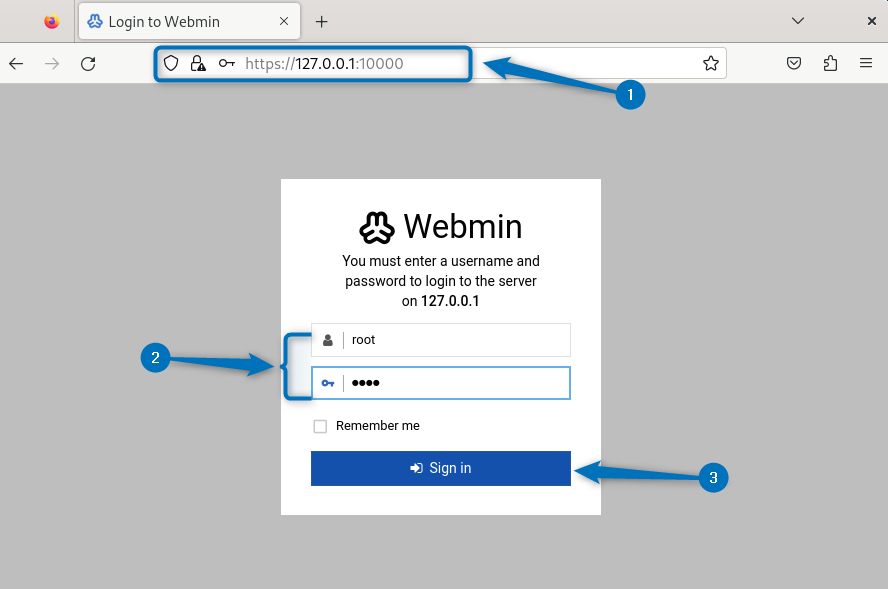
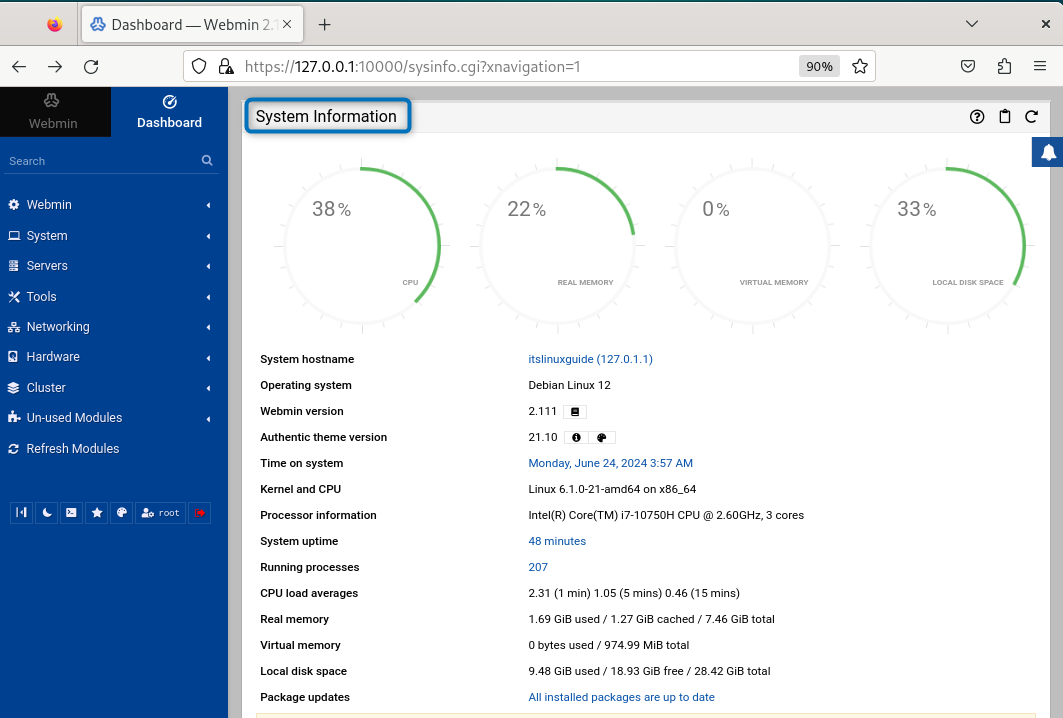
Once you are logged in, you will see system resource usage on the right and all the Webmin tools on the left:
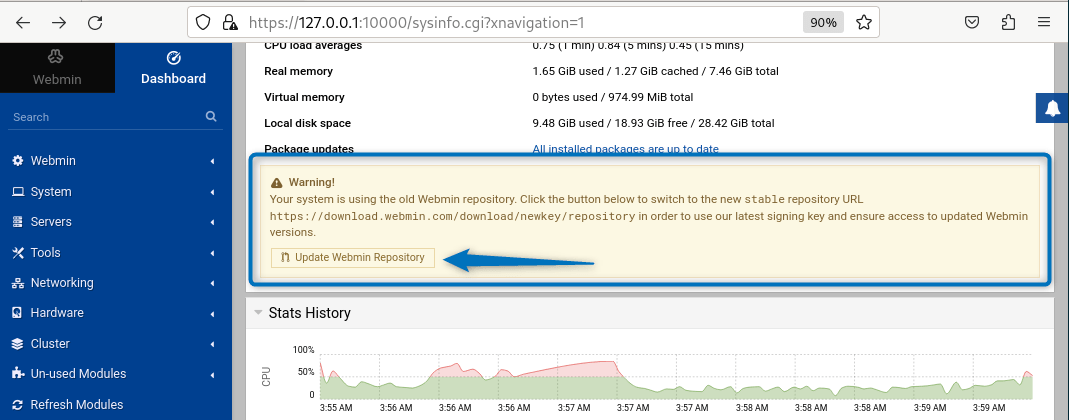
Note: As I previously mentioned in the second method, the repository added was of the older Webmin version, so in that case, you might see the warning that your system is using the old Webmin repository as in the image below. For that, simply click on Update Webmin Repository to update it:
Conclusion
On Debian there are primarily four main ways to install Webmin, these include using the repository script file, directly adding Webmin repo in sources file, Webmin deb file, and Webmin tar file. Further, to launch Webmin or to access its web panel allow port 10000 through Debian firewall. The recommended method among all the explained Webmin installation methods is using its deb file as repositories may get deprecated with time.
